RuView: Turn Your ESP32 Into a Through-Wall WiFi Sensing System
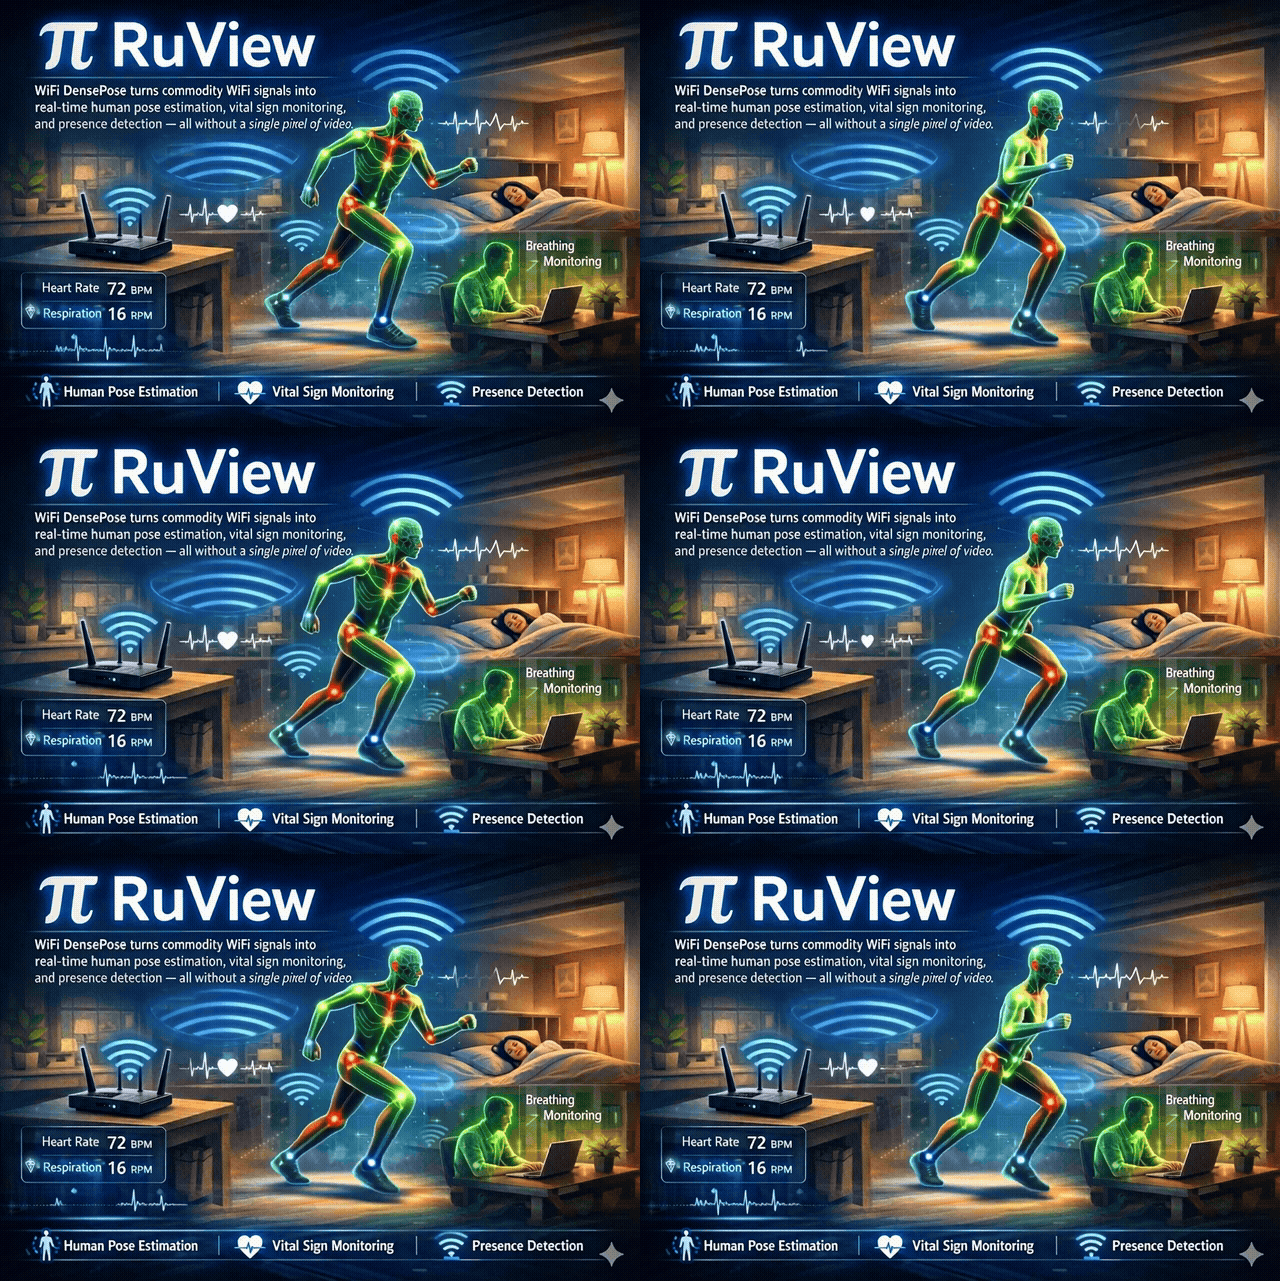
Animated visualisation of real-time WiFi-based pose estimation, breathing detection, and heart-rate sensing through walls using RuView.
- ESP32-S3
- ESP32-C6
- Cognitum Seed
- Realtek RAC1
- Raspberry Pi
What You Will Build
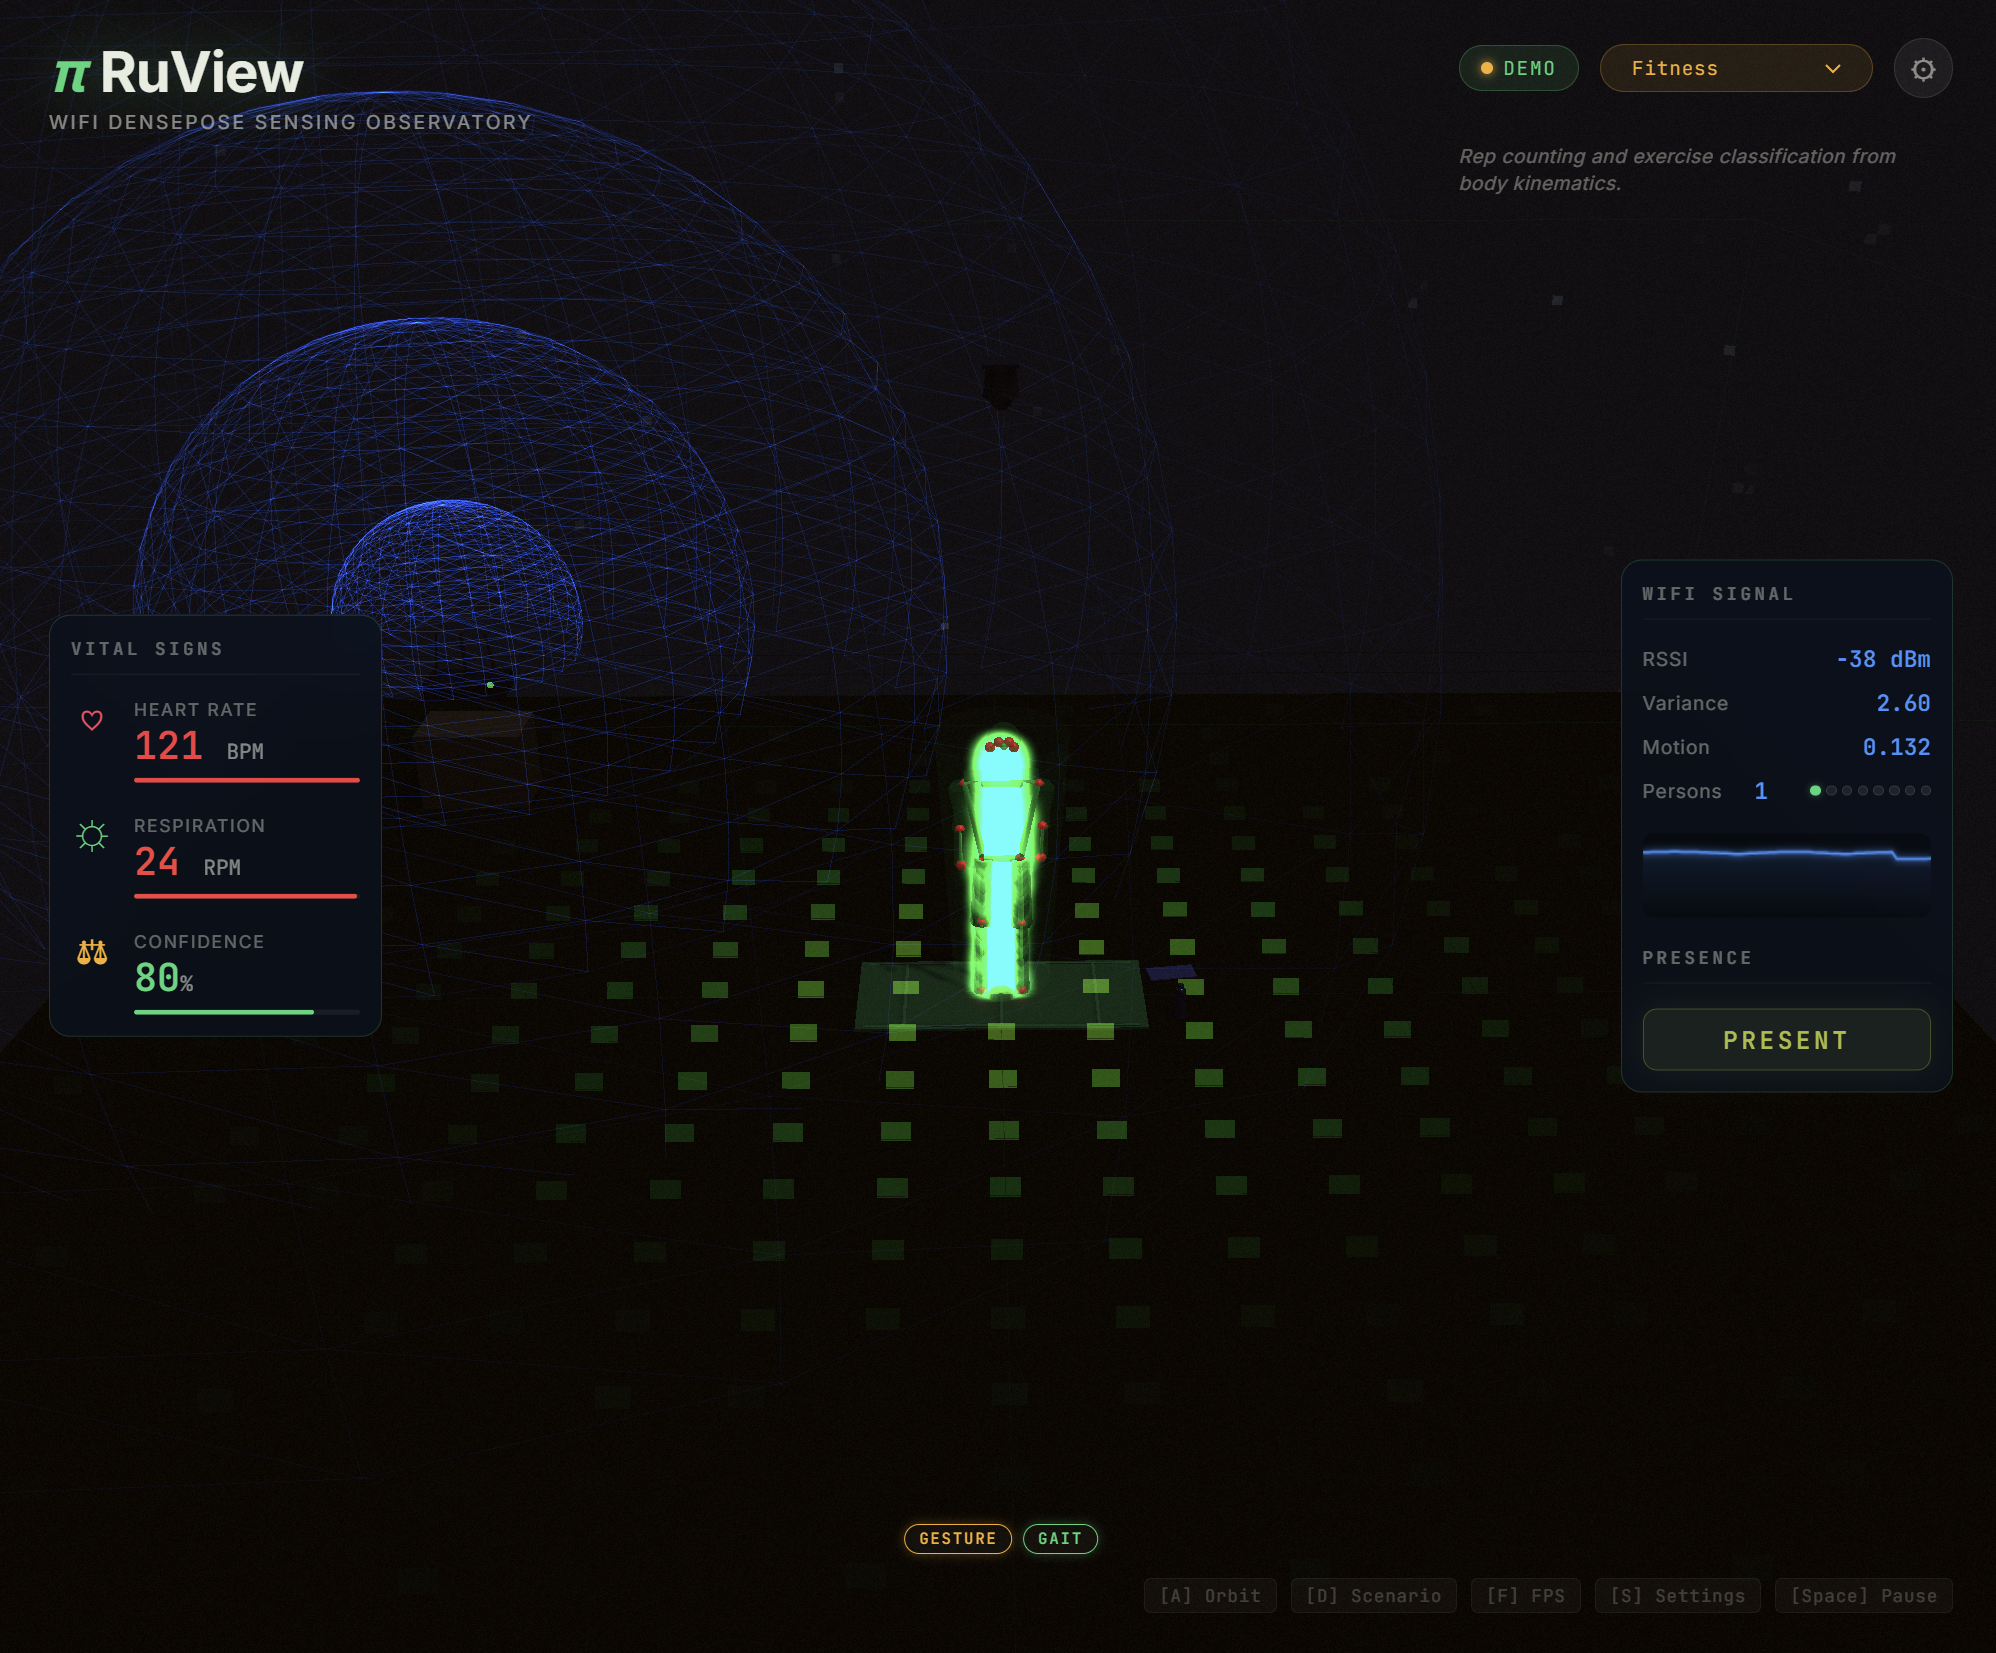
RuView is a WiFi-based spatial sensing platform that turns ordinary router signals into actionable room intelligence using an ESP32-S3 as its sensor node. When you finish this build, a single board — costing as little as $9 — will detect people through walls, measure breathing rates between 6 and 30 breaths per minute, track heart rate between 40 and 120 BPM, recognise activity such as walking, sitting, gestures, and falls, and map room occupancy — all without a camera, a wearable, or an app on anyone's phone.
Each node publishes 21 entities to your smart-home hub: 11 raw radio signals plus 10 inferred semantic states including someone-sleeping, possible-distress, room-active, elderly-inactivity-anomaly, meeting-in-progress, bathroom-occupied, fall-risk-elevated, bed-exit, no-movement, and multi-room-transition. Three starter Home Assistant Blueprints are included out of the box.
The platform extends to a catalog of 105 edge modules called Cogs, covering health monitoring, security, building management, retail analytics, industrial sensing, and research applications. An optional Cognitum Seed companion board adds persistent vector memory, cryptographic attestation via an Ed25519 witness chain, and AI integration. Everything runs at the edge — no cloud account or ongoing internet connection required once the firmware is flashed.
 \2
\2What You Need
Hardware
The README names these specific components:
- ESP32-S3 — primary sensing node for CSI streaming; nodes start at $9 and the full bill of materials is listed at $140
- ESP32-C6 — alternative node supported by the same firmware
- Cognitum Seed — optional companion for persistent memory, kNN search, and cryptographic attestation
- Realtek RAC1 nodes — optional, for additional sensing coverage
- 60 GHz mmWave radar kit — optional, referenced for fused 3-D spatial modelling via ESPHome
- Raspberry Pi — referenced as a host for running inference; the quantised model cold-starts in 8.4 ms on a Pi 5
Software
- Rust 1.85 or later
- Node.js with npx (for the
@ruvnet/ruviewtoolkit) - Docker (for testing with simulated data before hardware arrives)
- An MQTT broker if you plan to integrate with Home Assistant
The pretrained model weights are hosted on Hugging Face at ruvnet/wifi-densepose-pretrained. The 4-bit quantised variant fits in 8 KB, making it practical for direct deployment on the edge.
Typical use cases
Detect occupancy room by room without cameras or motion PIRs, and trigger lights, thermostats, or locks through Home Assistant, Apple Home, or any Matter-compatible hub.
Monitor breathing rate and heart rate overnight for elderly residents or sleeping family members — no wearable, no skin contact, no app required on the user's device.
Detect intruder presence through walls at up to roughly 5 metres using existing WiFi infrastructure, with fall detection debounced across 3 frames for reliable alerting.
Track room utilisation, queue length, customer flow, and elevator occupancy using specialised Cog modules from the 105-module edge catalog — all running locally on the ESP32.
How It Works
Every WiFi router continuously floods a room with radio energy. When a person moves, breathes, or sits still, their body absorbs and scatters those waves in a way that subtly changes the Channel State Information (CSI) reported by the receiving ESP32. RuView captures these disturbances at the firmware level and pipes them through a signal-processing and machine-learning stack.
The core signal chain works in five stages:
- CSI acquisition — the ESP32-S3 reads per-subcarrier amplitude and phase from the WiFi hardware and streams it for processing.
- Vital-sign extraction — a bandpass filter at 0.1–0.5 Hz isolates chest-wall motion for breathing rate; a second filter at 0.8–2.0 Hz extracts the cardiac pulse. Zero-crossing counting converts both signals to BPM.
- Presence and activity inference — a 128-dimensional contrastive encoder (4-bit quantised, 8 KB) compares live CSI embeddings against the pretrained reference. The v2 encoder reports a held-out temporal-triplet accuracy of 82.3%.
- On-device adaptation — spiking neural networks recalibrate to the local environment in under 30 seconds of ambient observation.
- Mesh expansion — multi-frequency scanning across 6 WiFi channels triples the effective sensing bandwidth, and neighbouring routers serve as free radar illuminators via Fresnel-zone geometry.
Every inference event is signed and appended to the Ed25519 witness chain for full auditability.
Getting Started
RuView ships the @ruvnet/ruview npm toolkit as the primary interface for environment checks, firmware flashing, and live monitoring. No global install is needed — all commands run via npx.
1. Check your environment
Run the doctor command first. It checks local dependencies and returns source-cited guidance on anything missing:
npx @ruvnet/[email protected] doctor
2. Test without hardware (optional)
Pull the Docker image to run a pipeline against simulated CSI data before your boards arrive:
docker pull ruvnet/wifi-densepose:latest
3. Verify connected hardware
With an ESP32-S3 or ESP32-C6 connected over USB, list detected devices:
npx @ruvnet/[email protected] devices
4. Start a live CSI stream
This opens a real-time view of raw CSI from your node so you can confirm the sensor is reading signal before any model runs:
npx @ruvnet/[email protected] esp32 --watch
5. Run the vitals pipeline
Capture 45 seconds of CSI and push it through the full breathing and heart-rate analysis:
npx @ruvnet/[email protected] esp32 --seconds 45 --analyze
Firmware flashing with boot evidence is handled by the MetaHarness — it signs the flash event and appends it to the witness chain. The full flashing walkthrough is in the repository's user guide.
Home Assistant integration requires only a single --mqtt flag when starting the server; the HA-DISCO publisher handles entity discovery automatically. For Apple Home, Google Home, Alexa, or SmartThings, use the Matter Bridge endpoint documented in the repository.
Extending the Build and Known Limitations
Ways to Extend
The 105-Cog catalog (served from app-registry.json) lets you add capability without reflashing. Specialised occupancy counters for elevator-count, queue-length, customer-flow, clean-room, and person-matching are ready to load. For custom environments, the built-in model workflow lets you record your own CSI, train a new model, save it as an RVF file, and switch between LoRA profiles at runtime.
The optional Cognitum Seed expands a single node into a persistent, AI-integrated sensing station with a vector store and kNN retrieval. A unified RF world model can combine WiFi CSI, radar, and UWB in a single spatial scene. For AI-assisted operation, the MetaHarness provides a read-only MCP server (usable over stdio or HTTP) and a Claude Code extension:
npx @ruvnet/[email protected] mcp start
npx @ruvnet/[email protected] mod
Known Limitations
The README is candid about where the project currently stands:
- Through-wall range is up to approximately 5 metres and is signal-dependent on wall material and router placement.
- Pose estimation is a first-cut on-device model. The current PCK@20 score is 3.0%, well below the project's own ≥35% target, and its runtime path is still a confidence=0 stub. The 82.69% figure elsewhere in the documentation refers to a separate MM-Fi benchmark, not the live on-device model.
- Presence accuracy is 82.3% held-out temporal-triplet for the v2 encoder. The earlier "100% presence" figure was measured on a single-class recording and has since been retracted.
- Vitals readings are labelled as unvalidated by the firmware itself — treat them as estimates, not medical measurements.
- The project carries 436 open issues, reflecting active but ongoing development.
RuView is one of the most ambitious ESP32 projects available: it turns a $9 WiFi node into a contactless presence and vital-sign sensor that integrates natively with every major smart-home ecosystem. The MetaHarness toolkit makes setup approachable, the signal-processing architecture is well documented, and the honest accuracy caveats in the README are a mark of a serious project. Go in with calibrated expectations — through-wall pose estimation is not yet production-ready and device vitals are explicitly unvalidated — but for presence detection and basic vital-sign trending, the foundation is genuinely usable today.
Sources
github.comruvnet/RuView — repository & README Cognitum.OneOfficial websiteFacts in this article come from the project's public README and GitHub metadata at the time of writing. Images belong to their respective owners and link back to the original source.