Embedded-AI-Harness: AI Closed-Loop Firmware Dev for ESP32
- Raspberry Pi 3, 4, or 5
- Raspberry Pi Zero 2 W (with USB hub and USB Ethernet adapter)
- ESP32
- USB hub
- USB Ethernet adapter
- RTL-SDR dongle (optional)
- Si5351 + PE4302 (optional)
- Jumper wires to EN/BOOT pins (optional)
What You Will Build
The Embedded-AI-Harness turns an AI assistant into a firmware engineer that works on real hardware rather than in a chat window. You describe what your ESP32 project should do, and the harness takes it from there: Claude writes the firmware, pushes it to GitHub Actions for a CI build, downloads the compiled binary, flashes it to a board sitting in a slot on a Raspberry Pi testbench, runs tests against real WiFi, MQTT, BLE, and RF signals, reads the results, corrects the code, and repeats — until every test passes.
The README calls this AI Closed-Loop Programming (AICLP). Ordinary AI coding is open-loop: you prompt, the AI guesses, you copy-paste and hope. AICLP closes the gap with a feedback path. The spec (a Functional Specification Document, or FSD) is the setpoint. The tests are the sensor. Failing tests are the error signal. Claude is the controller that corrects until the error reaches zero. The loop exits only when all tests are green on real silicon — not on a simulator, not in a local build directory.
If you have ever spent an afternoon babysitting a flashing script or rewriting the same WiFi connection test for a third project, this harness is worth the setup time.
What You Need
Hardware
- Raspberry Pi 3, 4, or 5 — or a Pi Zero 2 W paired with a USB hub and a USB Ethernet adapter. The Pi's onboard WiFi is reserved for the test access point, so wired Ethernet is required for LAN connectivity.
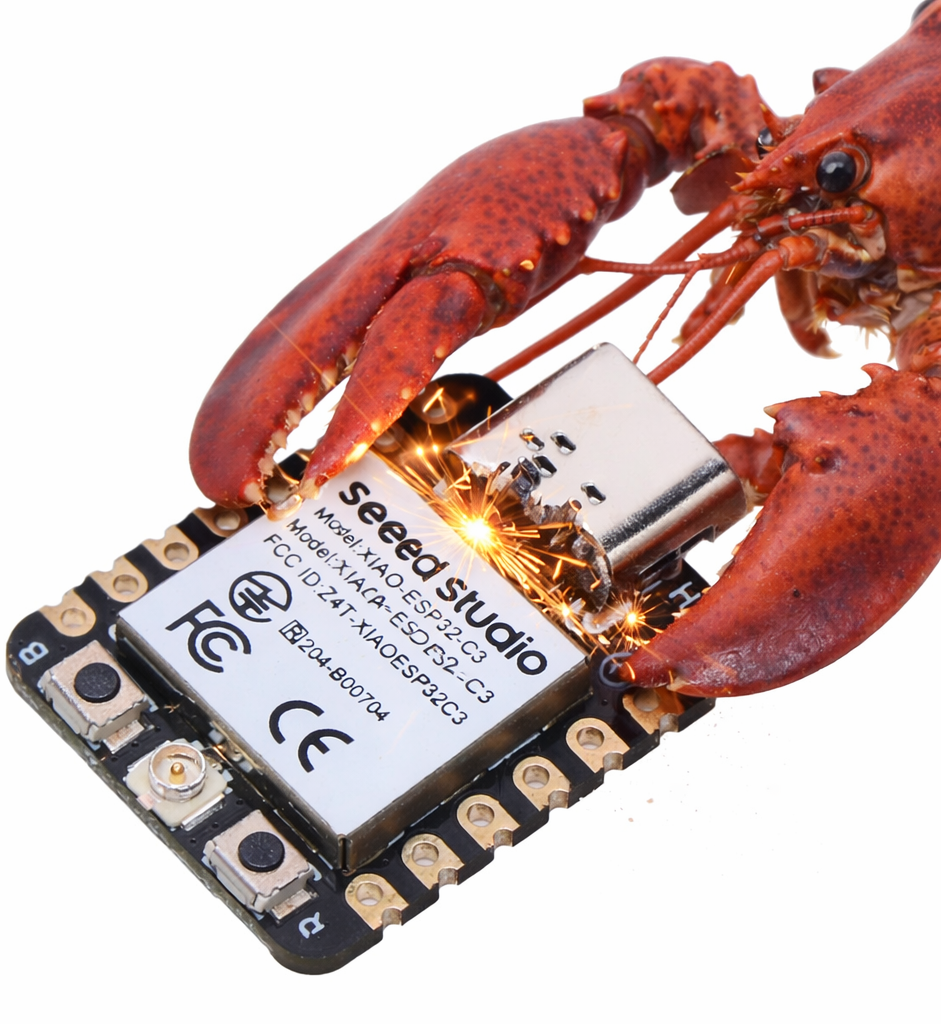
- An ESP32 board that esptool and PlatformIO can flash.
- A data-capable USB cable. A charge-only cable will not enumerate the board; confirm with
lsusbon the Pi if in doubt. - Optional extras for RF coverage: an RTL-SDR dongle and Si5351 + PE4302 for 433 MHz testing. Jumper wires from Raspberry Pi GPIO to the board's EN and BOOT pins enable automated recovery from boot loops with nobody in the room.
Software and accounts
- Raspberry Pi OS Lite 64-bit on the Pi.
- A GitHub account with
gitandghauthenticated — firmware compilation happens in GitHub Actions, not on your local machine or on the Pi. - Claude Code installed on your development machine:
npm i -g @anthropic-ai/claude-code, with this repo's.claude/skills/directory copied into your firmware project.
No local ESP-IDF or PlatformIO installation is required on your development machine. The CI pipeline handles all compilation in a pinned container.
Typical use cases
Hand Claude a product spec and let it write, compile, flash, and test ESP32 firmware end-to-end without manual intervention between iterations.
Run automated tests against real WiFi, MQTT, BLE, and RF hardware on every CI push, with the same binary that will ship to users.
Centralise several ESP32 boards on one Raspberry Pi and flash or debug any slot over the network from a laptop or a GitHub Actions runner.
Derive tests from requirements before writing code, run them on real silicon, and prevent any feature from shipping unless it passes — enforced by the loop itself.
How It Works
The testbench is the physical half of the harness. The Raspberry Pi sits on your LAN and exposes everything over HTTP. Its onboard WiFi becomes a test access point, its Bluetooth stack scans and connects, and its USB hub maps each physical port to a numbered slot (SLOT1, SLOT2, ...). Plug a board into a port and it appears in that slot — always, regardless of how many times you swap boards or reboot the Pi. The README calls this slot-based identity: a slot is a physical hole in the hub, so scripts and platformio.ini entries never go stale.
Serial communication travels over RFC2217, a Telnet extension that carries baud rate and control signals over TCP. That means esptool, PlatformIO, and ESP-IDF can flash and monitor a board physically attached to the Pi as though it were plugged into your own machine — or the GitHub Actions runner.
The firmware binary that reaches the chip is always the one CI produced, never a local build. That is intentional: the artifact on the chip matches the artifact in the GitHub Actions run log, which makes the test evidence auditable and allows a tagged release to self-verify on the testbench before it publishes.
Claude drives all of this through 70 MCP tools or through four slash-command skills that correspond to the four phases of a project: /define (produce an FSD with falsifiable requirements), /harness (one-time project setup), /commission (prove the board and peers are working), and /build (the closed loop itself — requirements turning green one by one).
Building the Testbench
Flash Raspberry Pi OS Lite 64-bit to your Pi and boot it with wired Ethernet connected. If you are using a Pi Zero 2 W, apply the memory hardening described in User Manual §2.2 before anything else — 512 MB is tight and hard crashes under load can corrupt the SD card.
Clone the repo onto the Pi and run the installer:
git clone https://github.com/SensorsIot/Embedded-AI-Harness.git
cd Embedded-AI-Harness/pi
sudo bash install.sh
The installer sets up pyserial, hostapd, dnsmasq, bleak, esptool, OpenOCD, rtl-sdr/rtl_433, and mosquitto, configures udev hotplug rules, and starts the testbench portal as a systemd service.
From your development machine, find the bench's IP address. Use the discovery script rather than a .local hostname — mDNS does not resolve from inside a container:
BENCH=$(python3 .claude/skills/esp-idf-handling/discover-testbench.py | jq -r .ip)
Plug in an ESP32 board and confirm the slot appears:
curl http://$BENCH:8080/api/devices | jq
No configuration file is needed for slot detection. Create /etc/rfc2217/testbench.json only if you want to rename slots, pin port numbers, declare GPIO reset/boot pins, or register an ESP-Prog JTAG probe. The command sudo rfc2217-learn-slots prints a template.
If the device is not detected, check that you are using a data cable, then run
lsusbon the Pi to confirm the board is visible at the USB level.
Flashing, Monitoring, and Running the AI Loop
Once the bench reports your board in a slot, point your existing tools at it. PlatformIO needs one line in platformio.ini:
upload_port = rfc2217://$BENCH:4001
esptool takes the same RFC2217 URL directly:
esptool --port rfc2217://$BENCH:4001 --chip esp32c3 \
  write-flash 0x10000 firmware.bin
To reset a board and watch it boot over plain HTTP — no client library required:
curl -X POST http://$BENCH:8080/api/serial/reset \
  -H 'Content-Type: application/json' -d '{"slot":"SLOT1"}'
For automated tests, the TestbenchDriver Python class wraps the HTTP API:
from testbench_driver import TestbenchDriver
wt = TestbenchDriver("http://$BENCH:8080")

wt.serial_reset("SLOT1")
wt.serial_monitor("SLOT1", pattern="WiFi connected", timeout=30)

wt.ap_start("TestAP", "password123")
station = wt.wait_for_station(timeout=30)
wt.http_get(f"http://{station['ip']}/status")
To bring Claude into the full loop, copy .claude/skills/ from this repo into your firmware project and open Claude Code. Run /define to interview Claude about your product — it asks questions one at a time and produces an FSD where every requirement states how it will be proven. Then /harness to wire up CI and the test plan, /commission to prove the board is responding correctly, and /build to start the autonomous loop. For Claude Desktop, drag mcp/embedded-ai-harness-testbench.mcpb onto Settings → Extensions and enter your testbench URL.
Extending the Setup and Honest Limits
The harness supports multiple boards simultaneously. Each slot is independent — its own serial buffer, its own OpenOCD/GDB port at 3333 + slot index — so two engineers can debug different boards on the same Pi at once, or you can dedicate a second slot to a peer board for two-node protocols like MQTT.
The testbench ships its own test-firmware/ image that it builds, versions, and flashes itself. This is not a device under test — it is a counterpart the bench measures itself against: it joins the test AP, hosts one of its own, answers HTTP, and replies on a serial console. It exists because the Pi has one radio and cannot simultaneously be the access point and the station testing that AP.
Optional SDR hardware — RTL-SDR dongle plus Si5351 and PE4302 — adds 433 MHz RF coverage for over-the-air firmware update tests and RF sensor simulation.
Limits to be aware of before you commit to the setup: Only one writing serial client per board at a time — RFC2217 gives one write session, though any number of readers can follow the fan-out. The SDR is one dongle, one user. The HTTP API has no authentication, so keep the testbench on a network you trust. Finally, the newest HTTP endpoints and slash-command skills are ahead of the MCP surface; some features are accessible only through the skills, not through the 70-tool MCP server yet.
Embedded-AI-Harness is the most complete attempt yet at closing the feedback loop between an AI coding assistant and real embedded hardware, and the engineering behind the slot-based testbench and RFC2217 serial-over-network layer is genuinely solid. The setup overhead is real — a dedicated Raspberry Pi, a GitHub account wired into CI, and Claude Code with custom skills are all required before the first loop runs — so this is a tool for teams building a repeatable firmware pipeline, not for a one-off weekend project. If that matches your situation, the payoff is an autonomous agent that does not stop until the tests pass on the actual chip.
Sources
github.comSensorsIot/Embedded-AI-Harness — repository & READMEFacts in this article come from the project's public README and GitHub metadata at the time of writing. Images belong to their respective owners and link back to the original source.