ESP32-CAM_MJPEG2SD: Motion-Capture Camera with AVI Recording
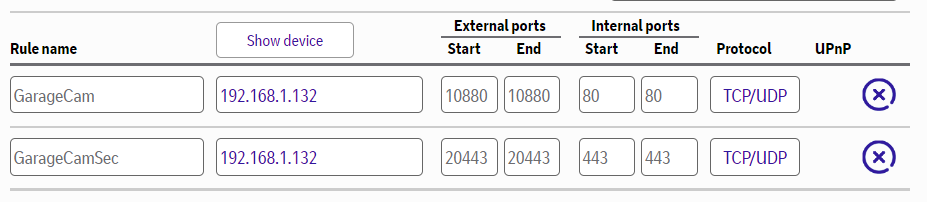
Port-forwarding configuration for accessing the camera remotely over the internet
- AI Thinker ESP32-CAM
- Freenove ESP32S3 Cam
- ESP32S3 XIAO Sense
- ESP32-S3-Cam (AI Thinker style)
- Waveshare ESP32-S3-ETH
- OV2640 camera module
- OV3660 camera module
- OV5640 camera module
- PY260 camera module
- MicroSD card (Sandisk SDHC recommended)
- HC-SR501 PIR sensor
- CWL-0516 microwave radar
- I2S / PDM microphone
- SG90 servo
- MX1508 H-bridge
- 28BYJ-48 stepper motor
- HW-504 joystick
- MPU6050 accelerometer
- MPU9250 IMU
- BMP280 / BME280 sensor
- SSD1306 OLED display
- LCD1602 display
- WS2812 / SK6812 / MY9221 LEDs
- W5500 Ethernet controller
What You Will Build
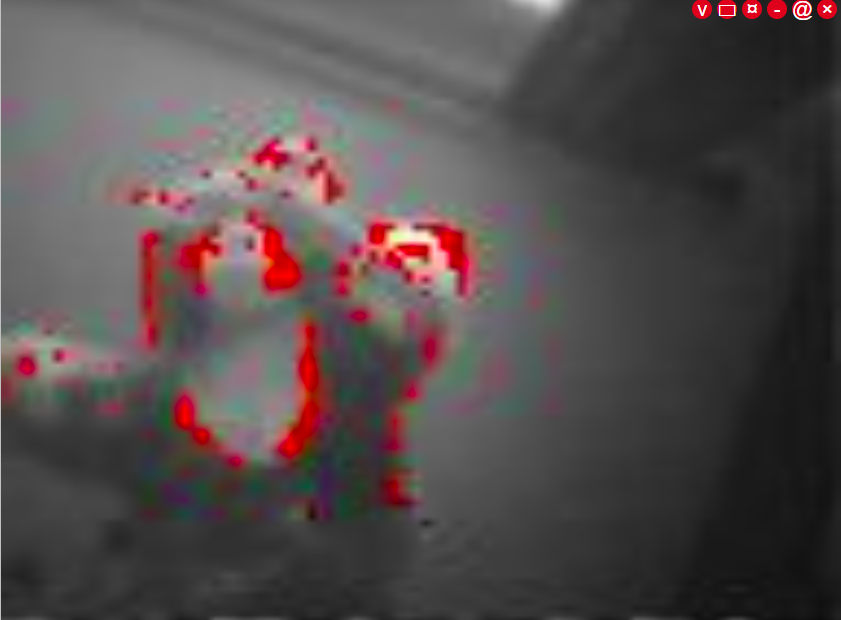
ESP32-CAM_MJPEG2SD transforms a low-cost ESP32 or ESP32S3 camera board into a fully self-contained motion-capture recorder. When motion is detected — by the camera's own pixel-difference algorithm, a PIR sensor (HC-SR501), a microwave radar module (CWL-0516), or an I2C accelerometer such as the MPU6050 — the firmware begins writing JPEG frames to the SD card, bundled into a correctly timed AVI file. If a microphone is attached, a WAV audio track is embedded in the same file. Between events the device streams a live MJPEG feed to any browser tab, and recordings can be retrieved over FTP, HTTPS, WebDAV, or a direct browser download.
The README lists practical use cases: security cameras, wildlife monitoring, rocket flight recording, and FPV vehicle control. The project is actively maintained, with release 10.9.9 published in October 2026.
 \2
\2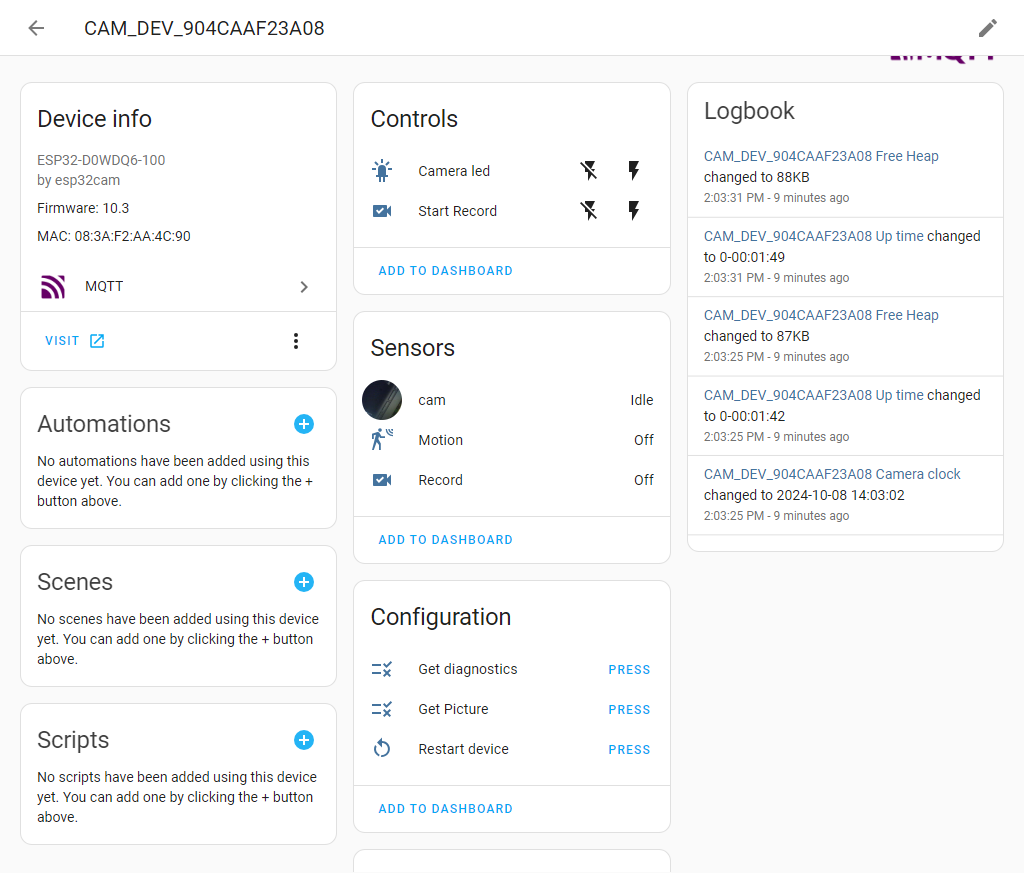 \2
\2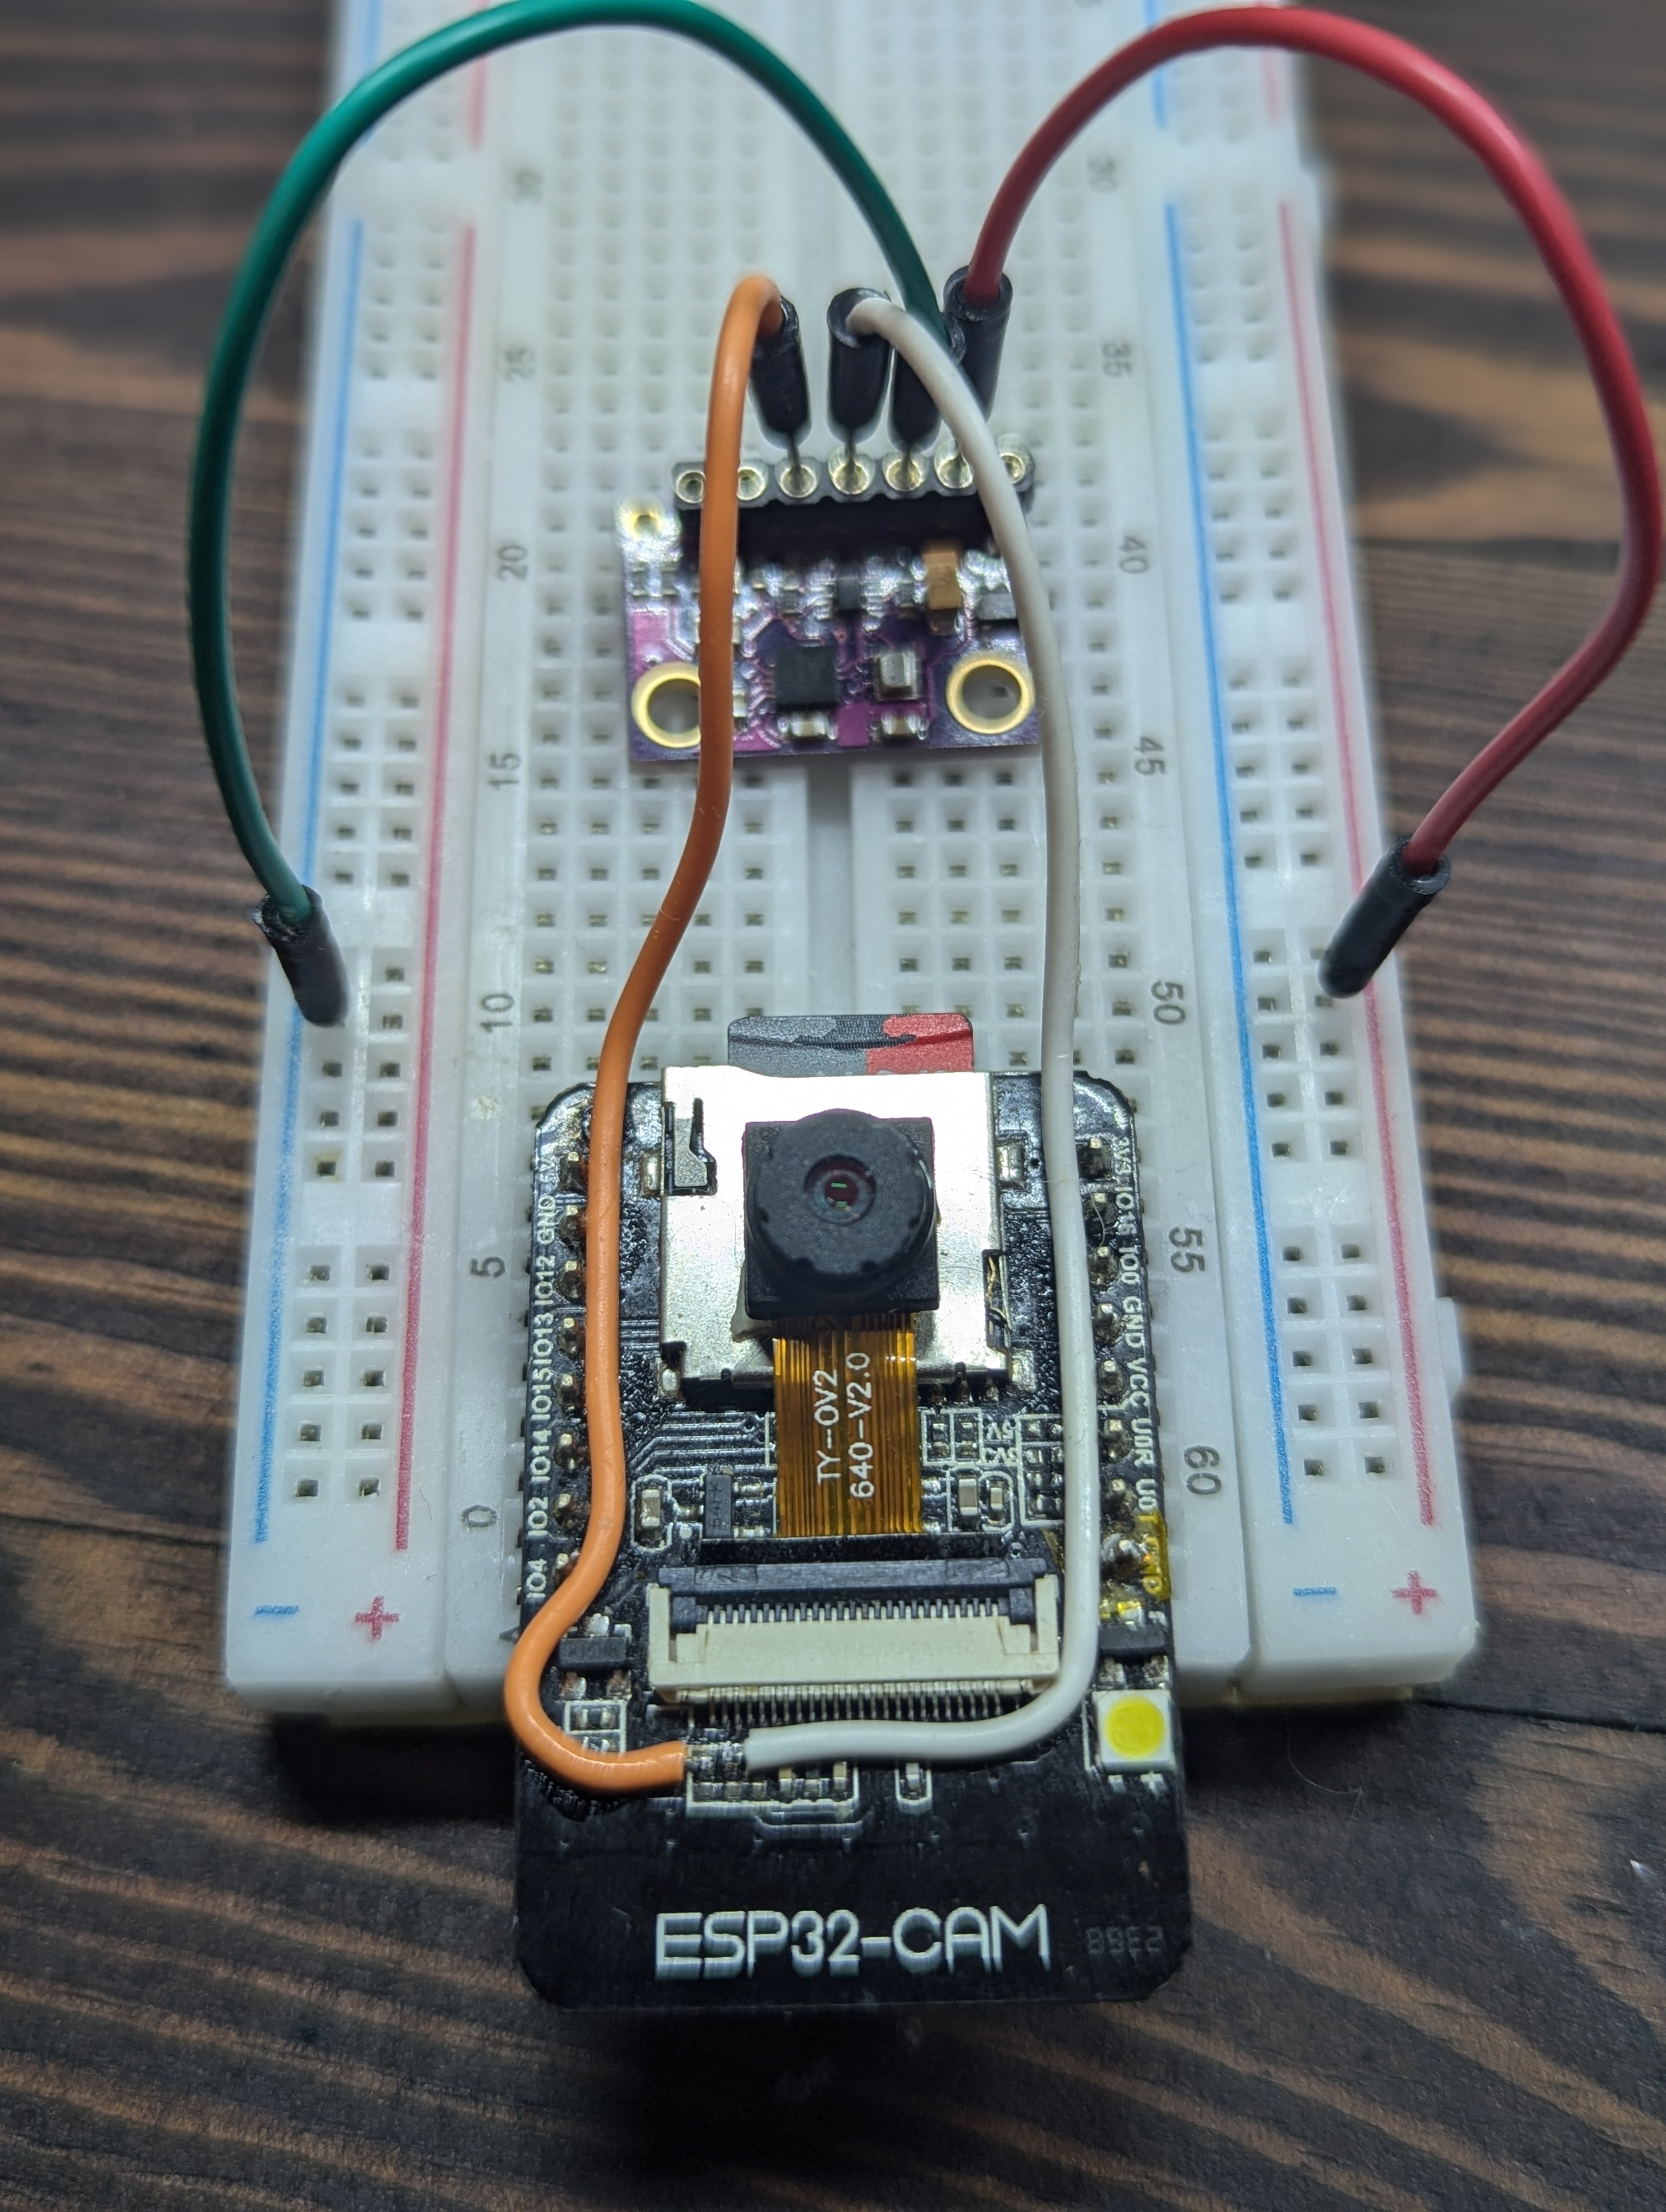 \2
\2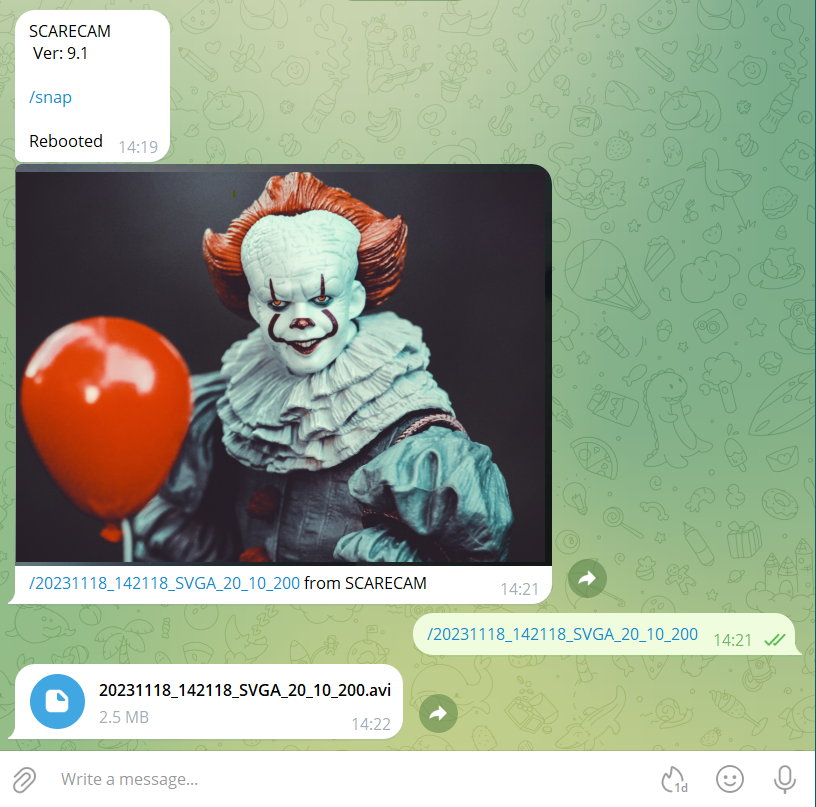 \2
\2What You Need
Supported boards (pick one):
- AI Thinker ESP32-CAM — default
CAMERA_MODEL_AI_THINKER - Freenove ESP32S3 Cam — default
CAMERA_MODEL_FREENOVE_ESP32S3_CAM - ESP32S3 XIAO Sense or ESP32-S3-Cam (AI Thinker style)
- Waveshare ESP32-S3-ETH for wired Ethernet
The README recommends an ESP32S3 board for full feature support; the original ESP32 runs out of heap with too many options enabled at once. Avoid no-name boards marked ESPS3 RE:1.0 — the README explicitly warns against them.
Cameras: OV2640, OV3660, OV5640 (auto-focus supported), or PY260.
Storage: SD card quality matters significantly. A genuine Sandisk 4 GB SDHC Class 2 card was three times faster in testing than a no-name Class 6 card. Use a real Sandisk card for best recording rates.
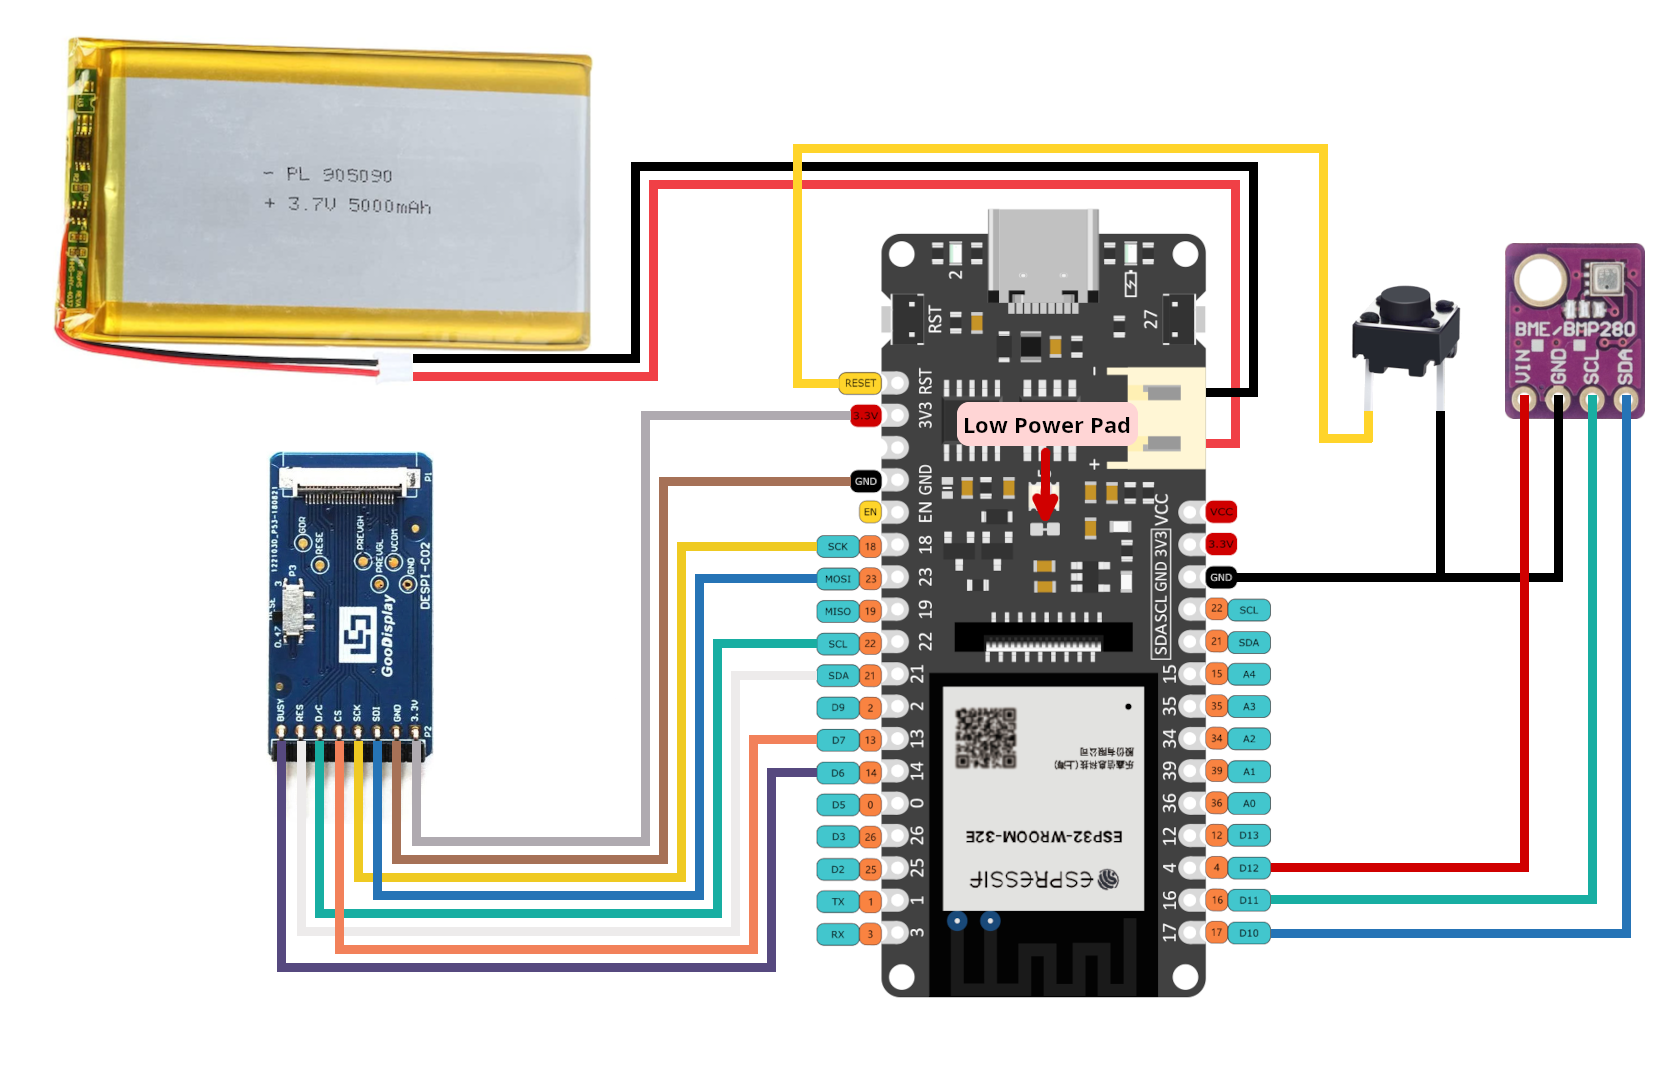
Optional hardware (all described in the README): HC-SR501 PIR or CWL-0516 radar for external motion triggering; I2S or PDM microphone for audio; SG90 servos for pan/tilt; MX1508 H-bridge or 28BYJ-48 stepper for vehicle drive; HW-504 joystick; BMP280, BME280, MPU6050, MPU9250 sensors; SSD1306 or LCD1602 displays; WS2812, SK6812, or MY9221 LEDs; W5500 Ethernet controller (ESP32S3 only).
Software: Arduino IDE with arduino-esp32 core v3.1.1 or later. The web UI is only fully tested on Chrome.
Typical use cases
Mount the board indoors or outdoors and let motion detection trigger timestamped AVI recordings. Transfer clips automatically to a NAS or remote server over FTP or WebDAV.
Pair a PIR sensor with the camera for efficient triggered recording in the field. The SD card stores days of footage without any network connection required.
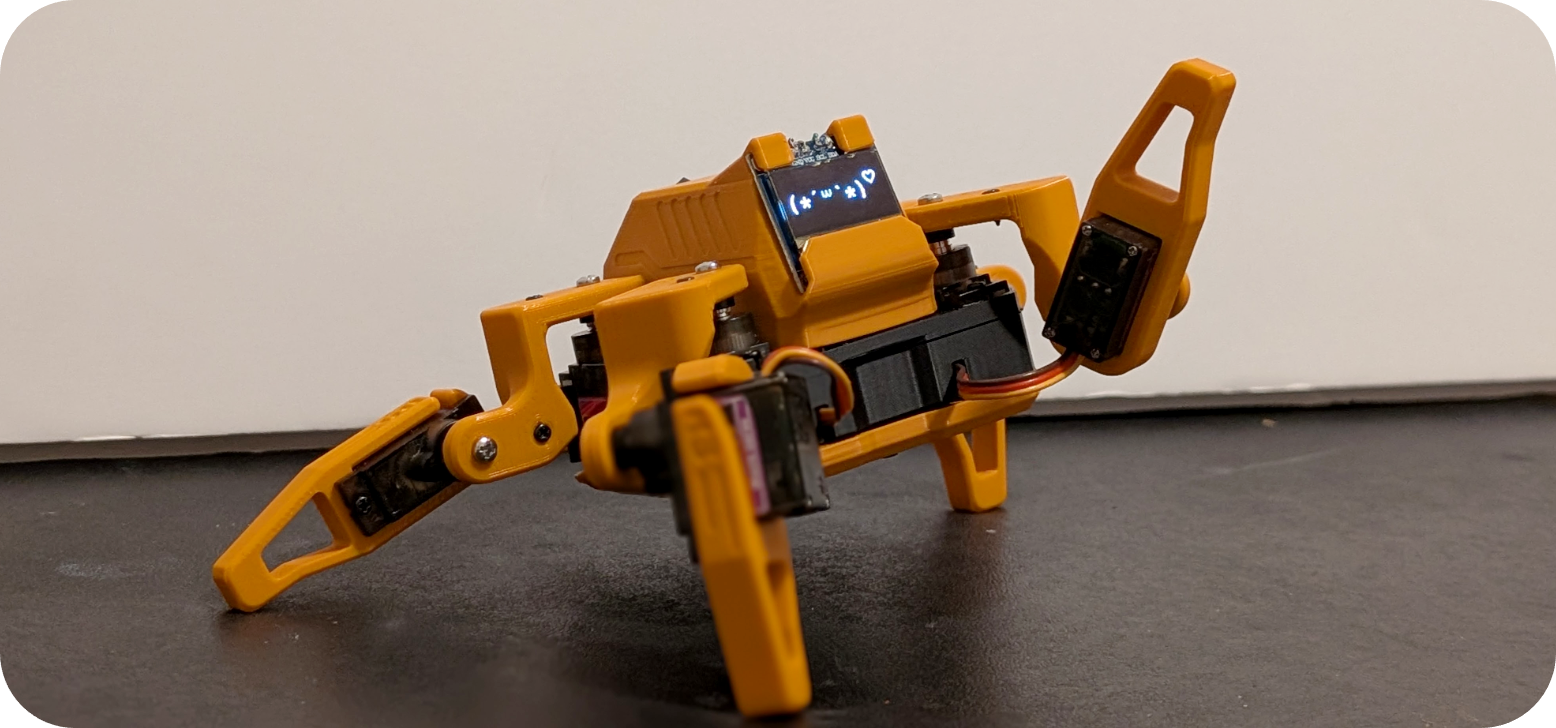
Stream live MJPEG video to a browser while controlling a rover remotely using the built-in Remote Control page, H-bridge motor driver, and stepper motor support.
Record video alongside telemetry data during rocket launches or timed events. Telemetry is embedded in the AVI file and flagged by the _M suffix in the filename.
How It Works
The firmware uses the board's PSRAM (4 MB on ESP32, 8 MB on most ESP32S3 boards) as a large frame buffer. Incoming JPEG frames accumulate in RAM until a sector-aligned burst write to the SD card can be made, reducing write count and maximising throughput. AVI files are named with a date-time stamp plus metadata — for example, 20200130_201015_VGA_15_60.avi encodes the date, time, resolution (VGA), frame rate (15 fps), and duration (60 s). Suffixes flag extras: _S for audio, _M for telemetry, _T for time-lapse, and _C for dashcam clips. Files land in per-day folders named YYYYMMDD.
On the ESP32, the SD card runs in MMC 1-line mode by default — this frees pin 4 (the onboard lamp) and pin 12 for peripherals such as a PIR. On the ESP32S3, switching to MMC 4-line mode roughly doubles SD write speed.
Motion detection measures pixel differences between successive frames. Detection latency ranges from 15 ms at 96×96 resolution up to 450 ms at UXGA. External sensors bypass image analysis entirely and trigger recording through a GPIO pin held high by the sensor's active-high output.
Build and Flash Steps
1. Get the code. Download the repository from GitHub and place the folder in your Arduino sketchbook directory. Remove -master from the folder name so the sketch compiles correctly.
2. Update the arduino-esp32 core. Open the Arduino IDE Boards Manager and install or update the ESP32 board package to at least v3.1.1. Compilation errors almost always indicate an outdated core.
3. Select your board. Open ESP32-CAM_MJPEG2SD.h. The two most common boards are already active as defaults: CAMERA_MODEL_AI_THINKER for the ESP32-CAM and CAMERA_MODEL_FREENOVE_ESP32S3_CAM for the Freenove ESP32S3. For any other board, uncomment exactly ONE matching #define CAMERA_MODEL_* line. For example, for the Waveshare Ethernet board:
#define CAMERA_MODEL_Waveshare_ESP32_S3_ETH
4. Enable optional features. In the same header, set the relevant #define INCLUDE_* to true for each feature you want. For example, to add FTP and HTTPS upload:
#define INCLUDE_FTP_HFS true
5. Configure the Arduino IDE. Select ESP32 Dev Module (for ESP32) or ESP32S3 Dev Module (for ESP32S3). Enable PSRAM. Choose the correct partition scheme:
| Board | Partition scheme |
|---|---|
| ESP32 | Minimal SPIFFS (…) |
| ESP32S3 | 8M with spiffs (…) or 16MB (3MB APP…) |
6. Compile and flash. On first boot the device starts as a Wi-Fi access point with SSID ESP-CAM_MJPEG_.... Connect to it and open 192.168.4.1 in Chrome. Enter your router SSID and password. The device joins your network and automatically downloads the web UI files from GitHub to the SD card /data folder.
7. Subsequent updates. Use the OTA Upload tab in the web UI to push new firmware wirelessly — no USB cable needed after the initial flash.
Common errors to watch for:
Startup Failure: Check SD card inserted— usually a wrong board model selected in the header.Camera init error 0x105— also typically a board selection mismatch.Crash loop detected, check log— almost always an inadequate power supply.
Ideas to Extend It and Limitations
Extensions the README supports out of the box:
- Telegram or email alerts — The device sends a snapshot the moment motion fires. Enable the Telegram bot feature and supply a bot token and chat ID in the web UI.
- Home Assistant and MQTT — The firmware publishes state over MQTT and appears as a native device in Home Assistant.
- Pan/tilt and remote vehicle control — Wire SG90 servos to a pan/tilt head and steer an MX1508 H-bridge or 28BYJ-48 stepper-driven vehicle from the browser's Remote Control page.
- RTSP streaming — Feed video, audio, and subtitle tracks simultaneously to a network video recorder or VLC while local recording continues.
- Machine learning — The firmware exposes an interface for running TinyML inference on the live camera stream.
- Camera Hub — One device can aggregate live views from multiple other ESP32-CAM_MJPEG2SD nodes on the same local network.
- Photogrammetry — A timed still-capture mode produces image sets suitable for 3D reconstruction software.
- Wired Ethernet — ESP32S3 boards with built-in Ethernet or an external W5500 can run in quiet mode with Wi-Fi fully disabled.
Limitations to be aware of:
The original ESP32 (non-S3) runs out of heap when too many features are enabled simultaneously; the README strongly recommends the ESP32S3 for serious deployments. Even the ESP32S3 is limited to around 10 fps at UXGA resolution when audio is active. Clone boards with non-standard PSRAM sizes behave unpredictably — the README explicitly flags this. The web UI is tested on Chrome only, so other browsers may have issues.
ESP32-CAM_MJPEG2SD is one of the most complete camera firmware projects available for the ESP32 platform, covering motion-triggered recording, RTSP streaming, MQTT and Home Assistant integration, remote vehicle control, and TinyML inference from a single codebase. Setup requires comfort with the Arduino IDE, careful board selection, and a quality SD card, but the result is a production-capable surveillance or monitoring device at minimal hardware cost. For full feature access, use an ESP32S3 board — the original ESP32 exhausts available heap before all options can run together.
Sources
github.coms60sc/ESP32-CAM_MJPEG2SD — repository & READMEFacts in this article come from the project's public README and GitHub metadata at the time of writing. Images belong to their respective owners and link back to the original source.