ESP32CAM-RTSP: RTSP & MJPEG Streaming Server Firmware
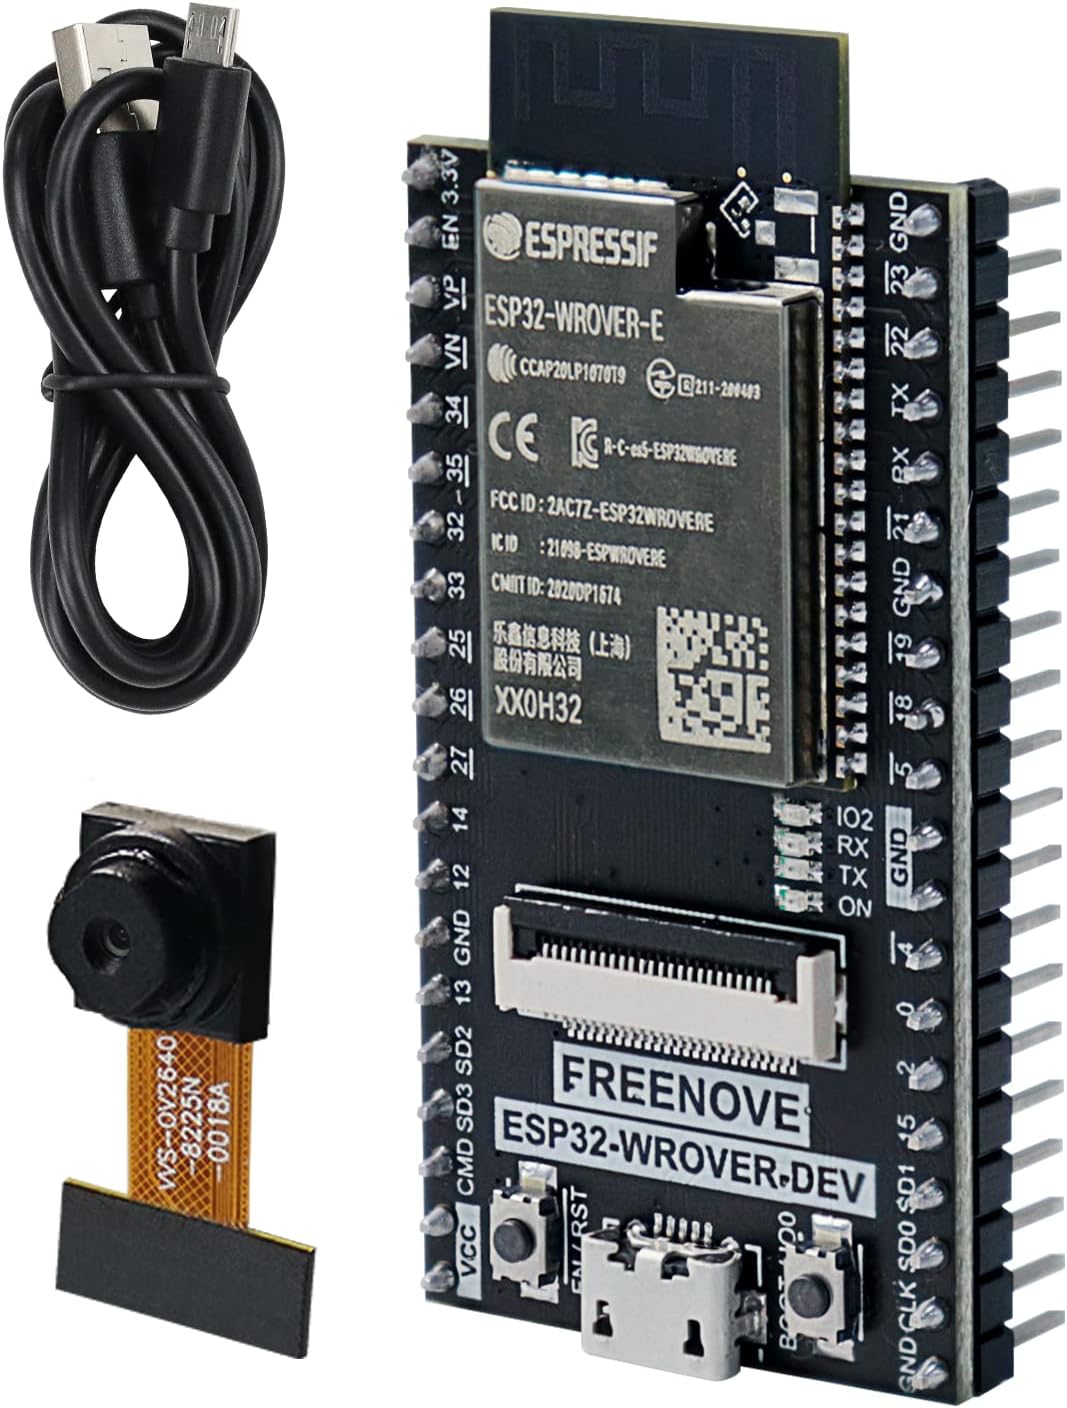
Espressif ESP32-Wrover CAM with OV2640 camera and 8 MB PSRAM
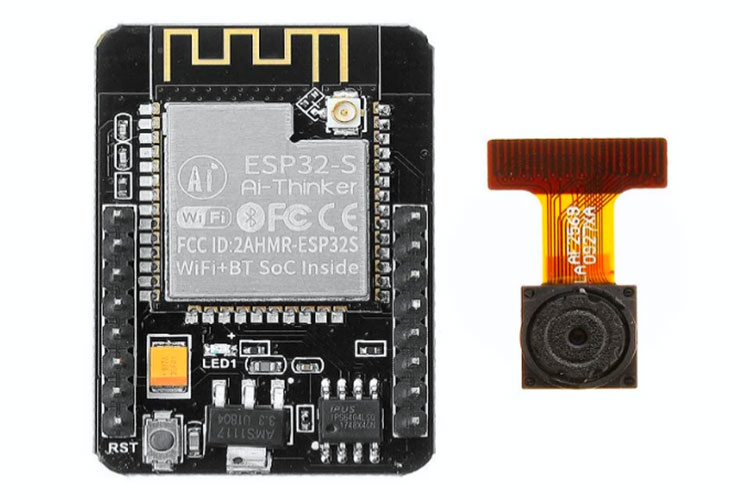
- AI-Thinker ESP32-CAM
- Espressif ESP32-Wrover CAM
- ESP32-S3-CAM V3 (Type-C)
- Espressif ESP-EYE
- Espressif ESP32S3-EYE
- M5Stack ESP32CAM
- M5Stack UnitCam
- M5Stack UnitCamS3
- Seeed Studio XIAO ESP32S3 Sense
- TTGO T-Camera
- TTGO T-Journal
- LilyGo camera module
- Freenove WROVER KIT
- USB-to-Serial TTL adapter or ESP32-CAM-MB piggyback board
- OV2640 camera (built into supported modules)
What You Will Build and Why
After flashing esp32cam-rtsp, your ESP32-CAM module becomes a self-contained streaming camera server that speaks three protocols at once.
- RTSP — compatible with VLC, ffmpeg, most CCTV software, and NVR systems. Video is encoded as Motion-JPEG (RTP payload 26) and transported over RTP/UDP by default, or RTP/RTSP/TCP if preferred. Boards with an onboard microphone (such as the Seeed Studio XIAO ESP32S3 Sense) can also stream G.711 a-law audio alongside the video.
- HTTP Motion JPEG — viewable directly in any web browser.
- HTTP Snapshot — returns a single JPEG frame on demand.
A built-in configuration web server lets you set Wi-Fi credentials, resolution, frame rate, JPEG quality, and dozens of camera parameters — brightness, contrast, saturation, white balance, exposure, gain, lens correction, and more — all from a browser without touching a line of code. An mDNS server advertises the device on your local network on both HTTP (port 80) and RTSP (port 554), so you can discover it without manually hunting for its IP address. Over-the-air (OTA) firmware updates are also supported, so once the board is on your Wi-Fi you can reflash it wirelessly from PlatformIO or the Arduino IDE.
 \2
\2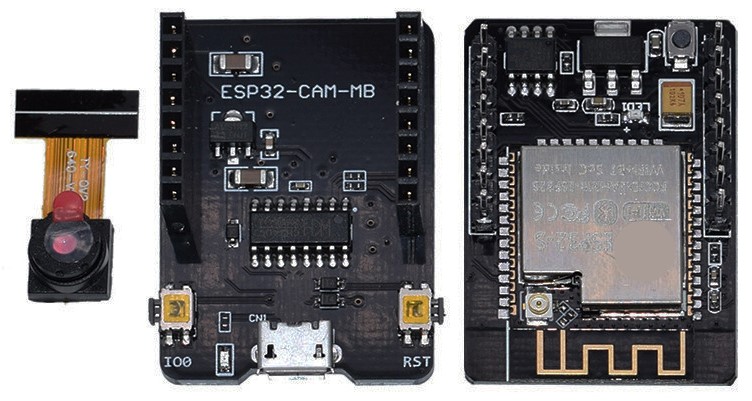 \2
\2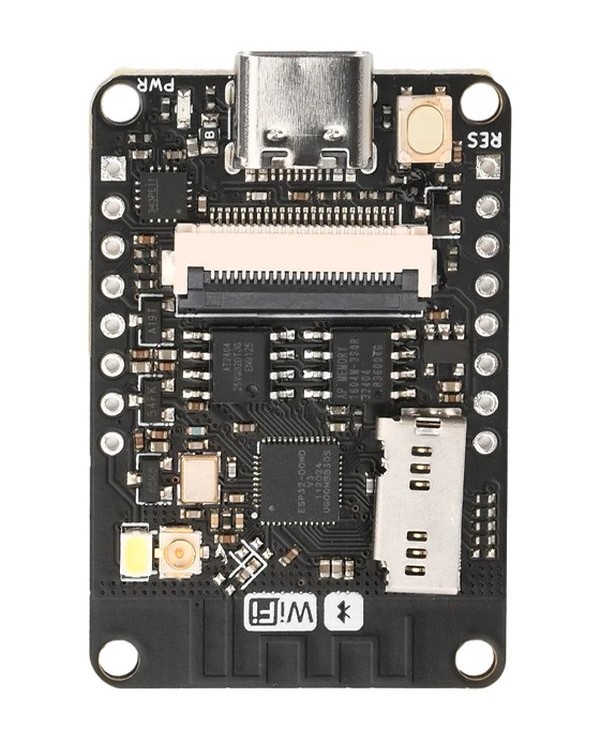 \2
\2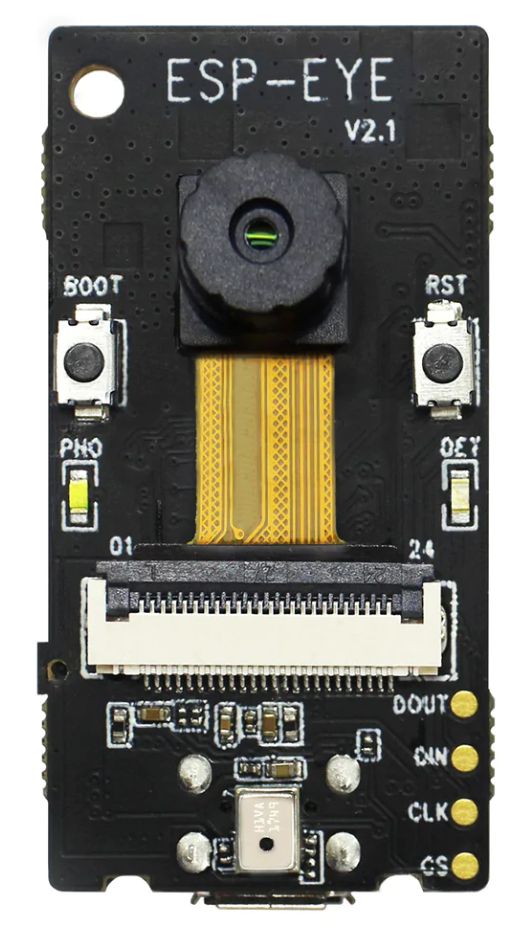 \2
\2Hardware and Software You Need
Hardware
- One supported ESP32-CAM module. Popular choices include the AI-Thinker ESP32-CAM (ESP32, 4 MB PSRAM, OV2640) and the ESP32-S3-CAM V3 (ESP32-S3R8, 8 MB PSRAM, OV2640/OV3660, USB-C). The full list of supported boards — including M5Stack, TTGO, LilyGo, Espressif ESP-EYE, Freenove WROVER KIT, and Seeed Studio XIAO ESP32S3 Sense — is in the README's board table.
- A way to get firmware onto the board:
- USB-C cable for modules with a built-in USB-C port (e.g., ESP32-S3-CAM V3) — no adapter needed.
- USB-to-Serial TTL adapter set to 3.3 V for older modules without USB-C. The 3.3 V setting is mandatory; 5 V will damage the board.
- ESP32-CAM-MB piggyback board as a convenient alternative to an FTDI adapter for AI-Thinker style modules.
- A Wi-Fi network that both the camera and your viewing device can reach.
Software
- Git to clone the repository.
- Visual Studio Code with the PlatformIO extension installed, or just the PlatformIO CLI. PlatformIO handles all library and toolchain dependencies automatically.
Typical use cases
Mount any supported ESP32-CAM module and point your NVR, CCTV software, or VLC at the RTSP stream for an inexpensive, self-contained wireless camera.
Feed the RTSP or Motion JPEG stream directly into Home Assistant, Frigate, or similar platforms for motion detection, recording, and smart home integration.
Stream to ffmpeg on a local server to record footage to disk, generate time-lapses, or re-encode to a more efficient format — no extra hardware needed.
Poll the HTTP snapshot endpoint at intervals to retrieve a single JPEG frame, keeping bandwidth low for remote monitoring over constrained connections.
Putting Your ESP32-CAM in Download Mode
The exact procedure depends on how your board connects to your computer.
USB Type-C boards (e.g., ESP32-S3-CAM V3): Connect a USB-C cable. The board normally enters download mode automatically. If an upload fails, hold BOOT, press and release RESET, then release BOOT.
ESP32-CAM-MB piggyback board: Hold the GPIO0 button on the MB board. While holding it, briefly press the reset button on the ESP32-CAM module, then release GPIO0.
FTDI adapter: Set the adapter to 3.3 V before making any connections. Wire it to the ESP32-CAM according to the wiring diagram in the repository (assets/ESP32CAM-to-FTDI.png). After flashing, remove the wire from GPIO0 to exit download mode, then press reset to reboot normally.
Building and Flashing the Firmware
Open a terminal, clone the repository, and enter the project directory:
git clone https://github.com/rzeldent/esp32cam-rtsp.git
cd esp32cam-rtsp
Update the Espressif platform toolchain:
pio pkg update -g -p espressif32
Build firmware for all supported boards:
pio run
If only a specific target is required, for example the esp32cam_ttgo_t_journal type:
pio run -e esp32cam_ttgo_t_journal
With the board in download mode, flash the firmware. For a specific target such as esp32cam_ai_thinker:
pio run -t upload -e esp32cam_ai_thinker
When flashing completes, remove the FTDI GPIO0 jumper (or press the reset button on the board) to reboot into normal mode. Open the serial monitor to watch startup output:
pio device monitor
Visual Studio Code users can run the same build and upload steps through Terminal → Run Task (or Ctrl+Alt+T) using the PlatformIO tasks listed in the panel.
First-Time Setup and Connecting to Streams
On first boot, the firmware starts as a Wi-Fi access point. Connect your phone or laptop to that access point, then open a browser and navigate to the configuration web server address shown in the serial monitor. Enter your Wi-Fi SSID and password, choose your desired resolution, frame rate, JPEG quality, and any camera options, then save. The device reboots and joins your network.
Once it is online, open VLC and go to Media → Open Network Stream, then enter the RTSP URL: rtsp://<ip address>:554/mjpeg/1
To watch the Motion JPEG stream in a browser, navigate to http://<ip address>/stream.
To grab a single still frame, request http://<ip address>/snapshot.
If you enabled RTSP authentication in the web interface, clients must supply credentials either in the URL or when prompted by the player. The configuration page also shows the current state of the device, Wi-Fi connection, and camera, so it doubles as a status dashboard.
Going Further and Known Limitations
Ideas to extend the build
- Record to disk: Pipe the RTSP stream through ffmpeg on a home server to save continuous footage or time-lapse recordings without any extra hardware.
- Integrate with an NVR: Platforms such as Home Assistant Frigate and similar CCTV software accept RTSP URLs directly, so the camera slots into an existing security or automation setup with minimal configuration.
- OTA updates: After the initial wired flash, push new firmware wirelessly from PlatformIO or the Arduino IDE — no cables or download mode required for subsequent updates.
- Audio: If your board has a microphone (e.g., Seeed Studio XIAO ESP32S3 Sense), G.711 a-law audio streams alongside the video in the RTSP feed automatically.
- Newer boards: A
developbranch in the repository adds support for boards not yet inmain, including the Seeed Studio XIAO ESP32S3. It may be ahead of the stable release; the project welcomes feedback and testing.
Limitations to keep in mind
- Resolution and frame rate are bounded by the ESP32's processing power and available PSRAM. Boards without PSRAM will cap out at lower settings.
- The stream uses Motion-JPEG rather than H.264, so bandwidth consumption is higher than a modern codec would require — plan accordingly for Wi-Fi range and router load.
- There are 14 open issues in the repository at the time of writing; check the GitHub issue tracker before assuming a problem is unique to your hardware or setup.
esp32cam-rtsp is a mature, actively maintained firmware project that covers the full streaming stack — RTSP, HTTP Motion JPEG, HTTP snapshots, and OTA updates — across an unusually broad range of ESP32-CAM boards. The browser-based configuration interface removes the need to touch any code for most deployments, making it accessible to beginners while remaining practical for more advanced integrations with NVR systems and ffmpeg pipelines. The Motion-JPEG codec and ESP32 hardware constraints mean it is best suited to local network use rather than high-resolution or low-latency applications, but within those limits it delivers a solid, plug-and-stream experience.
Sources
github.comrzeldent/esp32cam-rtsp — repository & READMEFacts in this article come from the project's public README and GitHub metadata at the time of writing. Images belong to their respective owners and link back to the original source.