ESPTimeCast: Build a WiFi LED Matrix Clock and Weather Display
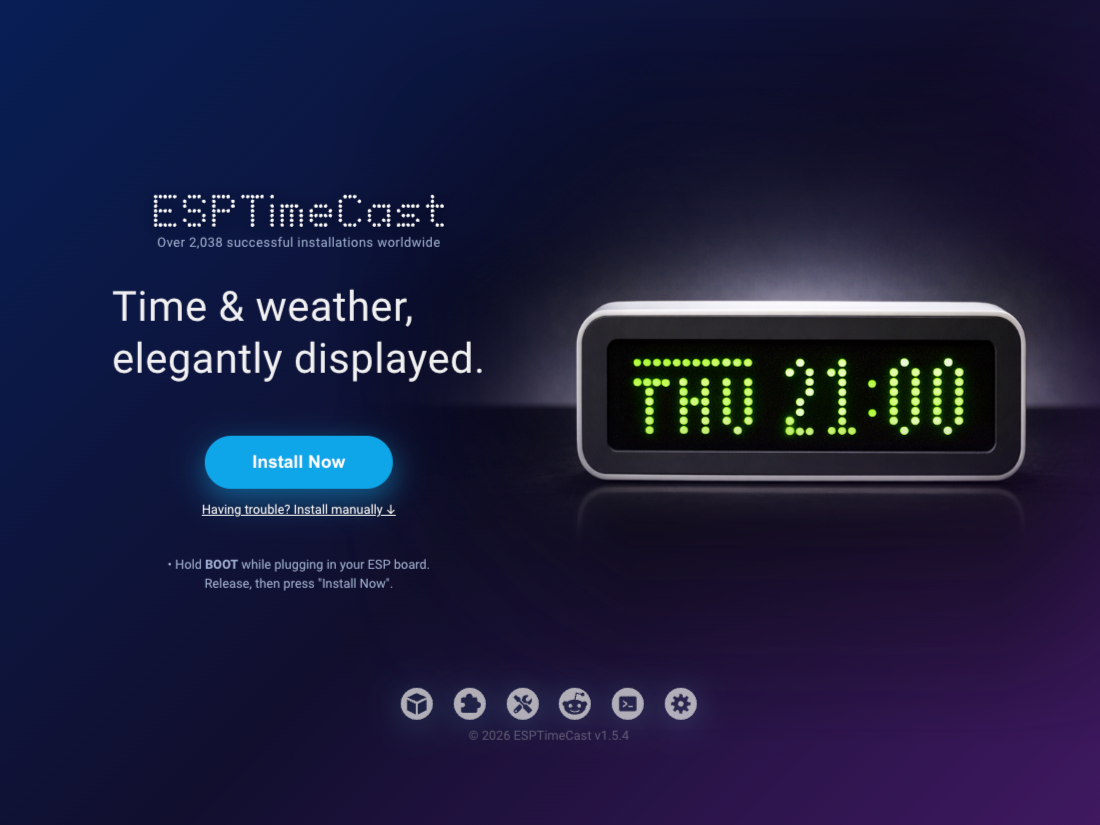
The ESPTimeCast web installer flashes firmware directly from your browser over USB — no IDE or drivers needed.
- ESP8266 Wemos D1 Mini
- ESP8266 ESP12-F
- ESP32 Dev Module
- ESP32-C3 SuperMini
- ESP32-S2 Wemos S2 Mini
- ESP32-S2 Adafruit ESP32-S2 Feather
- ESP32-S3 WROOM-1
- ESP32-S3 SuperMini
- ESP32-S3-Zero
- MAX7219 8×32 LED matrix module
What You Will Build
ESPTimeCast is a compact desk display that shows the current time, date, and live weather data on an 8×32 MAX7219 LED matrix. It syncs time automatically over NTP, pulls temperature, humidity, and conditions from OpenWeatherMap, and gives you a browser-based interface to control every setting — brightness, timezone, 12/24-hour format, metric or imperial units, custom scroll messages, alarms, countdowns, and more.
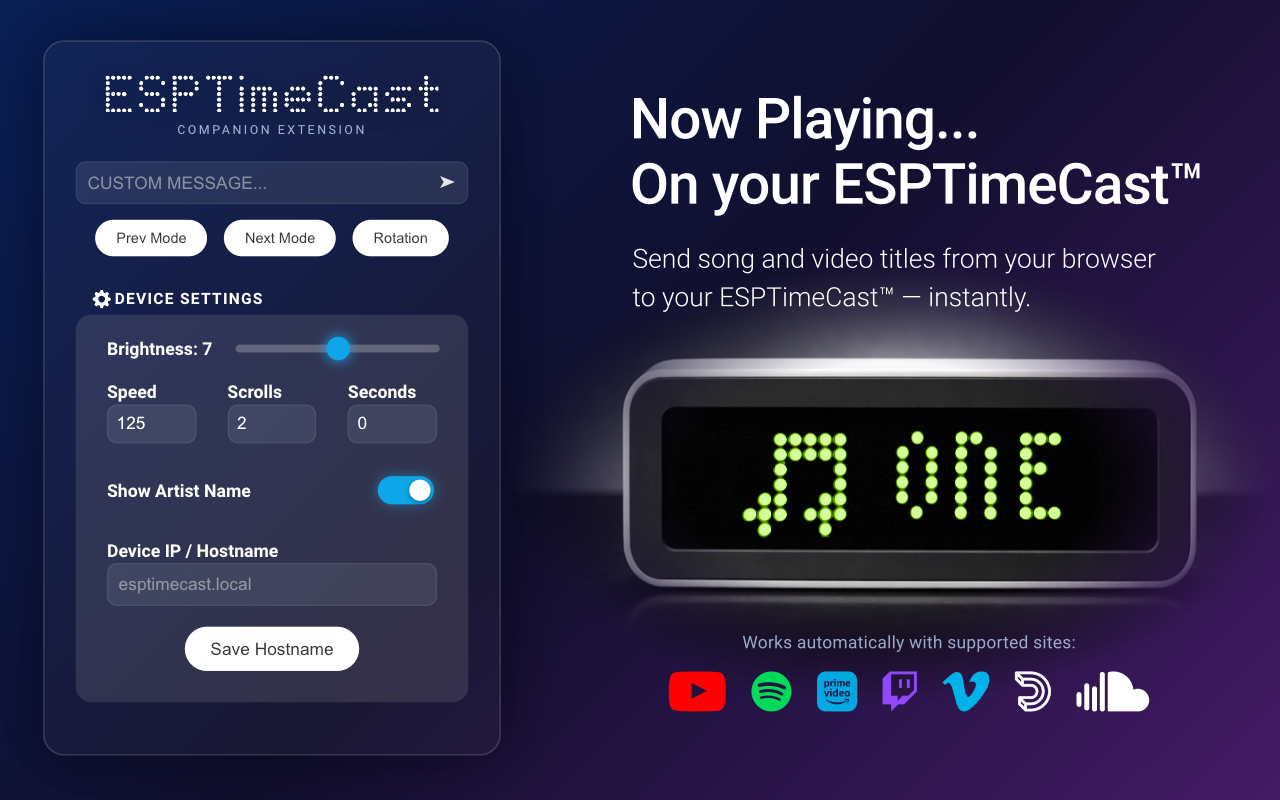
Beyond being a clock, the device exposes an HTTP API that works with Home Assistant and other automation tools. An optional browser extension can detect what you are watching on YouTube, Spotify, Twitch, and other platforms and scroll the title across the display in real time. This project is well-suited for a desk, workbench, kitchen counter, or any spot where a glanceable info display would be useful.
 \2
\2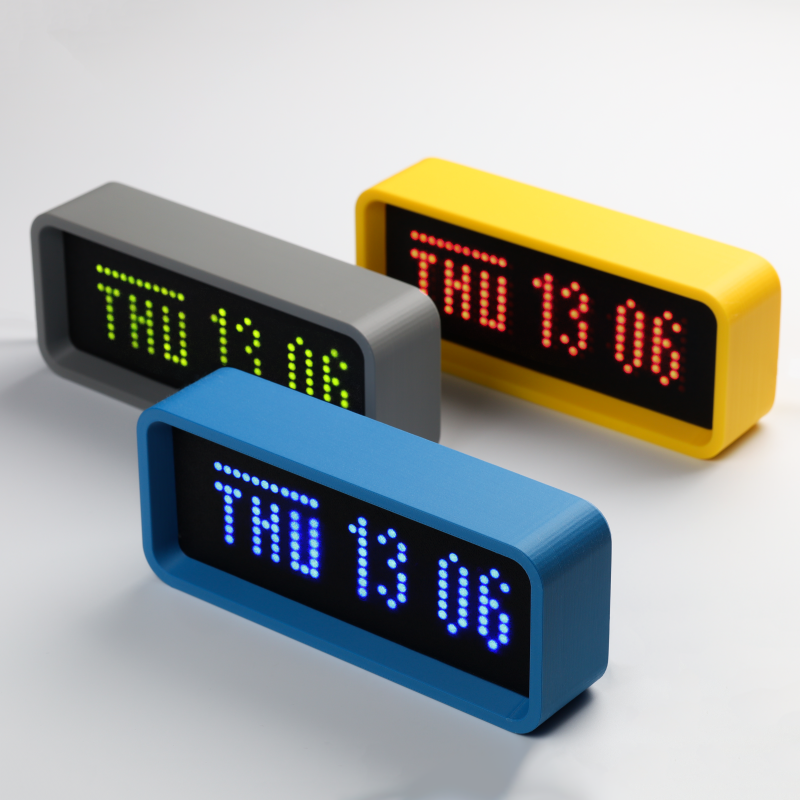 \2
\2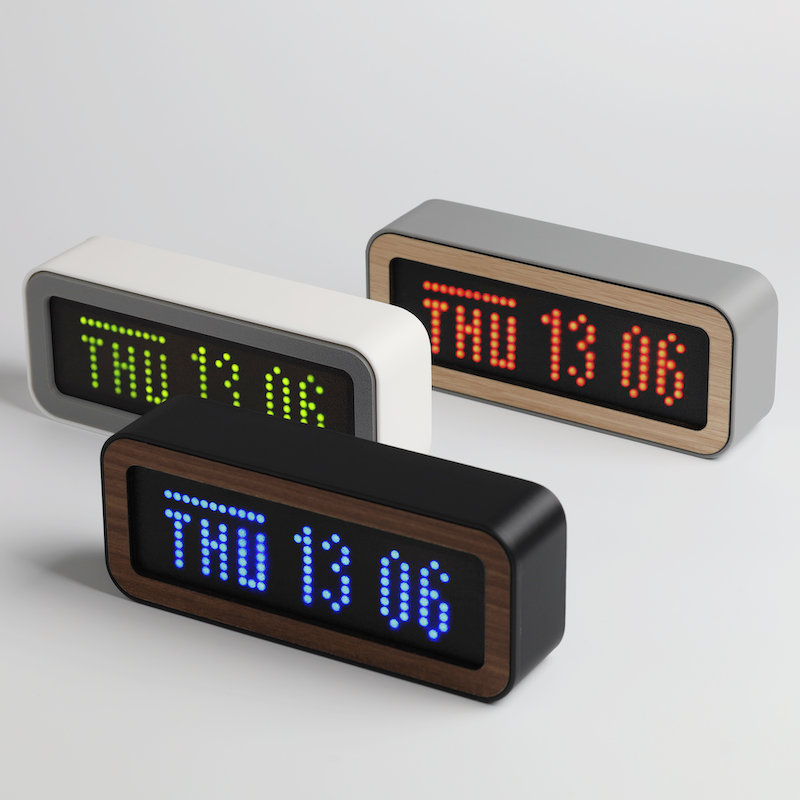 \2
\2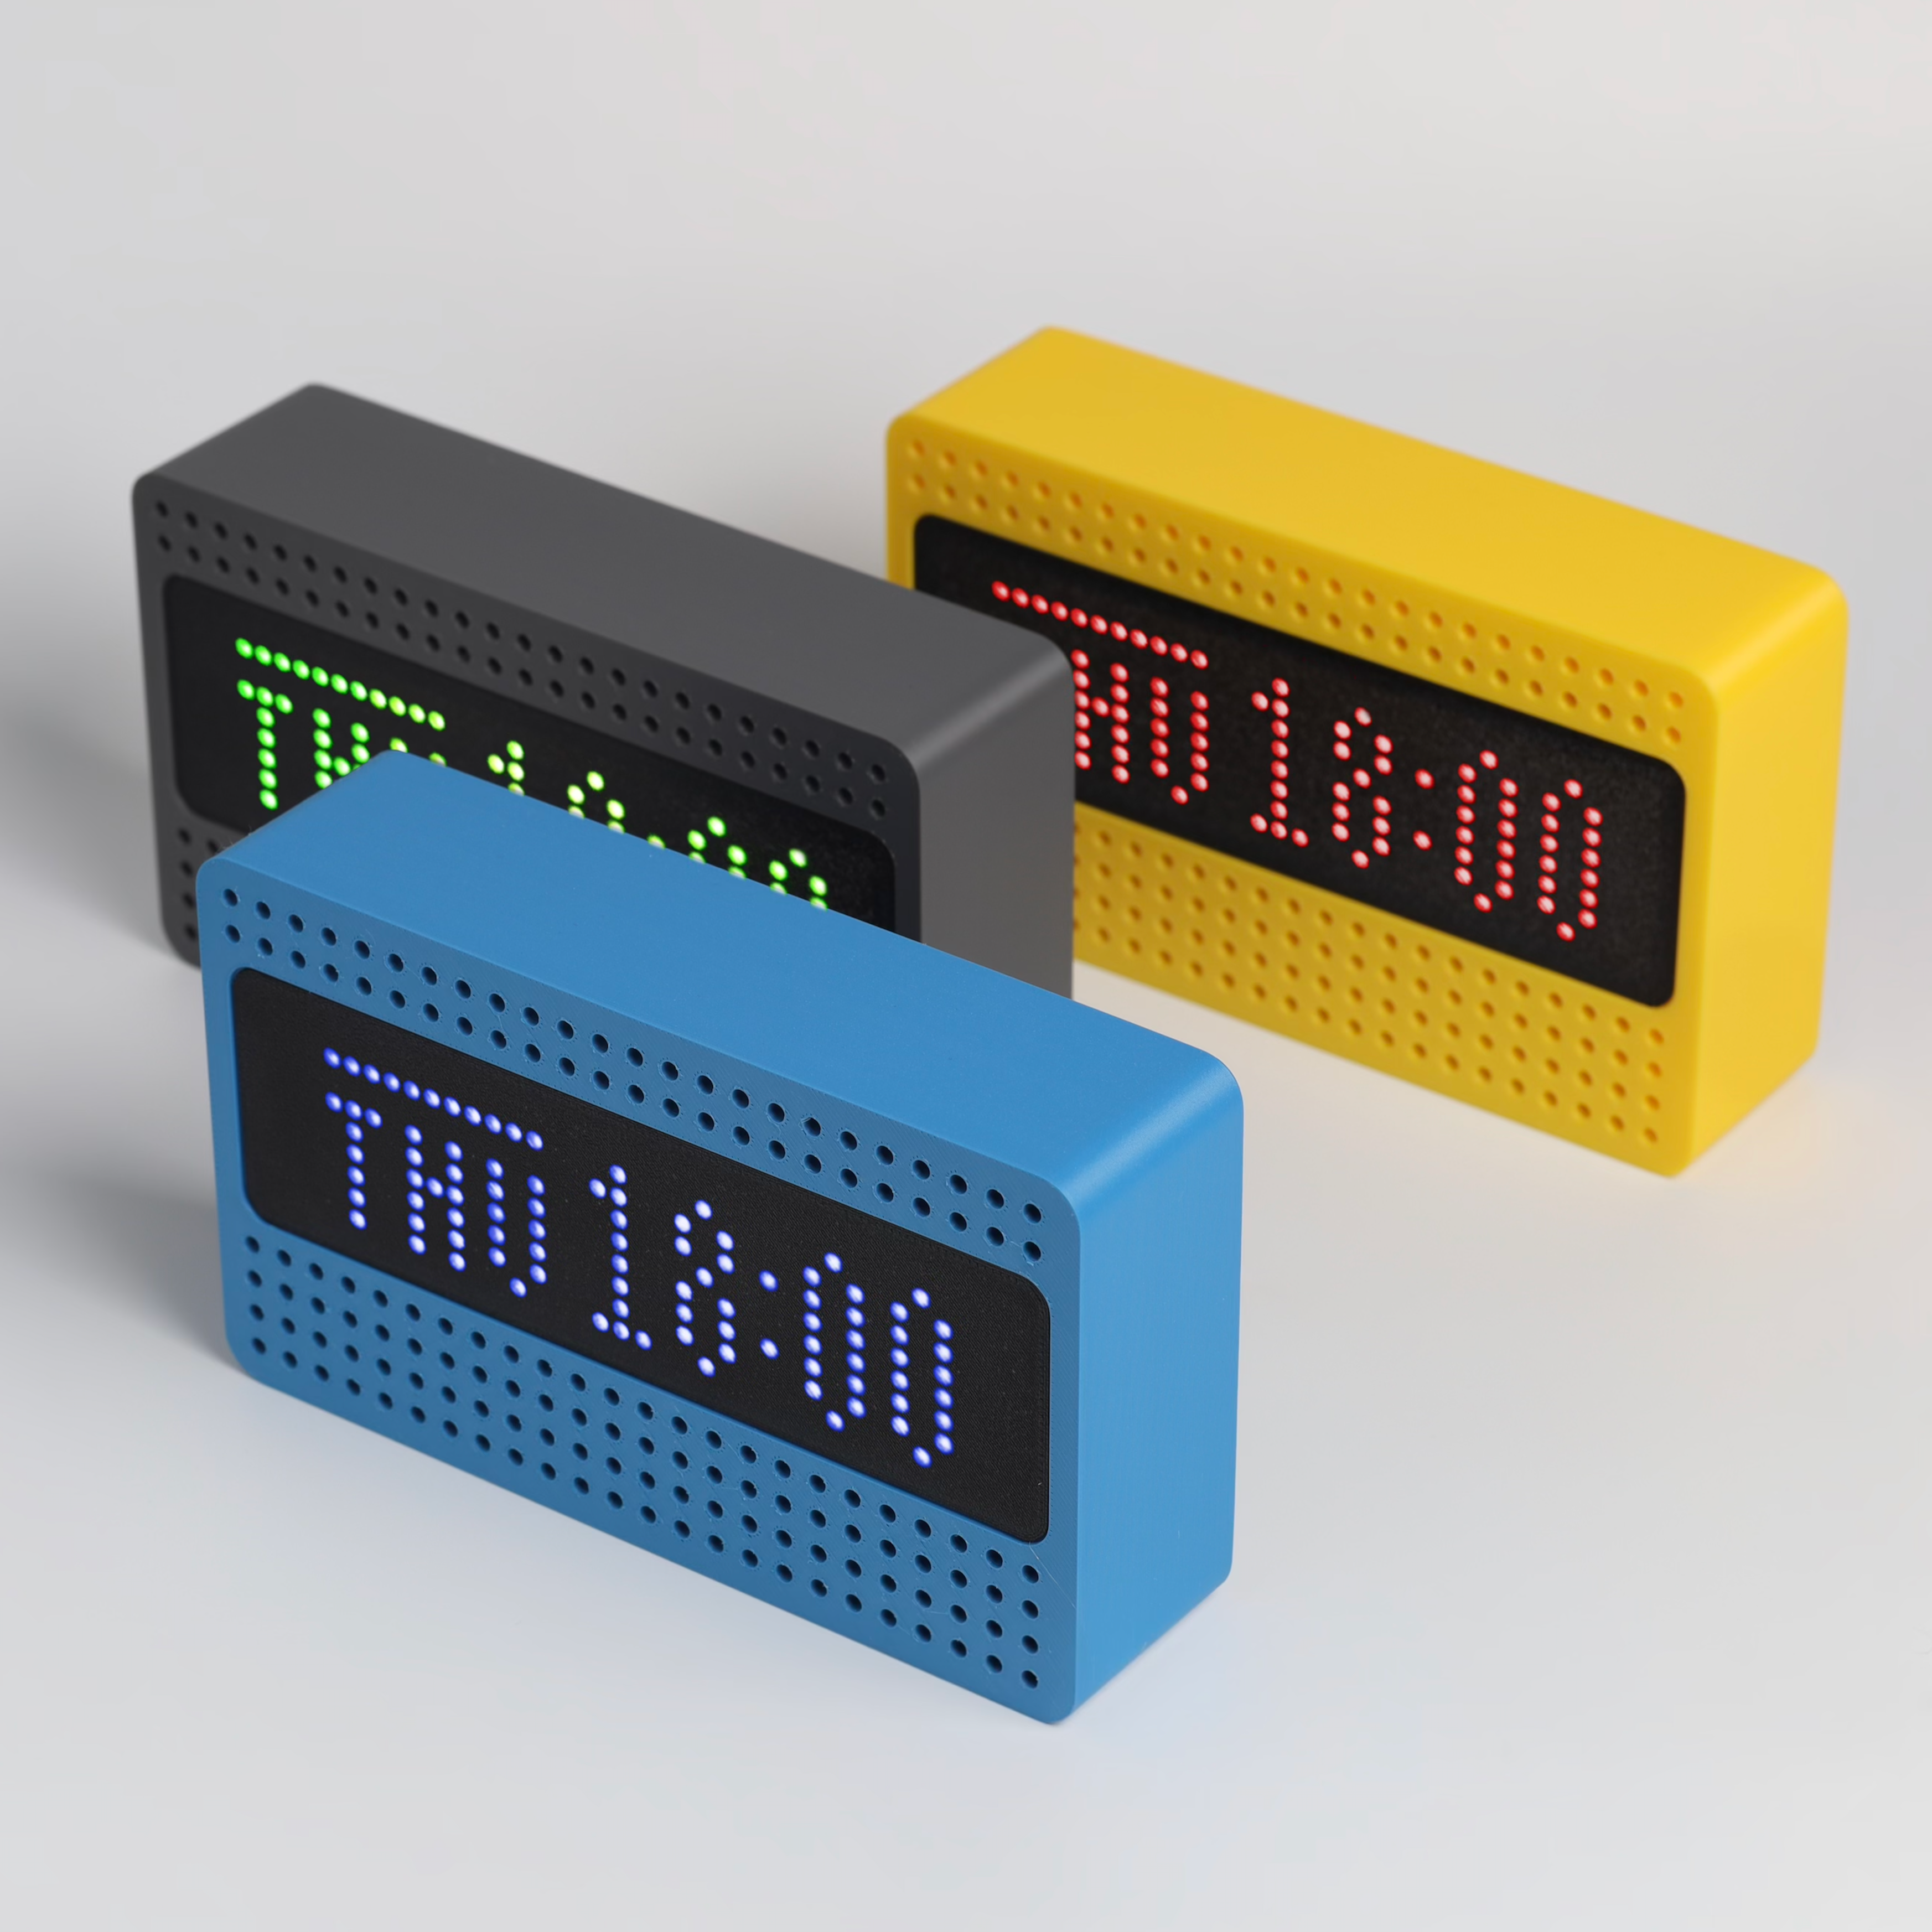 \2
\2What You Need
Hardware
- One of the officially tested boards:
- ESP8266: Wemos D1 Mini (USB-C or Micro-USB) or ESP12-F
- ESP32: ESP32 Dev Module
- ESP32-C3: SuperMini
- ESP32-S2: Wemos S2 Mini or Adafruit ESP32-S2 Feather
- ESP32-S3: WROOM-1 (Camera/SD board), SuperMini, or Zero
- MAX7219 8×32 LED matrix module
- USB cable for initial flashing
- A 5 V power supply (the MAX7219 module runs on 5 V)
- Optional: passive piezo buzzer for audible alarms
- Optional: 3D-printed enclosure (community MAX7219 cases work; an official paid STL is available on Printables and Cults3D)
Software and services
- A Web Serial-compatible browser: Chrome, Edge, Firefox, or Brave
- A free OpenWeatherMap API key (for weather data)
- Your WiFi credentials
- No Arduino IDE, no drivers to install manually
Typical use cases
Keep the time, date, temperature, humidity, and weather conditions visible at a glance on a compact LED matrix display that fits on any desk or shelf.
Connect ESPTimeCast to Home Assistant via its HTTP API to show alerts, sensor values, or automation status messages on the display.
Pair the device with the companion browser extension to automatically scroll the title of whatever you are watching or listening to across the matrix in real time.
Set event countdowns with custom labels or start quick kitchen timers directly from the web UI or browser extension popup.
How It Works
The firmware runs on the Arduino framework and uses the MAX7219 to drive the LED matrix over SPI. On first boot the device starts in Access Point (AP) mode so you can connect to it directly and enter your WiFi details. Once connected to your network it syncs time from NTP servers (with automatic retries and DST handled via the IANA timezone database), then begins polling OpenWeatherMap for weather data.
All configuration is stored in LittleFS flash storage on the board, so settings survive reboots and power cuts. The built-in web server hosts the configuration UI and the /action HTTP API that external tools — Home Assistant, scripts, or the companion browser extension — use to push messages, trigger timers, or change display modes. OTA firmware updates are supported for devices flashed via the web installer, so you can update over WiFi without reaching for a cable.
Wiring the MAX7219 to Your Board
Connect the MAX7219 module to your board using the SPI pins listed below. The module runs on 5 V but accepts 3.3 V logic on DIN, CLK, and CS, so no level shifter is needed for any of the listed boards.
| Chip | Board | CLK | CS | DIN | VCC | GND |
|---|---|---|---|---|---|---|
| ESP8266 | D1 Mini | 14 | 13 | 15 | 5V | GND |
| ESP8266 | ESP12-F | 14 | 13 | 12 | 5V | GND |
| ESP32 | Dev Module | 18 | 23 | 5 | 5V | GND |
| ESP32-S2 | S2 Mini | 7 | 11 | 12 | 5V | GND |
| ESP32-S2 | Adafruit Feather | 36 | 10 | 35 | 5V | GND |
| ESP32-C3 | SuperMini | 4 | 10 | 6 | 5V | GND |
| ESP32-S3 | WROOM-1 | 18 | 16 | 17 | 5V | GND |
| ESP32-S3 | SuperMini | 4 | 5 | 6 | 5V | GND |
| ESP32-S3 | Zero | 12 | 11 | 10 | 5V | GND |
All pin numbers are raw GPIO numbers. ESP8266 D1 Mini boards often label pins D5, D7, D8 — those correspond to GPIO 14, 13, and 15 respectively. Double-check the pin order on your specific MAX7219 module, as labeling and orientation vary between manufacturers.
Flashing and First-Time Setup
Step 1 — Flash the firmware
The recommended method requires no IDE. Open the web installer in Chrome, Edge, Firefox, or Brave:
https://esptimecast.com
Plug your board in via USB, select it in the installer, choose your board model, and click Flash. The whole process takes under a minute.
Step 2 — Connect to the device's access point
After flashing, the board starts in AP mode. On your phone or computer, join the WiFi network named ESPTimeCast using the password 12345678. A captive portal should open automatically. If it does not, navigate to http://192.168.4.1 or http://setup.esp.
Step 3 — Configure WiFi and settings
In the captive portal enter your home WiFi credentials and configure:
- Your OpenWeatherMap API key and location (you can use the "Get My Location" button once connected to WiFi)
- Timezone (IANA format; DST is handled automatically)
- Temperature units (°C or °F), 12/24-hour format, and display preferences
Click Save Settings. The device saves your config to flash, reboots, and connects to your WiFi. It will scroll its local IP address on the display after boot.
Step 4 — Access the web UI
Open http://esptimecast.local or the IP address shown on the display in any browser on your network. From here you can adjust brightness, set alarms, create countdown timers, send custom scroll messages, and trigger OTA firmware updates — all without touching a cable again.
Extending the Build and Known Limitations
Ideas to take it further
- Home Assistant integration: use the
/actionHTTP API to push sensor readings, automation status, or custom alerts directly to the display. - Companion browser extension: install the ESPTimeCast Companion extension from the Chrome Web Store (firmware v1.5.0 or later required) to automatically scroll now-playing titles from YouTube, Spotify, Twitch, Prime Video, Vimeo, Dailymotion, and SoundCloud. The extension also lets you send messages and control brightness from a browser popup without opening the web UI.
- Nightscout glucose display: the firmware supports displaying blood glucose readings in mg/dL or mmol/L, alternating with weather data — useful for diabetic makers.
- Buzzer alerts: wire a passive piezo buzzer to your board to get audible alarm and timer notifications.
- 3D-printed case: search for "MAX7219 case" on Printables or Cults3D for free community-designed enclosures that fit the standard 8×32 module, or purchase the official ESPTimeCast STL files from either platform.
- Cast to multiple devices: the companion extension can broadcast to more than one ESPTimeCast unit on the same network simultaneously.
Limitations to keep in mind
- Weather data requires a free OpenWeatherMap API key; without one, only time and date are displayed.
- OTA updates are fully supported only for devices flashed via the web installer; manually compiled builds may have limited OTA support.
- The "Get My Location" button and external links in the setup portal do not work while the device is in AP mode — connect to your WiFi first.
- Boards other than those in the tested list may work if they use the same chip families, but SPI pin mapping and USB behavior can differ and will need manual verification.
ESPTimeCast is one of the most polished LED matrix clock projects in the ESP32 ecosystem — the browser-based installer genuinely removes the biggest friction point for beginners, and the feature set rivals much more complex builds. The active community, Home Assistant integration, and companion extension make it practical well beyond a simple clock, and the detailed pin table means you can pick almost any ESP32 variant you already have on hand.
Sources
github.commfactory-osaka/ESPTimeCast — repository & README esptimecast.comOfficial websiteFacts in this article come from the project's public README and GitHub metadata at the time of writing. Images belong to their respective owners and link back to the original source.