Flix: Build an Open-Source ESP32 Quadcopter from Scratch
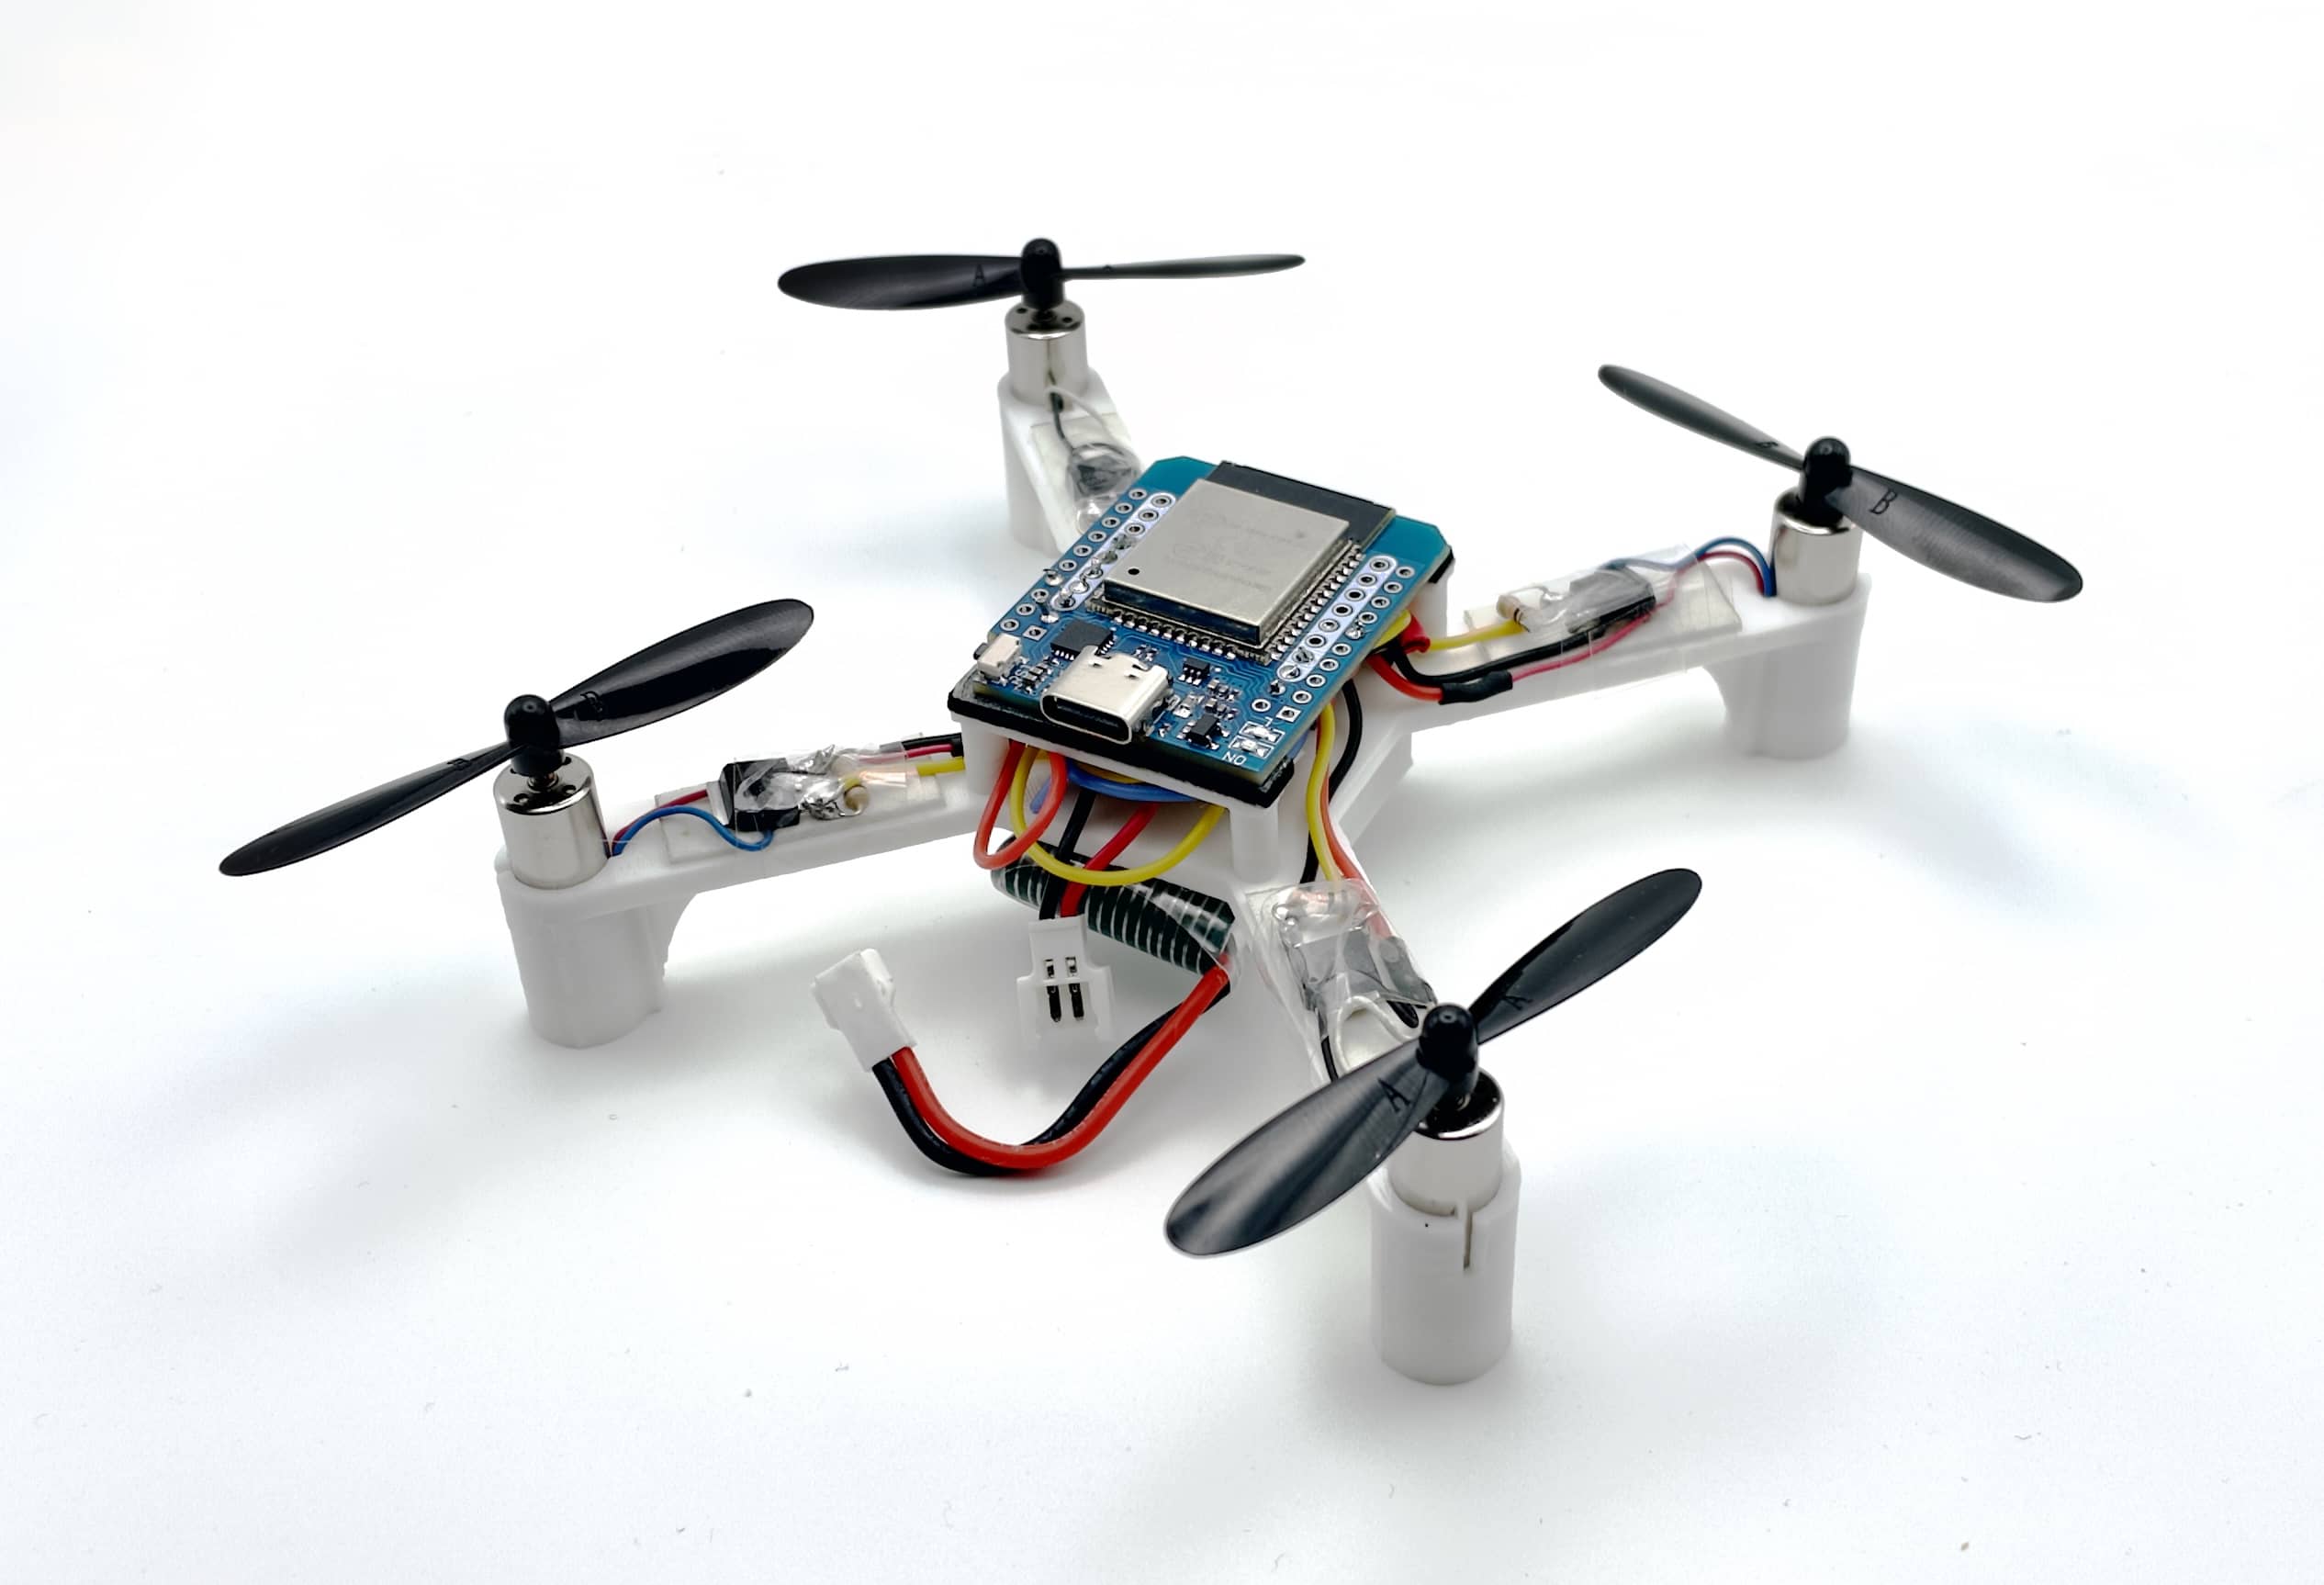
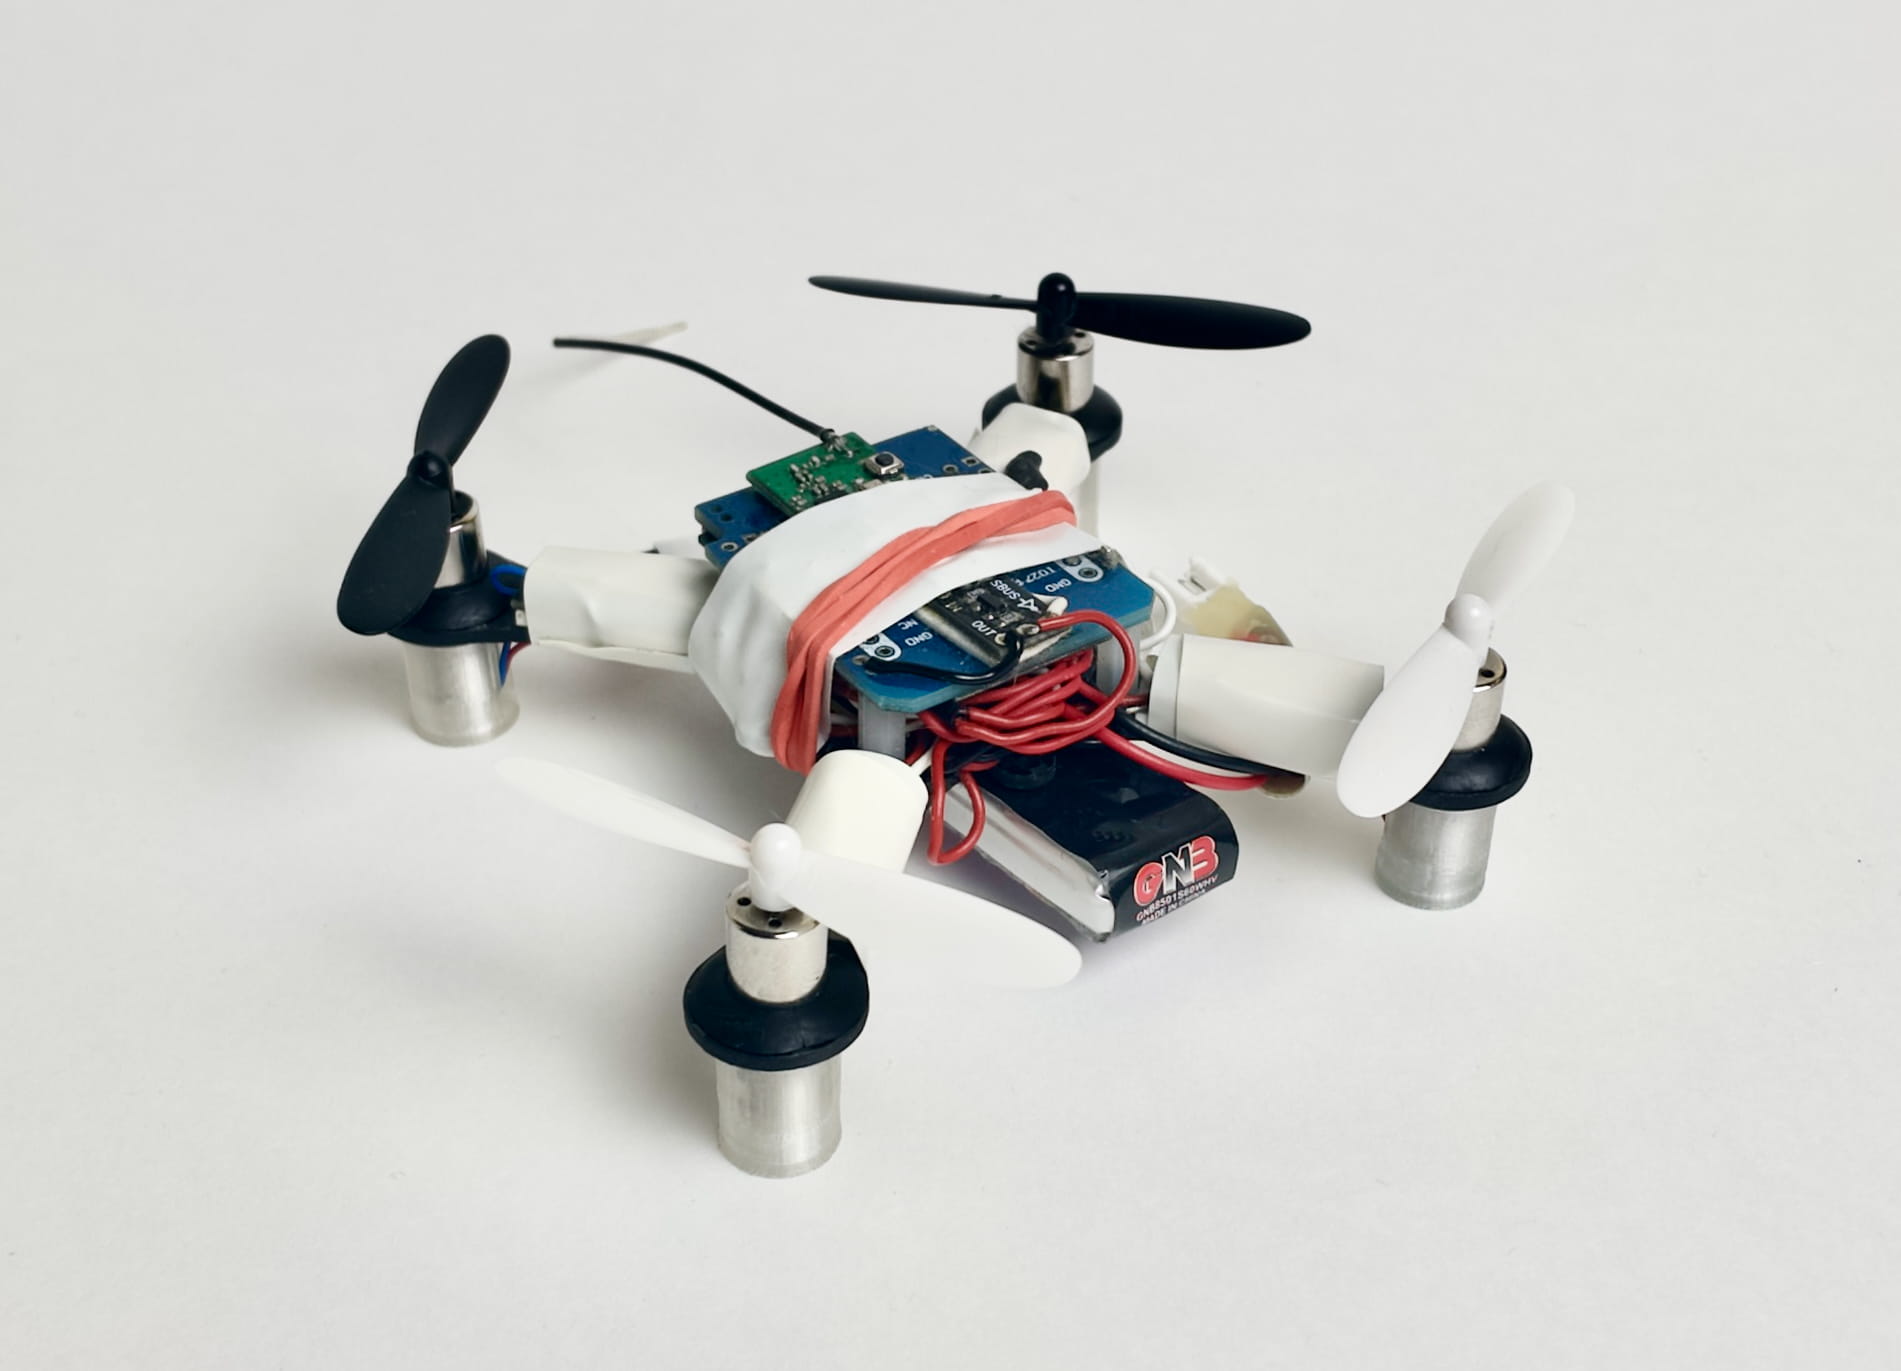
Flix version 1.1 with 3D-printed frame
- ESP32 Mini
- ESP32-S3
- ESP32-C3
- GY-91 (MPU-9265 / MPU-9250 / MPU-6500)
- ICM20948V2 (ICM-20948)
- GY-521 (MPU-6050)
- 8520 3.7V brushed motor
- UMW 100N03A MOSFET
- 3.7V Li-Po battery
- BetaFPV LiteRadio CC2500
- DF500 RC receiver (optional)
- 5V boost converter (optional)
What You Will Build
Flix (short for flight + X) is a fully open-source quadcopter built around the ESP32 microcontroller. Every part of the stack is yours to read, modify, and learn from: the frame is 3D-printed, the electronics are off-the-shelf, and the flight controller firmware is a clean Arduino project under 2,000 lines of C++.
The project is designed explicitly for education and research. That focus shows in the decisions made throughout: standard SPI IMU breakout boards instead of custom silicon, MAVLink telemetry so you can use standard ground-control software, and a companion Gazebo simulation that runs the exact same firmware code before you ever power real motors. A Python library lets you script autonomous maneuvers once the quad is flying. If you want to understand how a flight controller actually works — PID loops, motor mixing, sensor fusion — Flix gives you a readable, flying reference implementation.
 \2
\2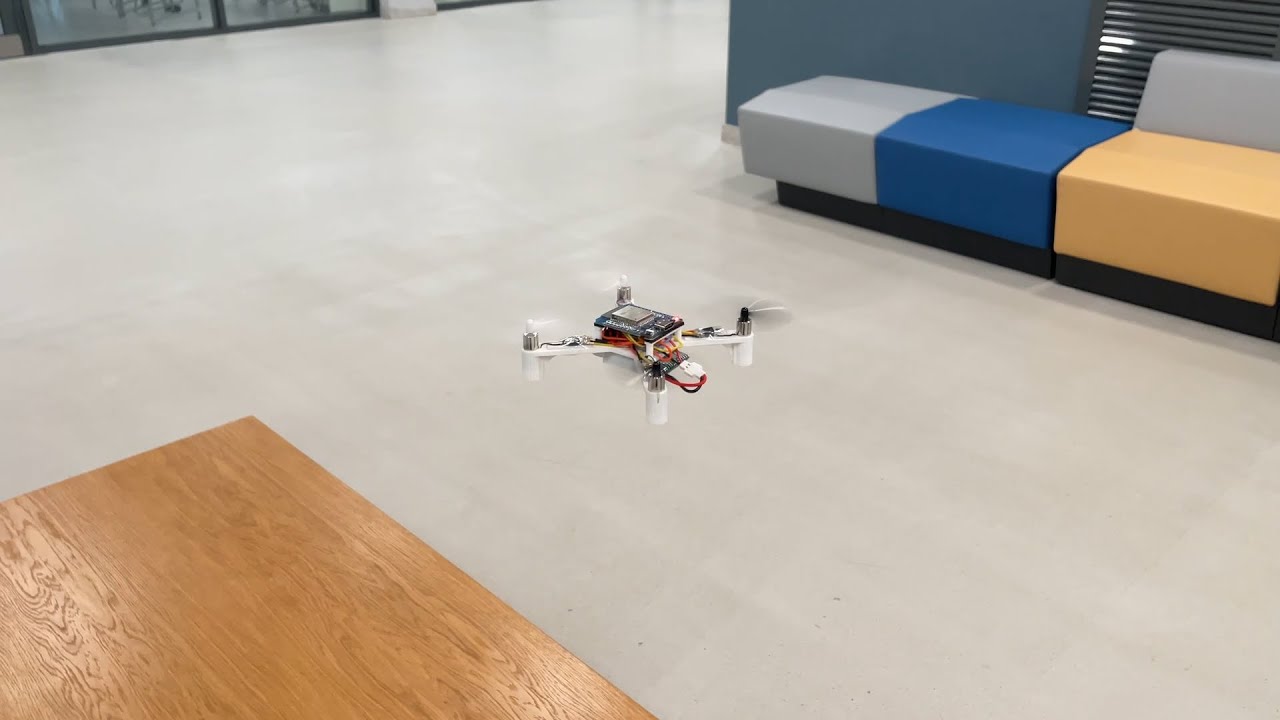 \2
\2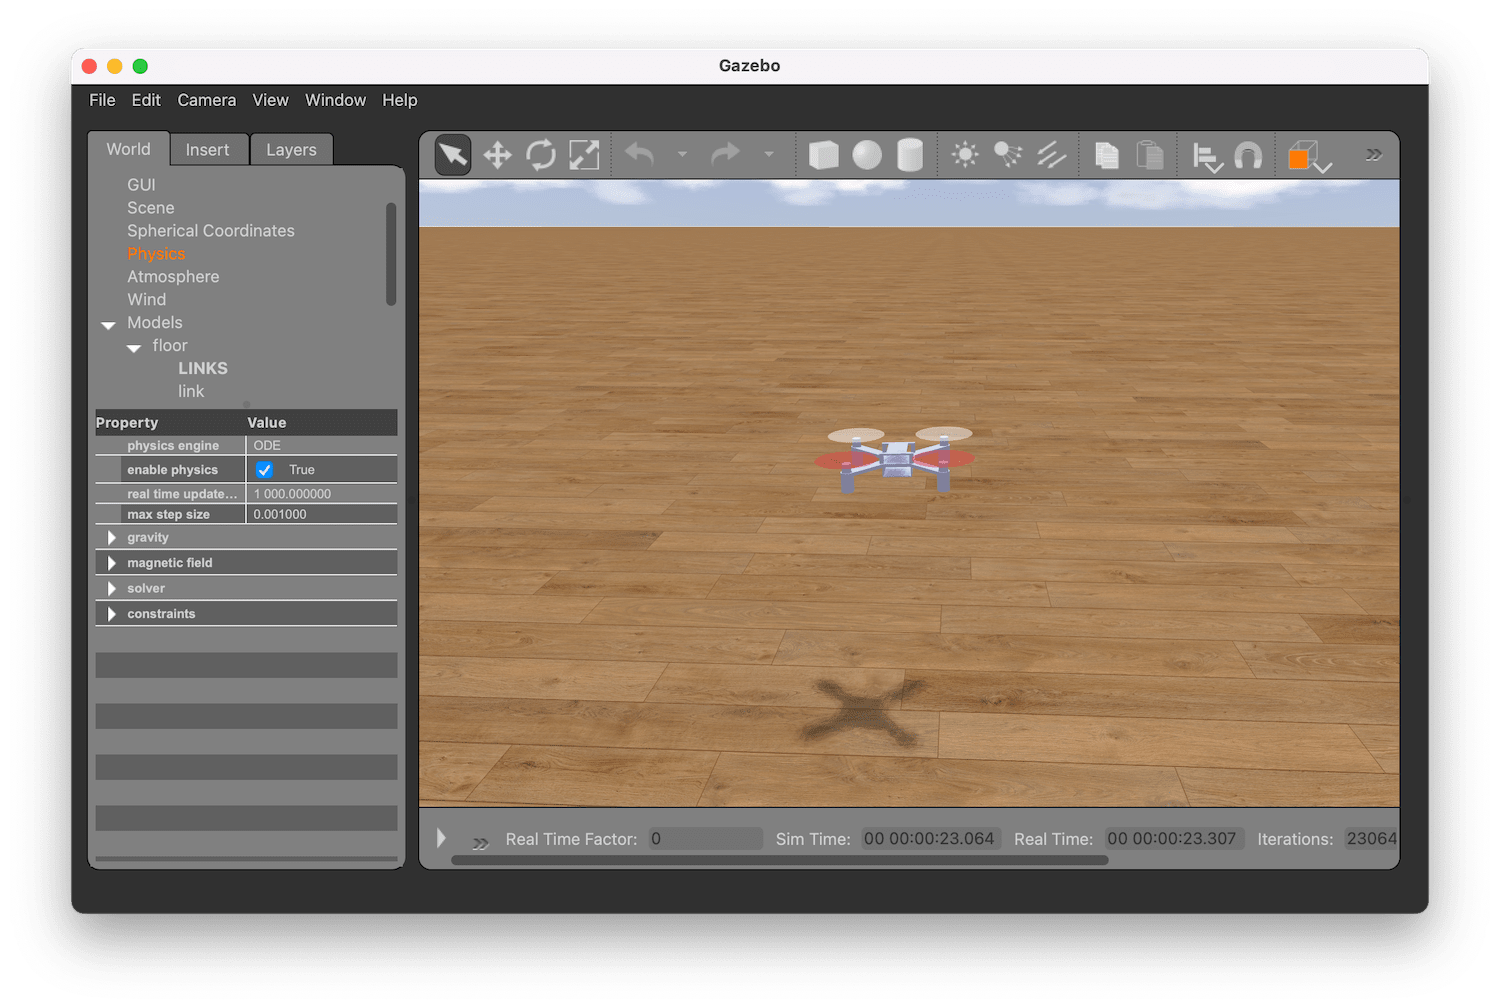 \2
\2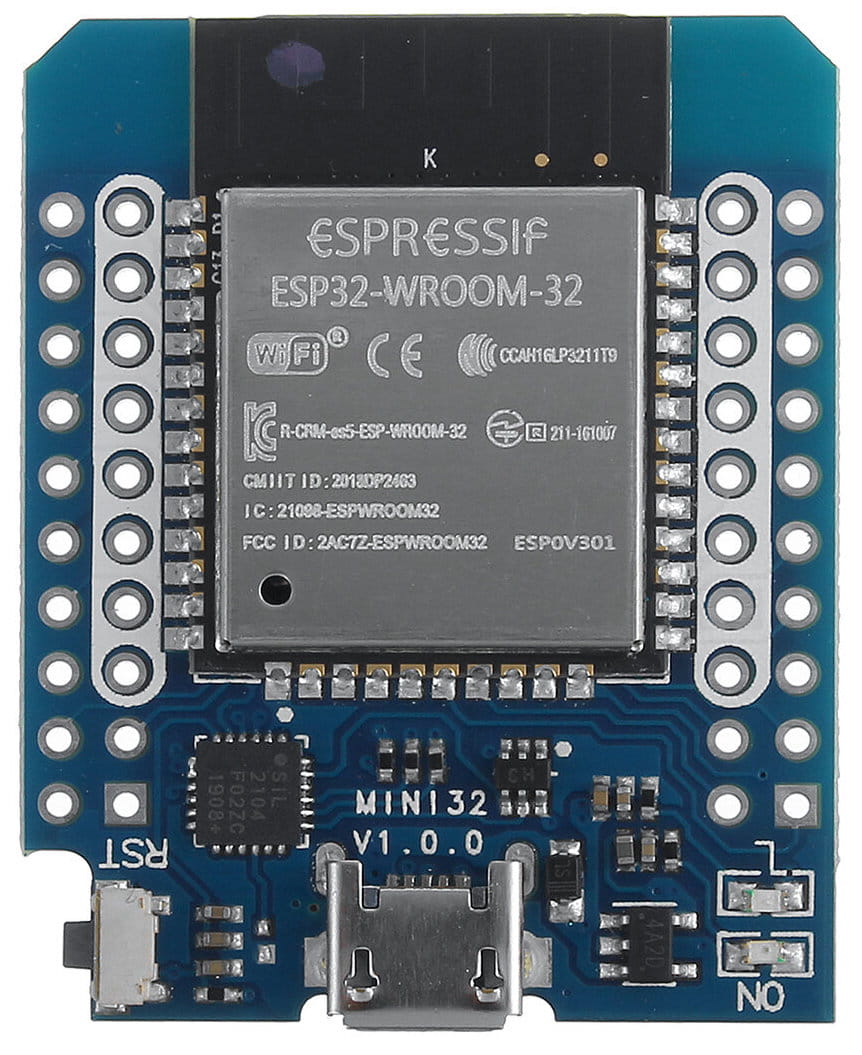 \2
\2What You Need
Microcontroller
- 1× ESP32 Mini (ESP32-S3 or ESP32-C3 boards are also supported)
IMU board (choose one)
- GY-91 (MPU-9265 / MPU-9250 / MPU-6500) — recommended; the 3D-printed frame is optimised for this footprint
- ICM20948V2 (ICM-20948)
- GY-521 (MPU-6050)
Motors and propulsion
- 4× 8520 brushed motor, exactly 3.7 V (not a ranged 3.7–6 V motor); check that the shaft diameter matches your propellers
- 4× 55 mm or 65 mm propellers (two type-A, two type-B)
Power and switching
- 4× UMW 100N03A MOSFET (avoid KIA 100N03A — confirmed incompatible)
- 6× 10 kΩ resistors (pull-down and voltage divider)
- 1× 3.7 V Li-Po battery — LW 952540 or similar; 25 C discharge rate and 1000 mAh or more is recommended
- 1× MX2.0 2P female battery connector cable
- 1× Li-Po battery charger
- 1× 5 V boost converter (optional, for more stable power delivery)
Frame (3D-printed)
- Frame main part — STL and STEP files in the repository
- Frame top part (ESP32 holder)
- M3×5 screws ×2, M1.4×5 screws ×4
- M3 printed washers ×2 (for IMU mounting)
Control
- CC2500 transmitter such as BetaFPV LiteRadio CC2500 (recommended), or a two-stick USB gamepad over Wi-Fi
- DF500 RC receiver with SBUS output (optional, for RC control)
Other
- 28 AWG wire
- Double-sided tape
Tools required
- 3D printer
- Soldering iron and solder with flux
- Screwdrivers
- Multimeter
Typical use cases
Flix is built for learning. The firmware is under 2,000 lines of readable C++, covering sensor fusion, PID attitude control, and motor mixing — everything a student needs to understand how a real flight controller works.
The Python library communicates with the drone over Wi-Fi using MAVLink, letting you write scripts that command takeoff, waypoints, and landing without touching the firmware.
Fly with a CC2500 RC transmitter, a USB gamepad connected via Wi-Fi, or a smartphone — the control interface is flexible enough to suit different operator preferences and available hardware.
The Gazebo simulator runs the identical Arduino firmware code, so you can iterate on PID tuning and new features in software before risking hardware on an untested change.
How the Firmware Works
The firmware runs on the Arduino framework. On every control loop iteration it reads the IMU over SPI (VSPI peripheral), runs sensor fusion to estimate attitude, and feeds the result into a PID controller that computes per-motor throttle values. Those values drive four MOSFETs — one per brushed motor — through standard PWM-capable GPIO pins.
Communication is handled with MAVLink, the same protocol used by ArduPilot and PX4. Telemetry travels over Wi-Fi or ESP-NOW, which means you can connect QGroundControl or a custom Python script without any additional hardware. A wireless command-line interface lets you tune parameters and read logs in real time.
The Gazebo simulator compiles and runs the identical Arduino source code in a software-in-the-loop environment. You can tune PIDs and test code changes in simulation before flashing to hardware — a significant safety net when you are still learning.
Wiring and Assembly
Follow the official assembly instructions alongside the simplified connection diagram in the repository. The key connections are summarised below.
IMU to ESP32 Mini (VSPI)
| IMU pin | ESP32 pin |
|---|---|
| GND | GND |
| 3.3V | 3.3V |
| SCL (SCK) | GPIO18 |
| SDA (MOSI) | GPIO23 |
| SAO (MISO) | GPIO19 |
| NCS | GPIO5 |
Motors via MOSFETs
| Motor | Position | Direction | GPIO |
|---|---|---|---|
| Motor 0 | Rear left | Counter-clockwise | GPIO12 |
| Motor 1 | Rear right | Clockwise | GPIO13 |
| Motor 2 | Front right | Counter-clockwise | GPIO14 |
| Motor 3 | Front left | Clockwise | GPIO15 |
Solder a 10 kΩ pull-down resistor to each MOSFET gate. Clockwise motors have blue and red wires and use type-A propellers; counter-clockwise motors have black and white wires and use type-B propellers.
RC receiver (optional)
| Receiver pin | ESP32 pin |
|---|---|
| GND | GND |
| VIN | VCC or 3.3V (check receiver spec) |
| Signal TX | GPIO4 |
Battery voltage monitor (optional) Connect a voltage divider to GPIO32 on ESP32 or GPIO3 on ESP32-S3. The ESP32 ADC measures up to 3.1 V and the ESP32-S3/C3 up to 2.5 V — size your divider resistors accordingly.
Power the ESP32 Mini directly from the Li-Po battery via the VCC (+) and GND (−) pins.
Flashing and First Flight
The project uses the Arduino framework, so you can build and flash it from the Arduino IDE or from the command line. Detailed build, setup and calibration steps are documented in docs/usage.md in the repository — follow that guide for the exact sequence of steps.
Before flying, work through the simulator first. The Gazebo simulation runs the original firmware code and lets you verify PID response and control inputs safely. Instructions are in gazebo/README.md.
Once the firmware is on the board, connect via Wi-Fi and use the wireless CLI to check IMU readings, calibrate sensors, and verify motor spin direction before attempting a real hover. The README explicitly warns that assembly and setup are not trivial — take your time with each step and use the troubleshooting guide when something does not behave as expected.
Ideas to Extend It and Known Limitations
What you can build on
- Autonomous flights: The Python library (pyflix) lets you script waypoints and manoeuvres over Wi-Fi without modifying firmware.
- Log analysis: Onboard logging and a log analysis workflow make it practical to tune PIDs methodically from real flight data.
- Custom frames: The frame STL and STEP files are provided so you can modify the design for a different IMU footprint or add payload mounts.
- Richer control: SBUS input is supported, so any RC transmitter with an SBUS receiver can control the drone.
- Position control: The community is actively developing overhead-camera-based position control (see linked sources in the README); the architecture is open enough to integrate it.
Current limitations
- The barometer on the GY-91 is present on the board but not yet used in the firmware.
- Position hold is not part of the stable release; it is experimental community work.
- The official PCB (Flix2) is still in development — current builds require hand-wiring on a perfboard or custom layout.
- The project carries no warranty; the author is explicit that it may not work perfectly, and flying a brushed-motor quad indoors without position hold demands pilot skill.
Flix is one of the most complete open-source ESP32 drone projects available: it covers hardware design, firmware, simulation, and scripting in a single repository with active maintenance and a real community. The difficulty is genuinely high — you need soldering skills, a 3D printer, and patience during calibration — but the payoff is a flying platform you understand end to end. If you want to learn flight control theory by building something that actually leaves the ground, Flix is the right starting point.
Sources
github.comokalachev/flix — repository & README t.meOfficial websiteFacts in this article come from the project's public README and GitHub metadata at the time of writing. Images belong to their respective owners and link back to the original source.