Home Assistant Glow: ESP32 Energy Monitor Build Guide
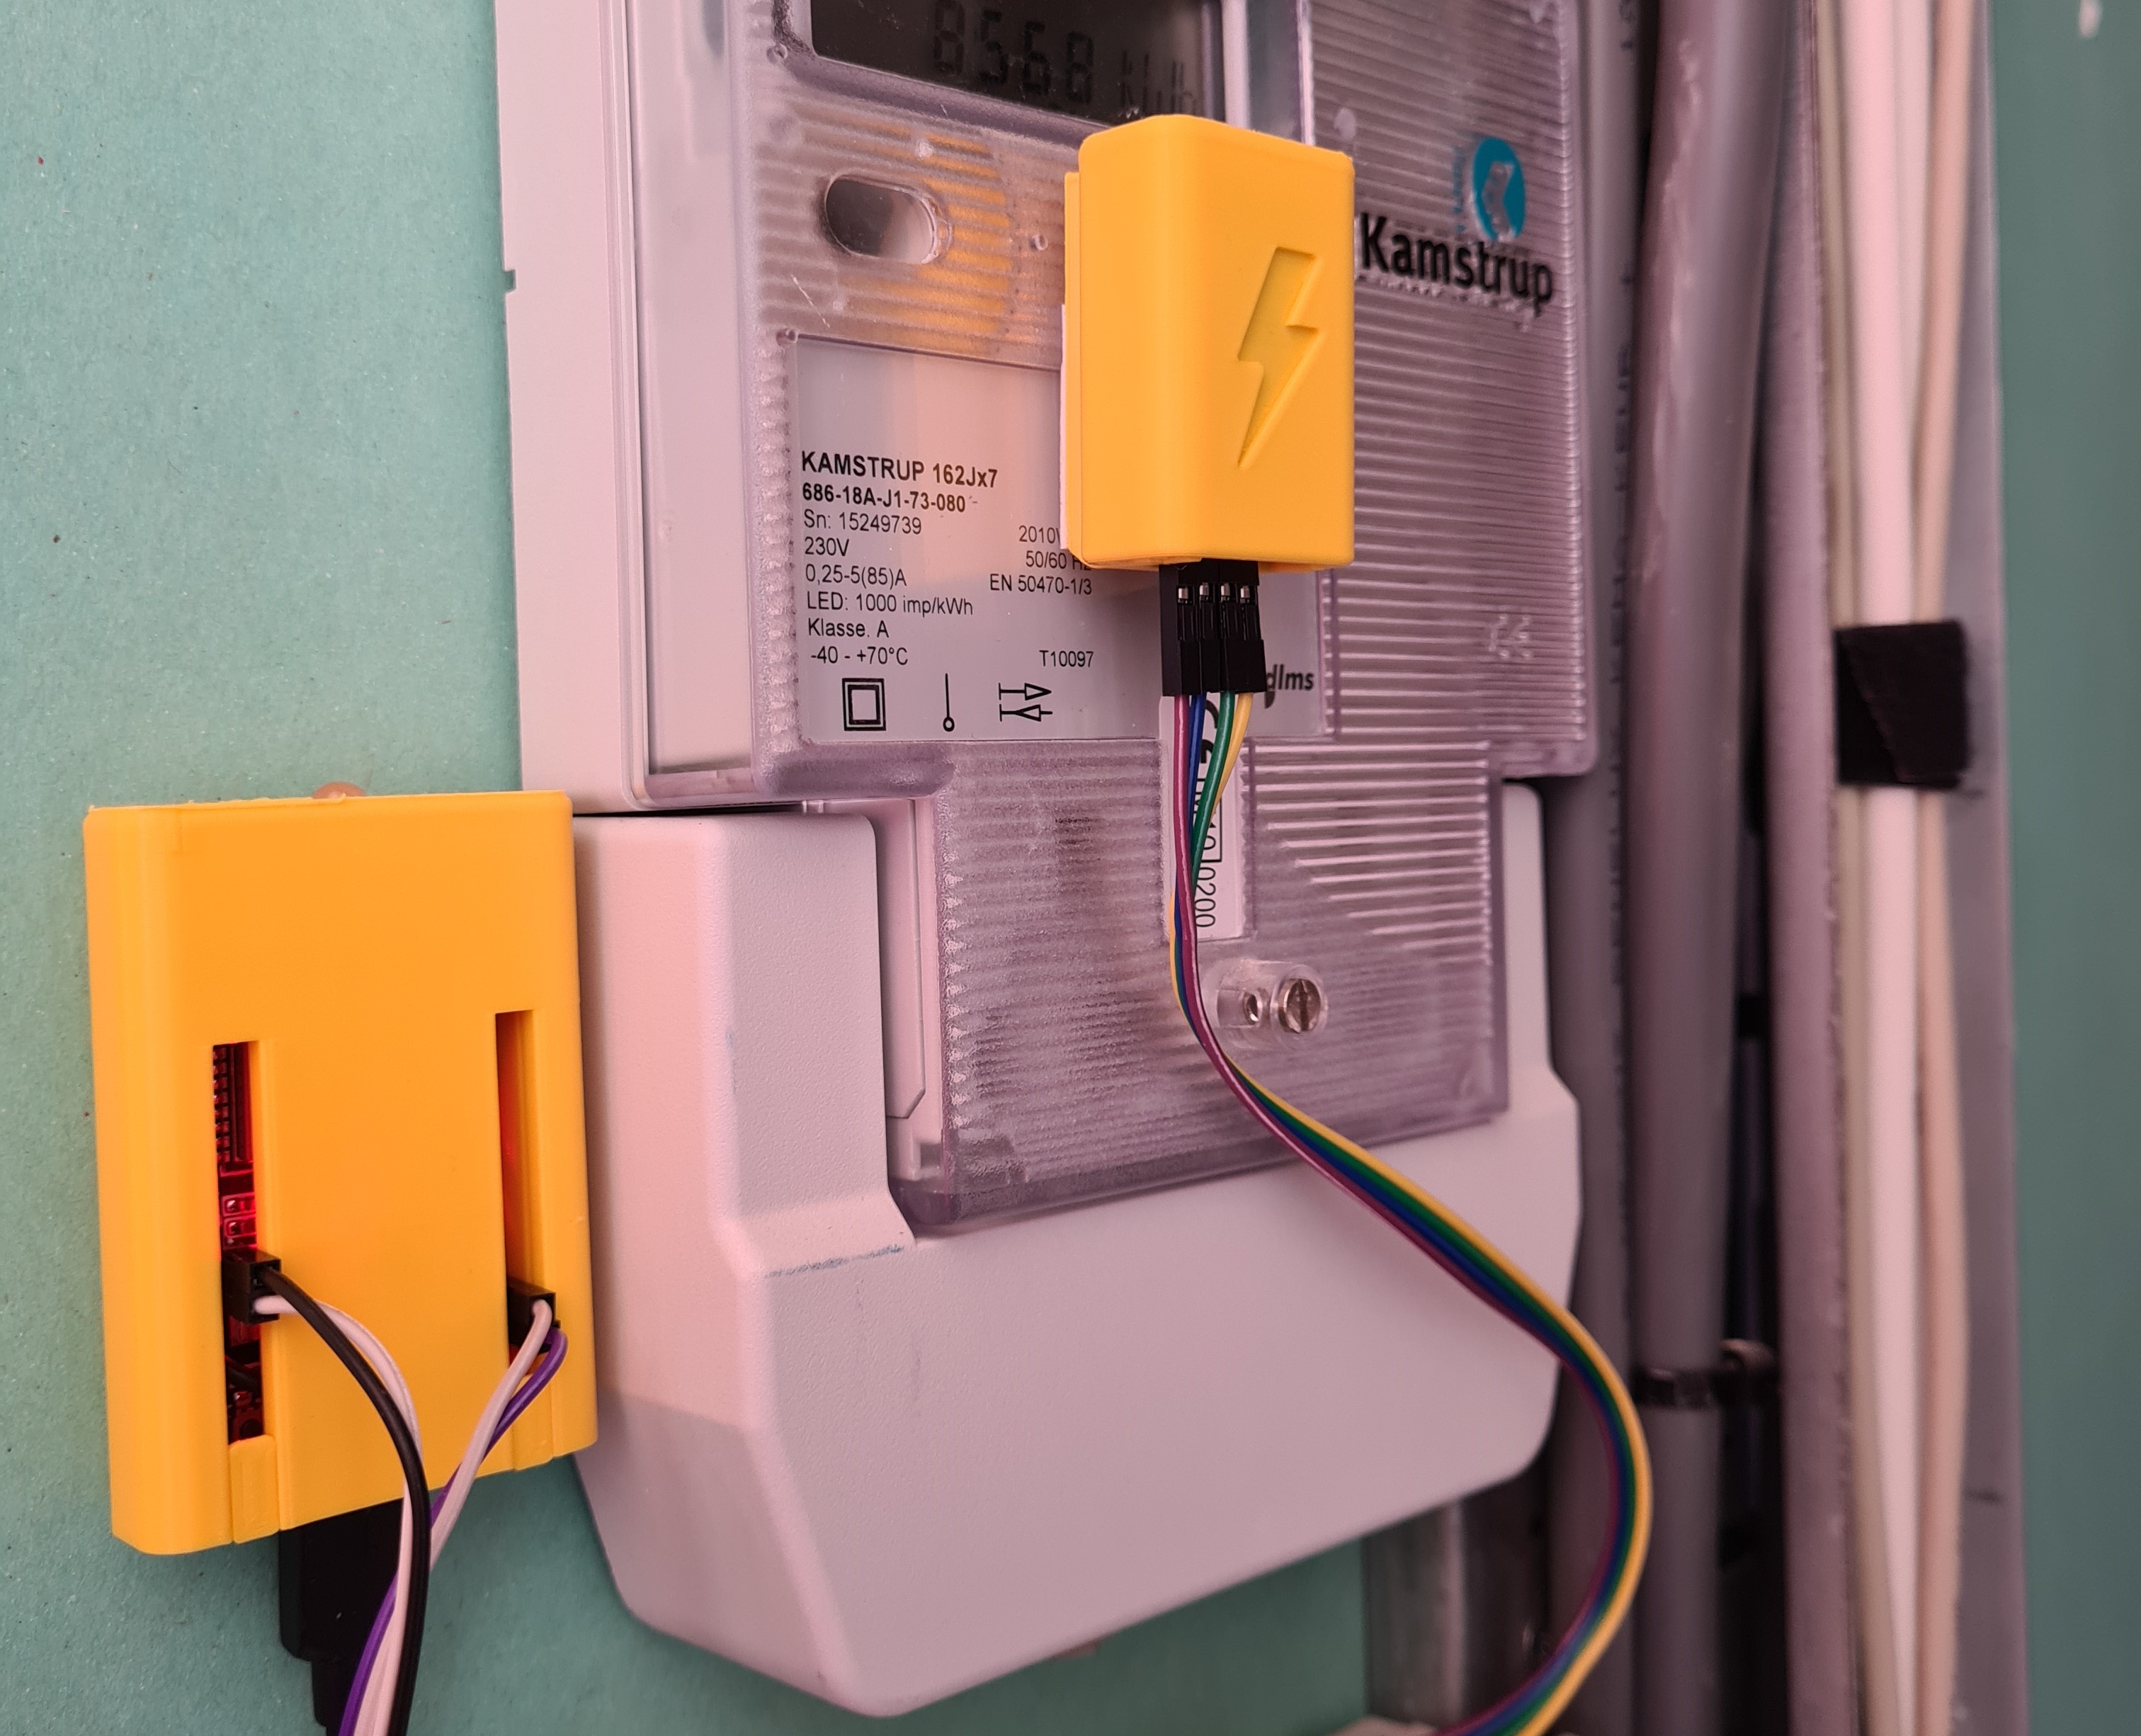
The assembled Home Assistant Glow mounted on an electricity meter inside a meter cupboard.
- ESP32 (recommended)
- ESP32-C3
- ESP8266
- LM393 Photodiode sensor module
- RGB LED 5 mm 4-pin common cathode
- Dupont jumper wires (female to female)
- 3D-printed case
What You Will Build and Why It Is Useful
Not every home has a modern smart meter with a P1 data port. Yet almost every electricity meter — old or new — has a small blinking LED on the front panel. That LED pulses once for every defined unit of energy consumed, typically expressed as a number of impulses per kilowatt-hour (imp/kWh).
Home Assistant Glow clips a photodiode sensor next to that LED and counts every pulse. An ESP32 (or ESP8266) running ESPHome translates those pulses into real power and energy readings, which appear inside the Home Assistant Energy dashboard introduced in Home Assistant 2021.8. The result is a proper energy-management view — consumption graphs, cost estimates, solar comparison — without buying a new smart meter or an expensive P1 gateway.
The project was created during an internship at Nabu Casa (the company behind Home Assistant) in 2021, and it has accumulated over 1,270 GitHub stars and 181 forks since then. A dedicated documentation site at glow-energy.io and an active community make it one of the most polished DIY energy-monitor projects available.
 \2
\2What You Need
Microcontroller — choose one:
- ESP32 (recommended)
- ESP32-C3
- ESP8266
Additional components:
- LM393 Photodiode sensor module (note: this is a photodiode, not an LDR)
- RGB LED, 5 mm, 4-pin, common cathode
- Dupont jumper wires, female-to-female
- 3D-printed case (files linked on the glow-energy.io resources page)
Software and services:
- A running Home Assistant instance
- ESPHome (can be installed as a Home Assistant add-on)
- A modern web browser for the browser-based firmware installer
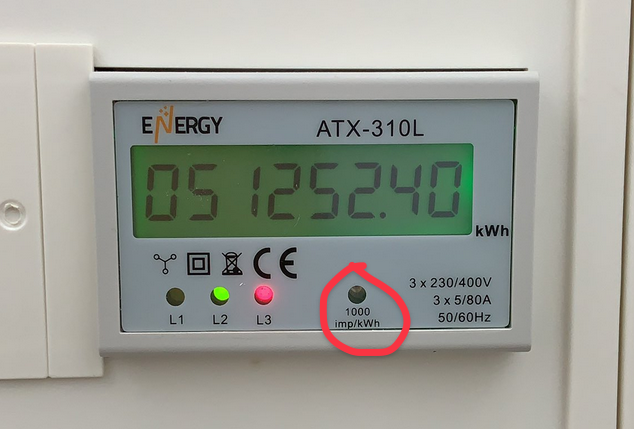
Before you shop, locate the imp/kWh value printed on your electricity meter. This number tells you how many pulses the meter emits per kilowatt-hour. You will enter it during device configuration, so write it down. Common values are 1000 imp/kWh and 2000 imp/kWh, but yours may differ.
Check the glow-energy.io hardware page for the full, up-to-date parts list and sourcing links before ordering.
Typical use cases
Track your total electricity consumption in real time and visualise daily, weekly, and monthly usage inside the Home Assistant Energy dashboard.
Bring any pulse-LED electricity meter into a modern smart-home setup without replacing hardware or paying for a utility upgrade.
Pair Glow import data with a solar inverter integration to see exactly how much of your generated power you use versus export to the grid.
Use live power readings to trigger Home Assistant automations that shift high-consumption loads to off-peak times or when solar surplus is available.
How It Works
The LM393 photodiode module sits directly in front of the meter's pulse LED. Every time the LED blinks, the photodiode detects the light and sends a digital signal to a GPIO pin on the ESP32.
ESPHome firmware on the ESP32 counts those pulses in real time. Because you configure the meter's imp/kWh rate into the firmware, the device can calculate both instantaneous power (watts) and cumulative energy consumption (kWh). All of this is exposed over Wi-Fi to Home Assistant through the native ESPHome API — no MQTT broker needed.
The RGB LED mounted on the Glow device itself gives local visual feedback: it mirrors the pulse from your meter, so you can see at a glance that counting is working without opening Home Assistant.
The 3D-printed case holds everything neatly inside your meter cupboard, keeping wires tidy and the photodiode properly aligned with the meter LED.
Build and Flash Steps
The recommended installation path uses the browser-based firmware installer on the project website, which requires no local toolchain.
Step 1 — Check your meter
Find the imp/kWh label on your electricity meter (see the pulse-rate image in the README for an example). Note the number.
Step 2 — Flash the firmware
Connect your ESP32 to your computer with a USB cable, then visit:
https://glow-energy.io/docs/getting-started#step-2---install-firmware
The site uses ESP Web Tools to flash the correct firmware directly from your browser. Select your board type (ESP32, ESP32-C3, or ESP8266) and follow the on-screen prompts. No command-line tools or local ESPHome installation required at this stage.
Important: The default GitHub branch reflects active development. Always use the firmware installer on the website or the latest release branch for stable YAML if you want to customise the configuration manually.
Step 3 — Configure Wi-Fi and imp/kWh
After flashing, the device creates a Wi-Fi access point for initial setup. Connect to it and enter your home Wi-Fi credentials and your meter's imp/kWh value.
Step 4 — Wire the hardware
Refer to the wiring diagram on the glow-energy.io documentation site for exact pin connections. Use female-to-female Dupont jumpers to connect:
- The LM393 photodiode module to the ESP32
- The RGB LED (common cathode) to the ESP32
Step 5 — Add to Home Assistant
Once the ESP32 is on your Wi-Fi network, Home Assistant should discover it automatically via the ESPHome integration. Accept the device, and the energy sensors will appear. Add the Total Energy sensor to your Home Assistant Energy dashboard under Settings → Energy.
Step 6 — Mount in the case
Print the case from the files linked on the resources page, assemble the components inside, and position the photodiode in front of your meter's pulse LED. A snug fit is important — ambient light can cause false pulses if the sensor is not properly shielded.
Ideas to Extend It and Known Limitations
Ways to extend the project:
- Use the energy data in Home Assistant automations — for example, delay high-consumption appliances (dishwasher, EV charger) until consumption drops below a threshold.
- Combine Glow readings with a solar inverter integration in Home Assistant to track self-consumption and grid export on the same Energy dashboard.
- If you have multiple meters (e.g., a separate circuit for a workshop or a rental unit), deploy one Glow device per meter and monitor them independently.
- Advanced users can clone the repository and edit the ESPHome YAML directly to add custom sensors, adjust averaging intervals, or change the LED behaviour.
Limitations to be aware of:
- The device reads pulses optically, so it relies on the pulse LED being clearly visible and unobstructed. Meters installed in very bright or very dark conditions may need physical shielding or sensor sensitivity adjustment.
- Only meters with a pulse LED are supported. If your meter has no blinking LED, Glow cannot read it.
- Glow measures total imported energy. It does not natively split circuits or measure individual appliances — for that you would need additional clamp meters or smart plugs.
- The project does not read gas or water meters out of the box, though some community members have adapted the concept for gas meters that also have a pulse output.
Home Assistant Glow is a polished, beginner-friendly project that solves a real problem: bringing any pulse-LED electricity meter into Home Assistant's Energy dashboard with minimal hardware and no command-line flashing required. The browser-based installer, well-maintained documentation site, and active community make it one of the easiest ESP32 energy-monitor builds available, and the 3D-printed case gives it a finished, install-ready look.
Sources
github.comklaasnicolaas/home-assistant-glow — repository & README glow-energy.ioOfficial websiteFacts in this article come from the project's public README and GitHub metadata at the time of writing. Images belong to their respective owners and link back to the original source.