Koala Satellite: DIY ESP32-S3 Voice Assistant for Home Assistant
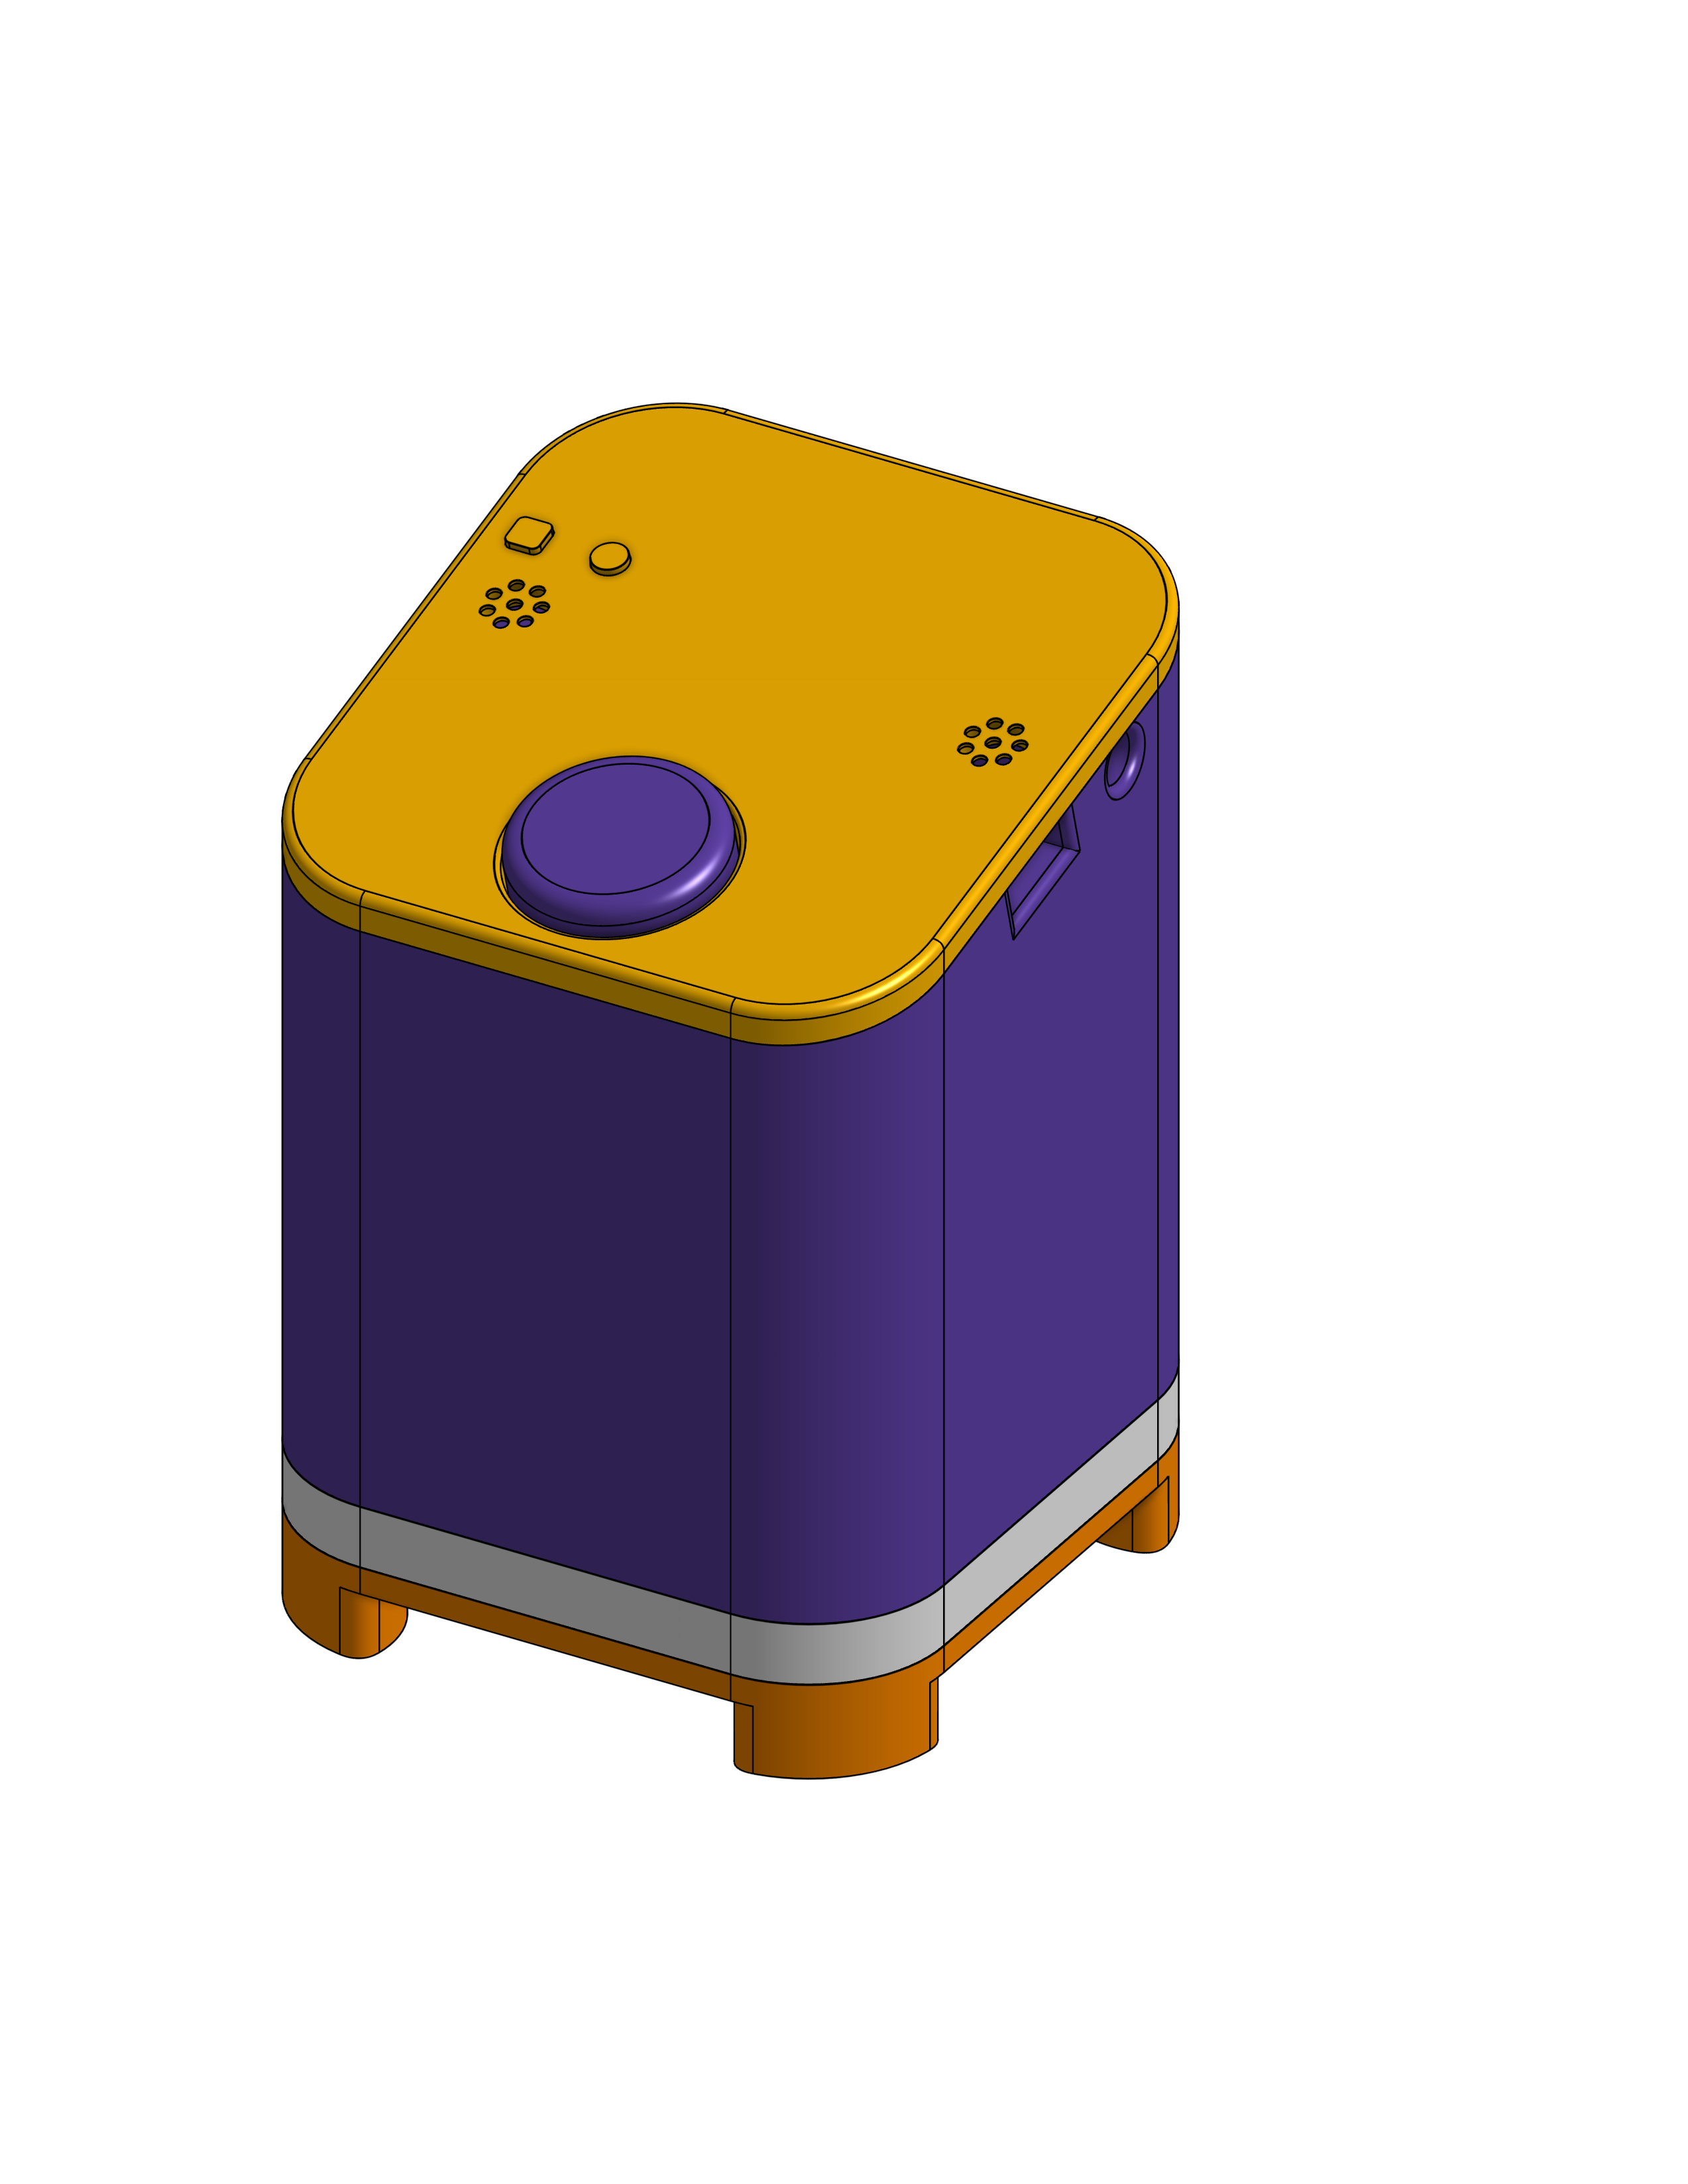
Assembled Koala Satellite in its 3D-printed enclosure, showing the LED diffuser ring and rotary encoder dial.
- ESP32-S3 DevkitC
- ReSpeaker Lite board (XMOS XU316)
- LED strip
- Rotary encoder
- 5 W speaker
- Hardware mute button
- 3.5 mm line-out jack
What You Will Build
Koala Satellite turns an ESP32-S3 DevkitC and a ReSpeaker Lite board into a fully functional, always-on voice assistant satellite for Home Assistant Assist. Once installed on your network it behaves like a smart speaker: you speak a wake word, Home Assistant processes your command, and the device replies through its 5 W speaker or through an external speaker plugged into the 3.5 mm line-out jack.
Because the firmware is derived from the official Voice PE ESPHome project, every feature that device supports — pipeline switching, announce playback, music streaming, chimes — is available here too. The key difference is that Koala is assembled entirely from off-the-shelf modules, so you choose and source every part yourself. You also get physical controls that the Voice PE lacks in this exact form: a rotary encoder for real-time volume adjustment and a hardware mute button so the microphone can be cut at the circuit level.
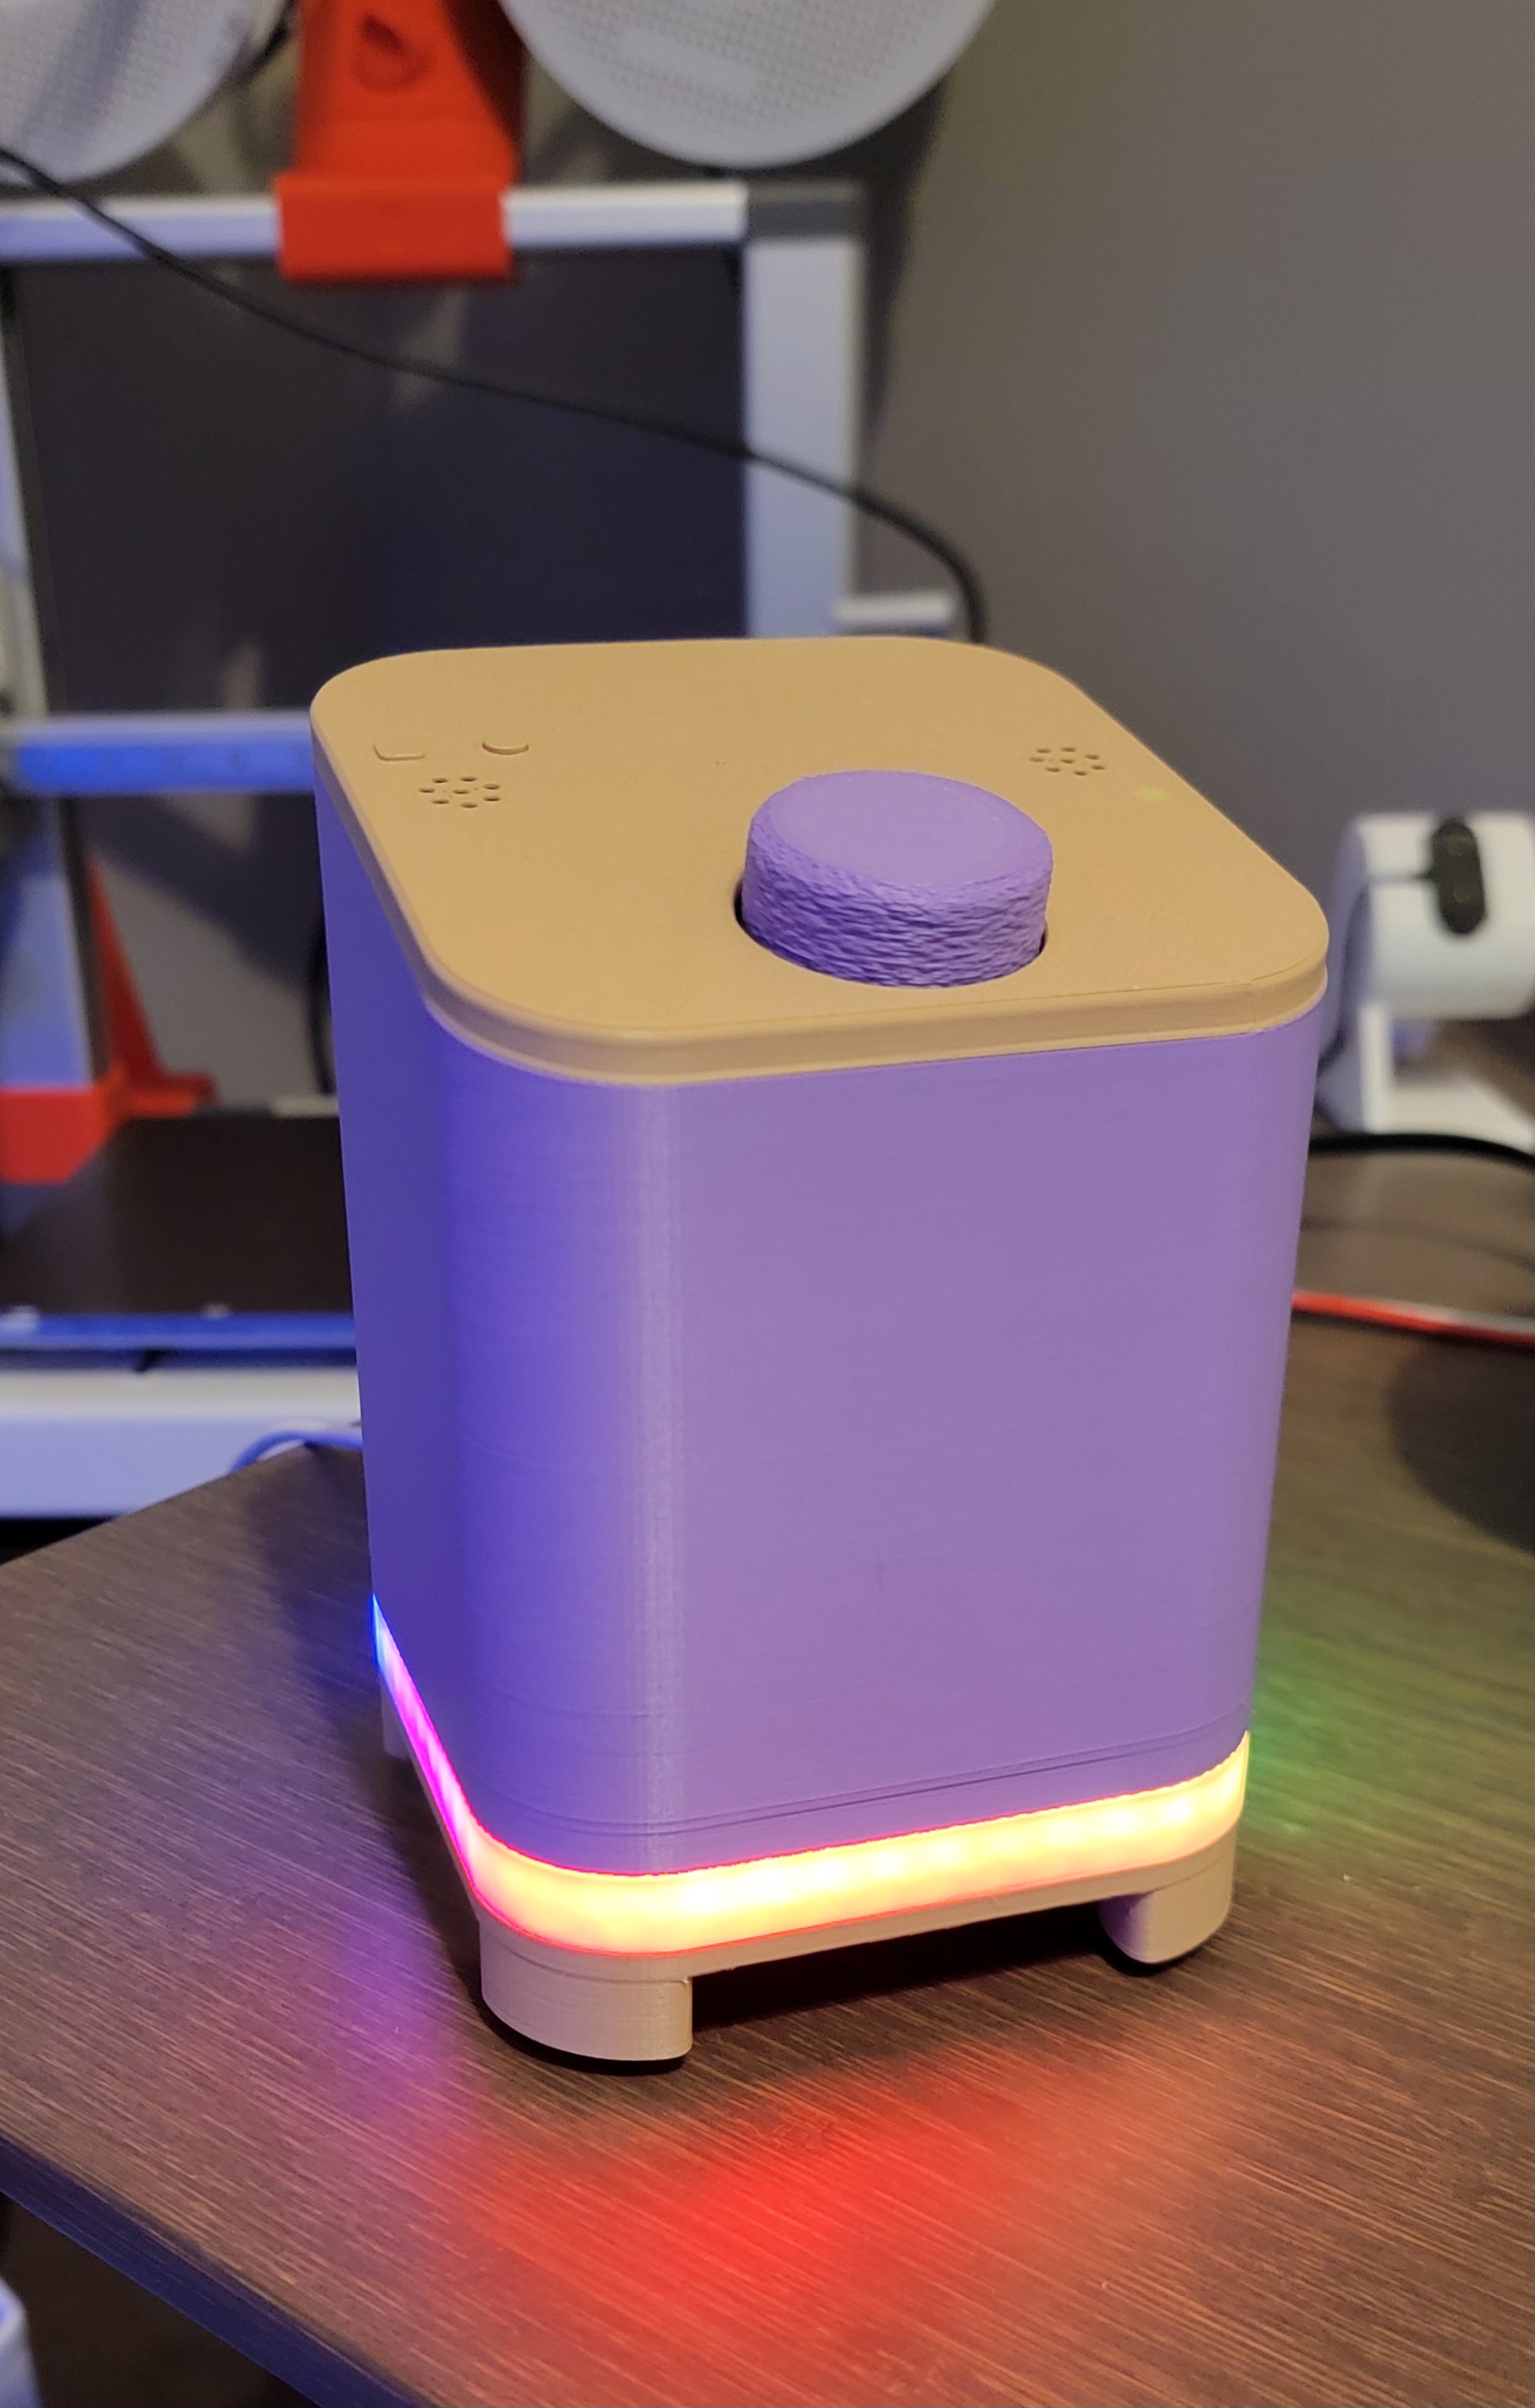 \2
\2What You Need
Hardware (as listed in the project README):
- ESP32-S3 DevkitC
- ReSpeaker Lite board with XMOS XU316 DSP chip
- LED strip
- Rotary encoder (dial)
- Hardware mute button
- 5 W speaker
- 3.5 mm line-out jack (optional, for external speaker)
The XMOS XU316 on the ReSpeaker Lite board handles hardware noise cancellation and dual far-field microphone processing before audio even reaches the ESP32, which is why voice recognition works reliably at a distance.
Note on the pre-soldered kit: Seeed Studio sells a version of ReSpeaker Lite with an XIAO ESP32-S3 already attached. That version uses nearly all exposed GPIO pins for the ReSpeaker itself, leaving no room for the rotary encoder or LED strip. Koala Satellite uses the standalone ReSpeaker Lite board paired separately with the ESP32-S3 DevkitC to keep those GPIO pins free. If you do want to use the pre-soldered kit, see the community pull request linked in the README for an adapted configuration.
Software / accounts:
- A running Home Assistant instance
- ESPHome add-on (used by the firmware base)
- A browser for the online flashing tool
Typical use cases
Place one satellite in each room to give Home Assistant Assist far-field voice coverage everywhere, with hardware noise cancellation handling TV and ambient noise.
Trigger text-to-speech announcements from Home Assistant automations — doorbell alerts, reminders, or alarm notices — played through the 5 W speaker.
Use the rotary encoder as a tactile control for speaker volume or to trigger HA scripts, giving household members a physical knob rather than a phone app.
Build a privacy-friendly, fully open-source satellite from standard modules instead of buying a closed commercial device, with full access to firmware and enclosure files.
How It Works
The ESP32-S3 runs ESPHome firmware that is closely modelled on the Voice PE project. At startup it announces itself over BLE using the Improv protocol, so Home Assistant can discover and adopt it without any manual network configuration.
Audio flows in two directions. For capture, the two far-field microphones feed into the XMOS XU316 DSP, which applies noise cancellation and beamforming before handing 16-bit 48 kHz audio to the ESP32 over I²S. The ESP32 streams that audio to the Home Assistant voice pipeline, which runs wake-word detection, speech-to-text, intent recognition, and text-to-speech in the cloud or locally depending on your HA setup.
For playback, synthesised speech, announcements, chimes, or music come back from Home Assistant and play through the 5 W onboard speaker or the line-out jack.
The LED strip gives visual feedback: colour and animation change to reflect the current satellite state (idle, listening, processing, speaking). The rotary encoder adjusts output volume in real time and can be mapped to other automations. Firmware updates are delivered automatically — you do not need to reflash manually after the initial install.
Assembly and Flashing
Full step-by-step wiring and mechanical assembly instructions are in the /instructions/assembly.md file in the repository. Follow that guide to connect the ReSpeaker Lite board, LED strip, rotary encoder, mute button, and speaker to the ESP32-S3 DevkitC.
The project also provides a printable enclosure. Files are in the /casing/ directory of the repository.
Flashing the firmware is handled by an online tool so you do not need to install ESPHome or compile anything locally:
https://formatbce.github.io/Koala-Satellite/
Open that URL in a Chromium-based browser, connect the ESP32-S3 DevkitC over USB, select the correct port, and flash. The tool writes factory firmware directly to the chip.
After flashing:
- Power the device. The LED strip will indicate it is in provisioning mode.
- Open Home Assistant. Because the firmware supports BLE Improv, HA should discover the satellite automatically and prompt you to adopt it.
- Follow the on-screen steps to connect Koala to your Wi-Fi and assign it to a voice pipeline.
- Speak your wake word. The LED will animate to show it is listening, and the speaker will respond.
Subsequent firmware updates are delivered over the air automatically — no USB cable needed after initial setup.
Limitations and Ideas to Extend It
Current limitations:
- The project is designed exclusively for Home Assistant. It has no standalone mode and no support for other voice platforms.
- There are no external sensor connectors — this satellite focuses purely on audio and local control, unlike some DIY designs that add temperature or humidity sensors.
- The ReSpeaker Lite variant with the pre-soldered XIAO ESP32-S3 requires a modified configuration and loses some GPIO-dependent features like the LED strip unless you adjust the design.
Ideas to extend:
- Map the rotary encoder to automations. Beyond volume control, the encoder can trigger Home Assistant scripts — dimming lights, adjusting a thermostat, or paging through a playlist.
- Customise LED animations. The LED strip is driven by ESPHome, so you can add your own light effects through the Home Assistant UI or YAML and use them as mood lighting when the satellite is idle.
- Add a line-out speaker. The 3.5 mm jack lets you pipe audio to a larger passive or powered speaker for better room coverage without replacing any firmware.
- Print a custom enclosure. The
/casing/directory has the reference design, but since dimensions and mounting points are defined there, you can remix the shell to fit a shelf, a wall bracket, or a different aesthetic. - Follow upstream Voice PE updates. Because the firmware tracks the Voice PE ESPHome codebase, new pipeline features and wake-word engines released upstream tend to become available to Koala without major rework.
Koala Satellite is a well-documented, actively maintained DIY voice satellite that delivers hardware-grade noise cancellation and physical controls in a printable enclosure — things most commercial satellites either omit or lock away. The online flashing tool removes the biggest barrier for beginners, while the ESPHome foundation keeps the project extensible for experienced makers. If you run Home Assistant and want a room satellite you built and own completely, this is one of the most complete starting points available.
Sources
github.comformatBCE/Koala-Satellite — repository & READMEFacts in this article come from the project's public README and GitHub metadata at the time of writing. Images belong to their respective owners and link back to the original source.