Build Smart Interfaces on M5Stack with M5ez
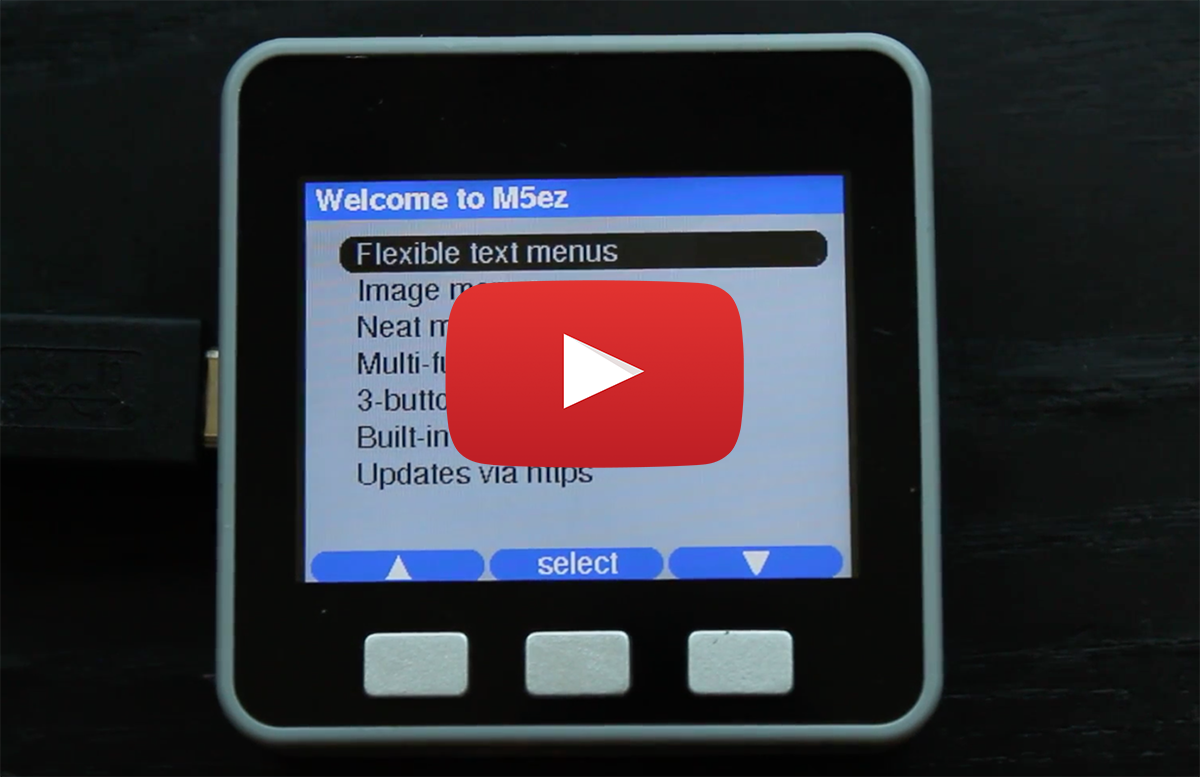
M5ez library showcase: complete interface builder for M5Stack ESP32 applications
- M5Stack
- M5Stack Fire
- M5Stick (planned support)
- M5Atom (planned support)
What You Will Build
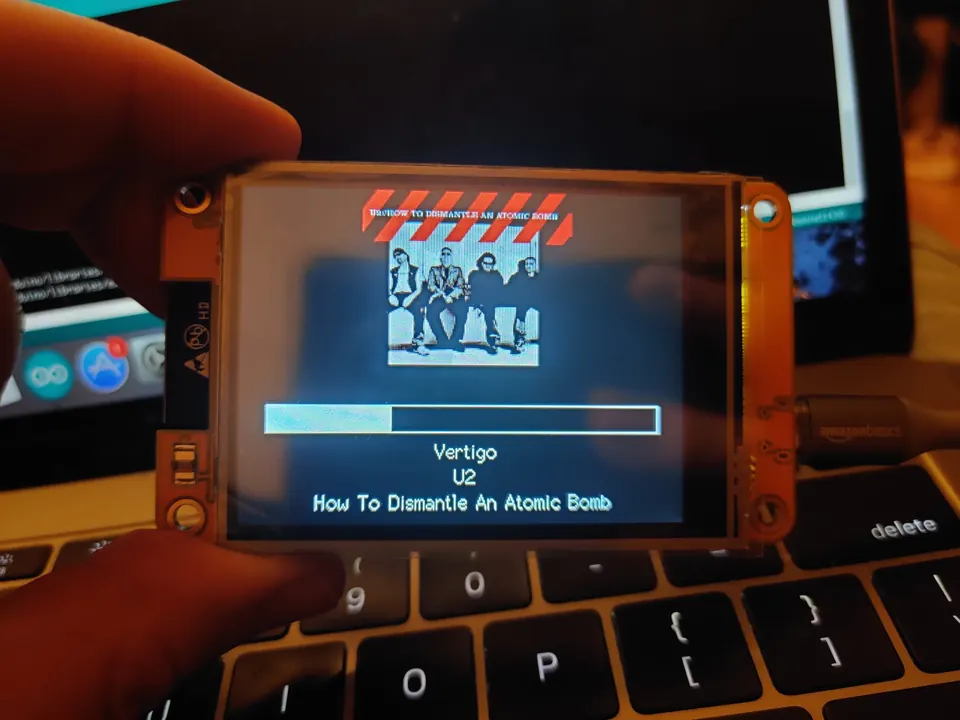
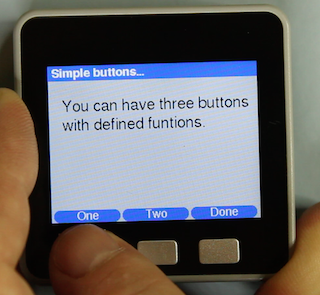
M5ez lets you create polished, interactive applications for the M5Stack—a palm-sized ESP32 computer with a 320×240 color screen, three buttons, WiFi, Bluetooth, and an SD card slot. Instead of manually positioning elements on the screen and managing UI state, M5ez provides ready-to-use components: menus (text or image-based), message boxes, multi-button functions, text input via the three buttons, and built-in WiFi support.
You will learn how to build appliance-grade interfaces that look professional without the tedium of reinventing the wheel. Whether you want to create a clock, a configuration menu, a WiFi-connected gadget, or a sensor display—M5ez handles the heavy lifting so you focus on what your app actually does.
 \2
\2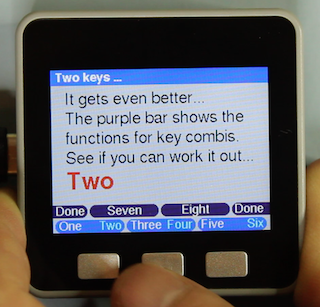 \2
\2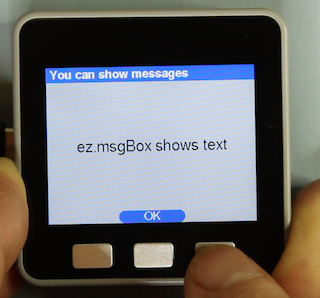 \2
\2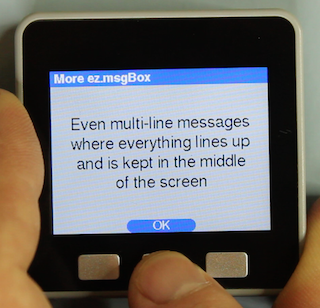 \2
\2What You Need
Hardware:
- M5Stack or M5Stack Fire board (ESP32-based device with 320×240 display and three buttons)
- Micro USB cable to connect to your computer
Software:
- Arduino IDE (version with library manager support)
- M5ez library (installed via Arduino Library Manager)
- ezTime library (installed via Arduino Library Manager, required for clock and timezone support)
M5ez is written in C++ and compiles to run on the M5Stack's ESP32 chip. All setup happens through the familiar Arduino IDE workflow.
Typical use cases
Build a wireless control panel for lights, thermostats and smart devices using M5ez menus and WiFi connectivity.
Stack environmental sensors (temperature, humidity, air quality) and display live data on a clean, easy-to-read M5ez interface.
Create weather stations, time displays, notification badges or data loggers that pull information from the cloud via WiFi.
Teach embedded systems and UI design without fighting with graphics or button code—M5ez lets students focus on logic and interaction.
Getting Started
Step 1: Install the Libraries
Open Arduino IDE and go to Sketch → Include Library → Manage Libraries. Search for and install M5ez, then search for and install ezTime.
Step 2: Load an Example
Go to File → Examples and scroll down to "Examples from custom libraries". Open an M5ez example sketch to see M5ez in action. The README strongly recommends playing with the demo application first, as it is a comprehensive showcase of M5ez's functionality.
Step 3: Understand the Basics
Every M5ez sketch includes both libraries and calls ez.begin() in setup. The README specifies that #include <M5Stack.h> must come before #include <M5ez.h>, and that ez.begin() replaces m5.begin (which is called from within ez.begin()):
#include <M5Stack.h>
#include <M5ez.h>
In your void setup(), call:
ez.begin();
From there, access all M5ez features through the ez. object—for example ez.msgBox, ez.screen., ez.wifi., and so on.
Step 4: Flash to Your M5Stack
Connect your M5Stack via USB, select your board and port in Arduino IDE, and click Upload. Your first M5ez app will appear on the screen in seconds.
Core Features Explained
M5ez bundles several powerful components:
Menus: Display text or image-based menus on screen. Users navigate with the three buttons and select options easily.
Message Boxes: Pop-up dialogs to confirm actions, show alerts, or prompt for input.
Flexible Buttons: Define single presses, long presses, and multi-button combinations. No debouncing or timing logic needed—M5ez handles it.
Text Input: A surprisingly elegant 3-button text input system that lets users enter text on the tiny display without an external keyboard.
Header Widget System: Customize the top bar with your own widgets. M5ez ships with a clock and WiFi signal indicator, and you can register additional widgets using ez.header.insert().
WiFi and OTA Updates: Built-in WiFi support and over-the-air firmware updates so you don't need a USB cable every time you fix a bug.
Themes: Switch between different color schemes and fonts without rewriting your app.
Each feature is accessed via simple commands. All commands dealing with the entire screen are prefixed with ez.screen., WiFi commands start with ez.wifi., and so forth.
Build Your First App
Start with the example sketches that ship with M5ez. They demonstrate every feature in action: menus, buttons, text input, WiFi scanning, and more. Play with the demo app to understand what M5ez can do before writing your own code.
Here is the general workflow:
- Create a sketch in Arduino IDE
- Add
#include <M5Stack.h>then#include <M5ez.h> - Call
ez.begin()invoid setup() - Use
ez.msgBox,ez.screen.,ez.canvas.and otherez.*commands to build your interface - Upload to your M5Stack and test
Because M5ez manages screen layout, button debouncing, and widget positioning, your code stays clean and focused on what the application actually does.
Next Steps and Limitations
Extend Your App:
- Add custom header widgets using
ez.header.insert()for clocks, status indicators, or alerts - Integrate WiFi features (weather data, remote control, cloud sync)
- Use OTA updates to push firmware fixes without touching a USB cable
- Stack additional M5 boards (GPS, GSM, motor controller, LoRa) and expose their features through M5ez menus
- Create multi-screen apps with menu hierarchies
Things to Know:
- M5ez is designed for the Arduino IDE; UiFlow is an alternative if you prefer block-based or MicroPython programming
- The library is actively used but not under heavy development (last release 2020)
- For advanced custom graphics or real-time animations, you may need to drop down to raw M5Stack calls via
m5.lcd. - The ezTime library is required for on-screen clock and timezone features; you can disable it by commenting out
#define M5EZ_CLOCKinm5ez.hif you don't need it
Because M5ez handles the UI boilerplate, you can build polished, professional-looking gadgets quickly—perfect for smart home interfaces, portable sensor displays, WiFi-connected tools, and educational projects.
M5ez transforms the M5Stack from a raw ESP32 board into a platform for building finished applications. By eliminating boilerplate UI code, it lets beginners create polished, interactive gadgets in hours rather than days. If you want to build something practical you can hold in your hand—not just a breadboard prototype—M5ez is an excellent choice.
Sources
github.comM5ez/M5ez — repository & READMEFacts in this article come from the project's public README and GitHub metadata at the time of writing. Images belong to their respective owners and link back to the original source.