OpenHarness: One Command Center for Agents, Robots and Circuits
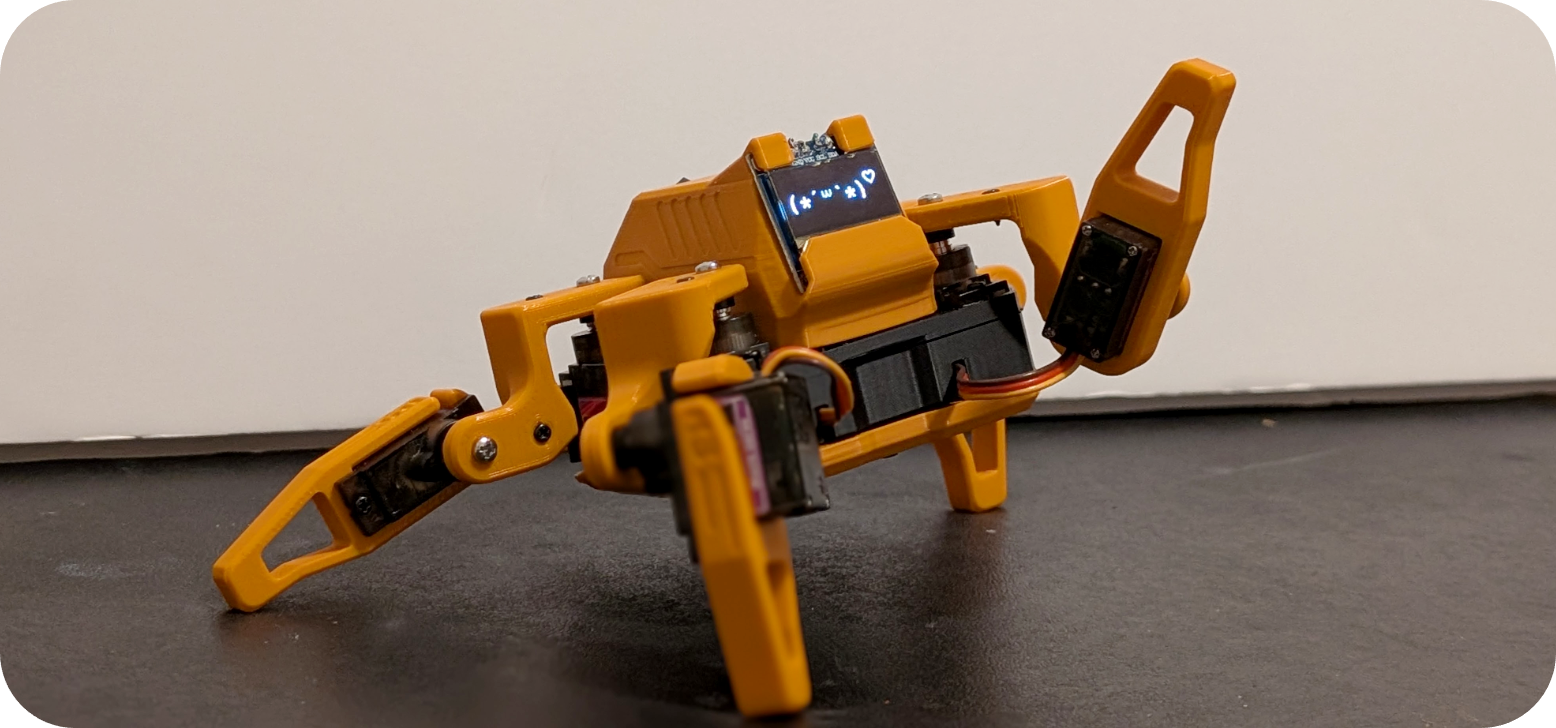
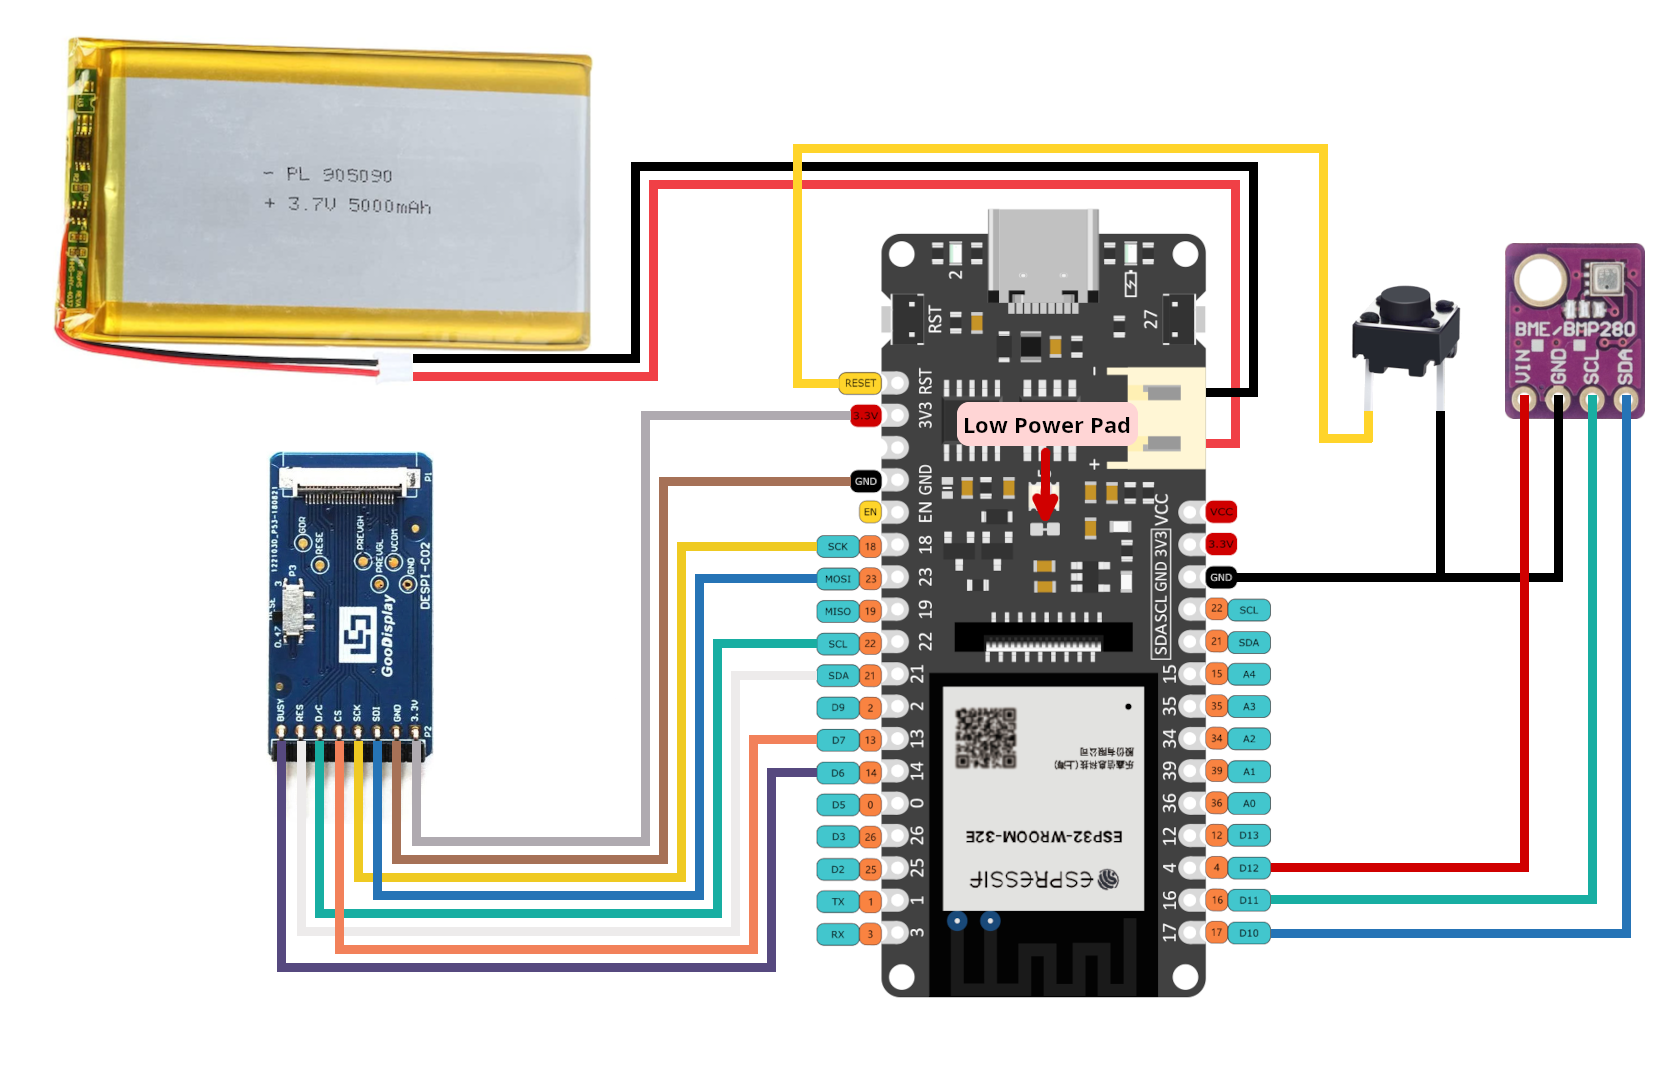
- Harness device (ESP32)
What You Will Build
OpenHarness is a native desktop command center that puts multiple AI coding agents — Claude Code, Codex, OpenCode, Devin, Amp, GitHub Copilot and more — side by side in one window, each running in its own tmux pane on any of your machines. Beyond managing code, it extends into physical disciplines through domain-specific harnesses (DSH): robotics simulation via MuJoCo, circuit design via CircuitJS and KiCad, 3D modeling via Blender and OpenSCAD, and many more. An ESP32-based Harness device connects to your laptop over USB and integrates directly with the daemon, bridging the gap between software agents and real hardware. Everything — code, keys and keystrokes — is sealed end-to-end before it leaves your machine. If you want a single place to go from writing firmware to simulating a robot arm to designing a PCB, OpenHarness is built for exactly that workflow.
What You Need
Hardware
- A Harness device (ESP32) — available from autonomous.ai and connects via USB to the daemon on your laptop.
- Any machine running macOS or Linux for the desktop app. A second machine (home server, GPU box, etc.) is optional but unlocks the multi-machine workflow.
Software — build from source
- Node.js 20 or later
- tmux
- Xcode (macOS)
- Flutter 3.47+ and Dart 3.13+
- Git
Or just download
- The prebuilt macOS or Linux desktop app from harness.autonomous.ai
- The CLI installer script (covers the
harnessandhncommands, the daemon and tmux config in one line)
No SSH keys, no Tailscale and no port forwarding are needed to link machines — each daemon dials out and machines are linked with a password you set.
Typical use cases
Run the MuJoCo harness to simulate a robot, pin a moment in its motion, apply a force and watch two diverging futures play back side by side — all steered by an AI agent.
Use the KiCad or CircuitJS harness to let an agent lay out a board or tune a filter while you watch the schematic or scope trace update live in the viewer.
Link a laptop, a GPU box and a cloud server with a password each, then run different agents on each machine from one keyboard-driven window — no SSH keys or VPN needed.
Plug the Harness device (ESP32) into USB and bring physical hardware into the same command center that manages your code agents, simulations and PCB tools.
How It Works
A harness is one running agent session with its own conversation, working branch and tmux pane. A tab groups harnesses. One daemon per machine runs those sessions in tmux; it dials out so no machine opens an inbound port.
The desktop app, CLI, daemon, relay and device are all open source in the same repository. Machines connect through three paths, chosen automatically:
- Direct — a WebRTC channel peer to peer, no server in the path.
- Through Cloudflare — the same encrypted WebRTC channel routed over Cloudflare's TURN network when a firewall blocks the direct path. Harness keeps trying for direct.
- Through the Harness relay — a fallback while WebRTC negotiates. The relay forwards ciphertext and holds no keys.
Every path uses ChaCha20-Poly1305 encryption, X25519 session keys and pinned Ed25519 identities. Remote terminals stream text peer to peer — no remote desktop, no pixel forwarding.
A domain-specific harness is just a folder with a harness.json. It supplies craft-specific instructions, a pinned toolchain, project templates and a live viewer. The agent reasons; the harness supplies the tools and the view. Adding a new discipline never touches the app itself.
The Harness device (ESP32) connects over USB to the daemon on your laptop, appearing in the architecture alongside your remote machines as a first-class node.
Idle resource use on an M2 Max with 16 terminals and 1,000 scrollback lines each: roughly 0.1 % of one CPU core and 304 MiB for the desktop app; agent CLIs and the daemon are counted separately.
Build and Flash Steps
Option A — Install the prebuilt app and CLI (fastest)
Download the desktop app for macOS or Linux from the homepage, then run the installer on each machine you want to link:
curl -fsSL https://harness.autonomous.ai/cli/install.sh | bash
harness login
harness remote-password set
harness start
In the app choose Machines → Link Machine and enter the password. Repeat on every machine. Plug the Harness device into USB — the daemon picks it up automatically.
For a terminal-first workflow, the same installer drops the hn TUI. The first run signs in and connects the machine:
curl -fsSL https://harness.autonomous.ai/cli/install.sh | bash
hn
Option B — Build from source
Clone the repo and follow the build steps. You need Node.js 20+, tmux, Xcode and Flutter 3.47+ / Dart 3.13+:
git clone https://github.com/autonomous-ai/openharness.git
cd openharness
(cd cli && npm ci)
make install-cli
cd desktop
flutter config --enable-swift-package-manager
flutter pub get
flutter run -d macos
make install-cli installs this checkout's CLI and restarts the local daemon, so you are always running the version you just built.
Install and start a robotics harness
Once the app is running, open the Store and install a harness such as MuJoCo or Drone Pilot. To author your own, copy the hello-world example and point the installer at your folder:
harness dsh install "$PWD/store/viewers/web-viewer" --link
cp -R store/examples/hello-world ../my-harness
harness dsh check ../my-harness
harness dsh install ../my-harness --link
Press ⌘N, type the harness name and the agent session opens with its own branch, instructions and viewer ready.
Robotics and Circuit Harnesses in Practice
The Store ships 49 harnesses across 11 categories. For makers and roboticists the most relevant are:
Simulation
- MuJoCo — Pin a moment in a robot's run, apply a 100 N shove and watch two futures diverge side by side. The Unitree Go2 model is shown in the README demo.
- Drone Pilot and SimSkill — additional simulation environments in the same category.
- DimOS and Foam-Agent — physics and fluid simulation harnesses.
Engineering
- CircuitJS — Build a filter, change one resistor, overlay the new scope trace and measure the difference.
- KiCad — Full PCB layout inside an agent harness.
- Yosys — HDL synthesis for FPGA work.
- Orca Slicer — Prepare 3D-printed parts from within the same workflow.
- Autonomous Circuit — An end-to-end circuit harness.
- Home Assistant — Tie smart-home automation into the same command center.
Design / CAD
- OpenSCAD, FreeCAD, Blender and text-to-cad cover parametric modeling and 3D geometry.
Each harness is a folder with a harness.json, so you can wrap any tool your team already uses and host it in your own repo or contribute it upstream.
Extending It and Known Limitations
Ways to go further
- Write your own domain-specific harness for any tool your team uses — the authoring guide is in
store/README.md. - Run open-weight local models through the Grid, Ollama, MLX-LM or vLLM harnesses instead of cloud agents.
- Turn on Agent Messages for a tab to let multiple agents send each other messages via
harness sendand coordinate on the same task. - Remap every keyboard shortcut in a single JSONC file; changes are hot-reloaded on save with chords up to four strokes.
- Contributions and new harnesses are welcome; the repo accepts them in
store/agents/or from an external repo via--link.
Limitations to keep in mind
- The desktop app supports macOS and Linux; Windows is not mentioned in the README.
- Building from source requires Xcode, which limits that path to macOS.
- The Harness device section of the README is partially truncated in this release, so full flashing and pin documentation should be checked directly in the repository.
- There are 36 open issues at the time of writing — check the issue tracker before starting a production workflow.
- The relay and Cloudflare TURN paths require outbound internet access; air-gapped setups must use the direct WebRTC path.
OpenHarness is a mature, actively maintained platform — v1.2.63 shipped two days before this writing — that genuinely unifies AI coding agents, remote machines, robotics simulation, circuit design and physical ESP32 hardware in one open-source tool. The architecture is thoughtful (real terminals, per-harness git branches, end-to-end encryption, no pixels over the wire) and the 49-harness Store covers an impressive range of maker disciplines. The main barrier to entry is the build toolchain — Flutter, Dart, Xcode and Node.js together make the source build Advanced-level — but the prebuilt installer gets most makers running in a few minutes.
Sources
github.comautonomous-ai/openharness — repository & README autonomous.aiOfficial websiteFacts in this article come from the project's public README and GitHub metadata at the time of writing. Images belong to their respective owners and link back to the original source.