OpenSpool: Build an NFC Filament Reader for Your 3D Printer
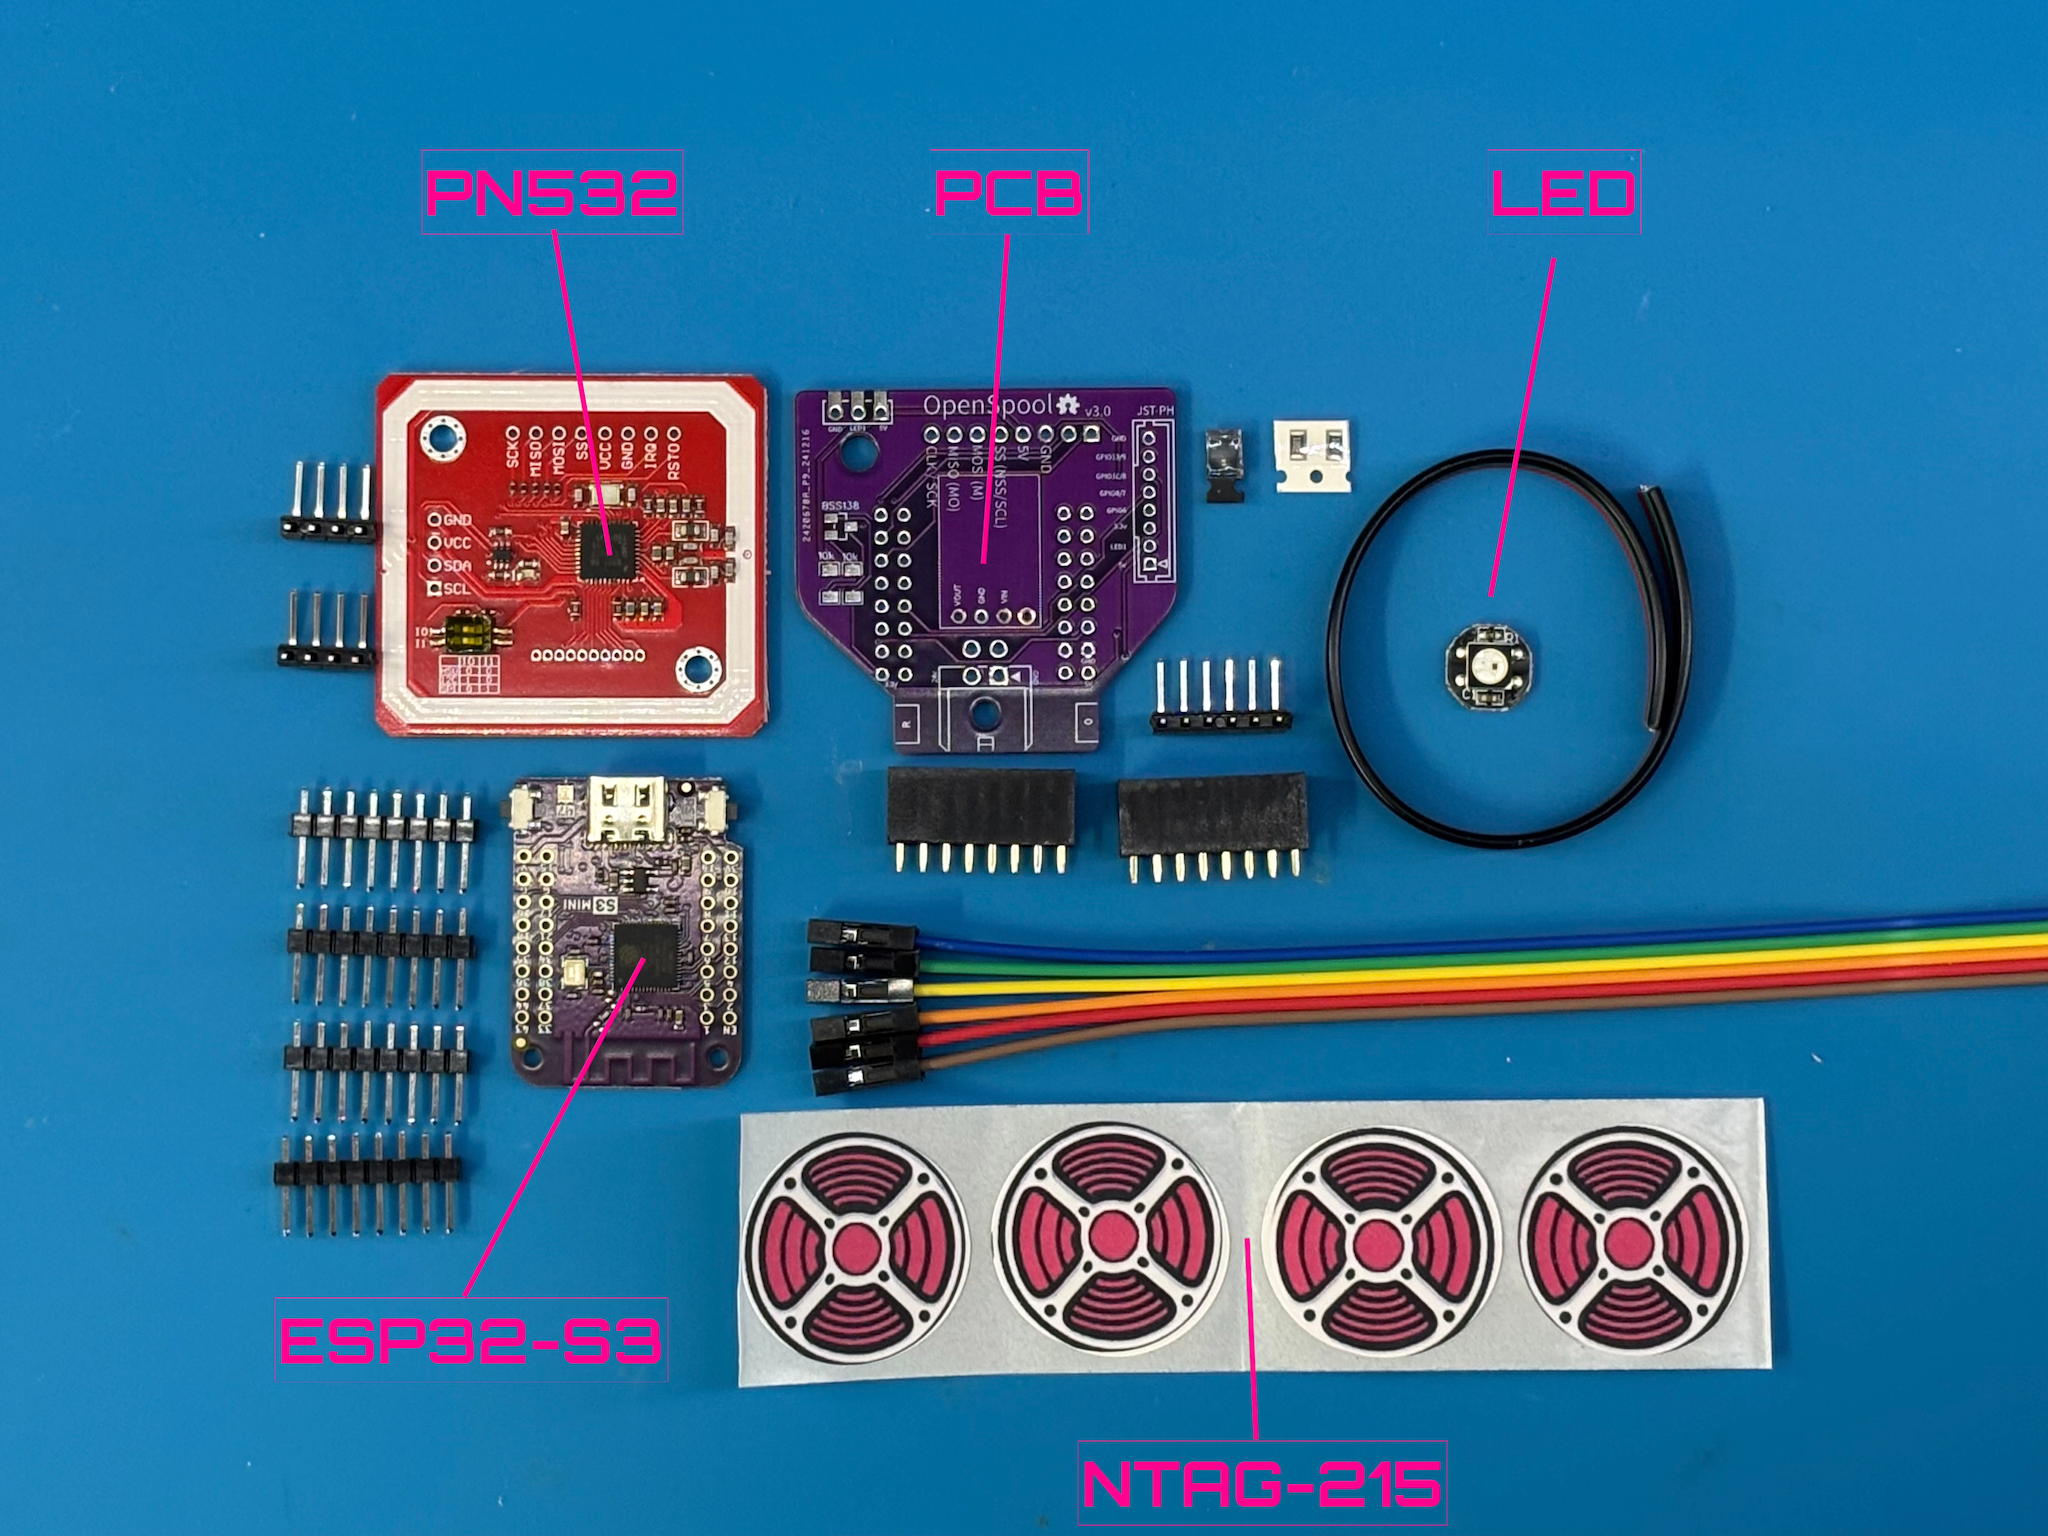
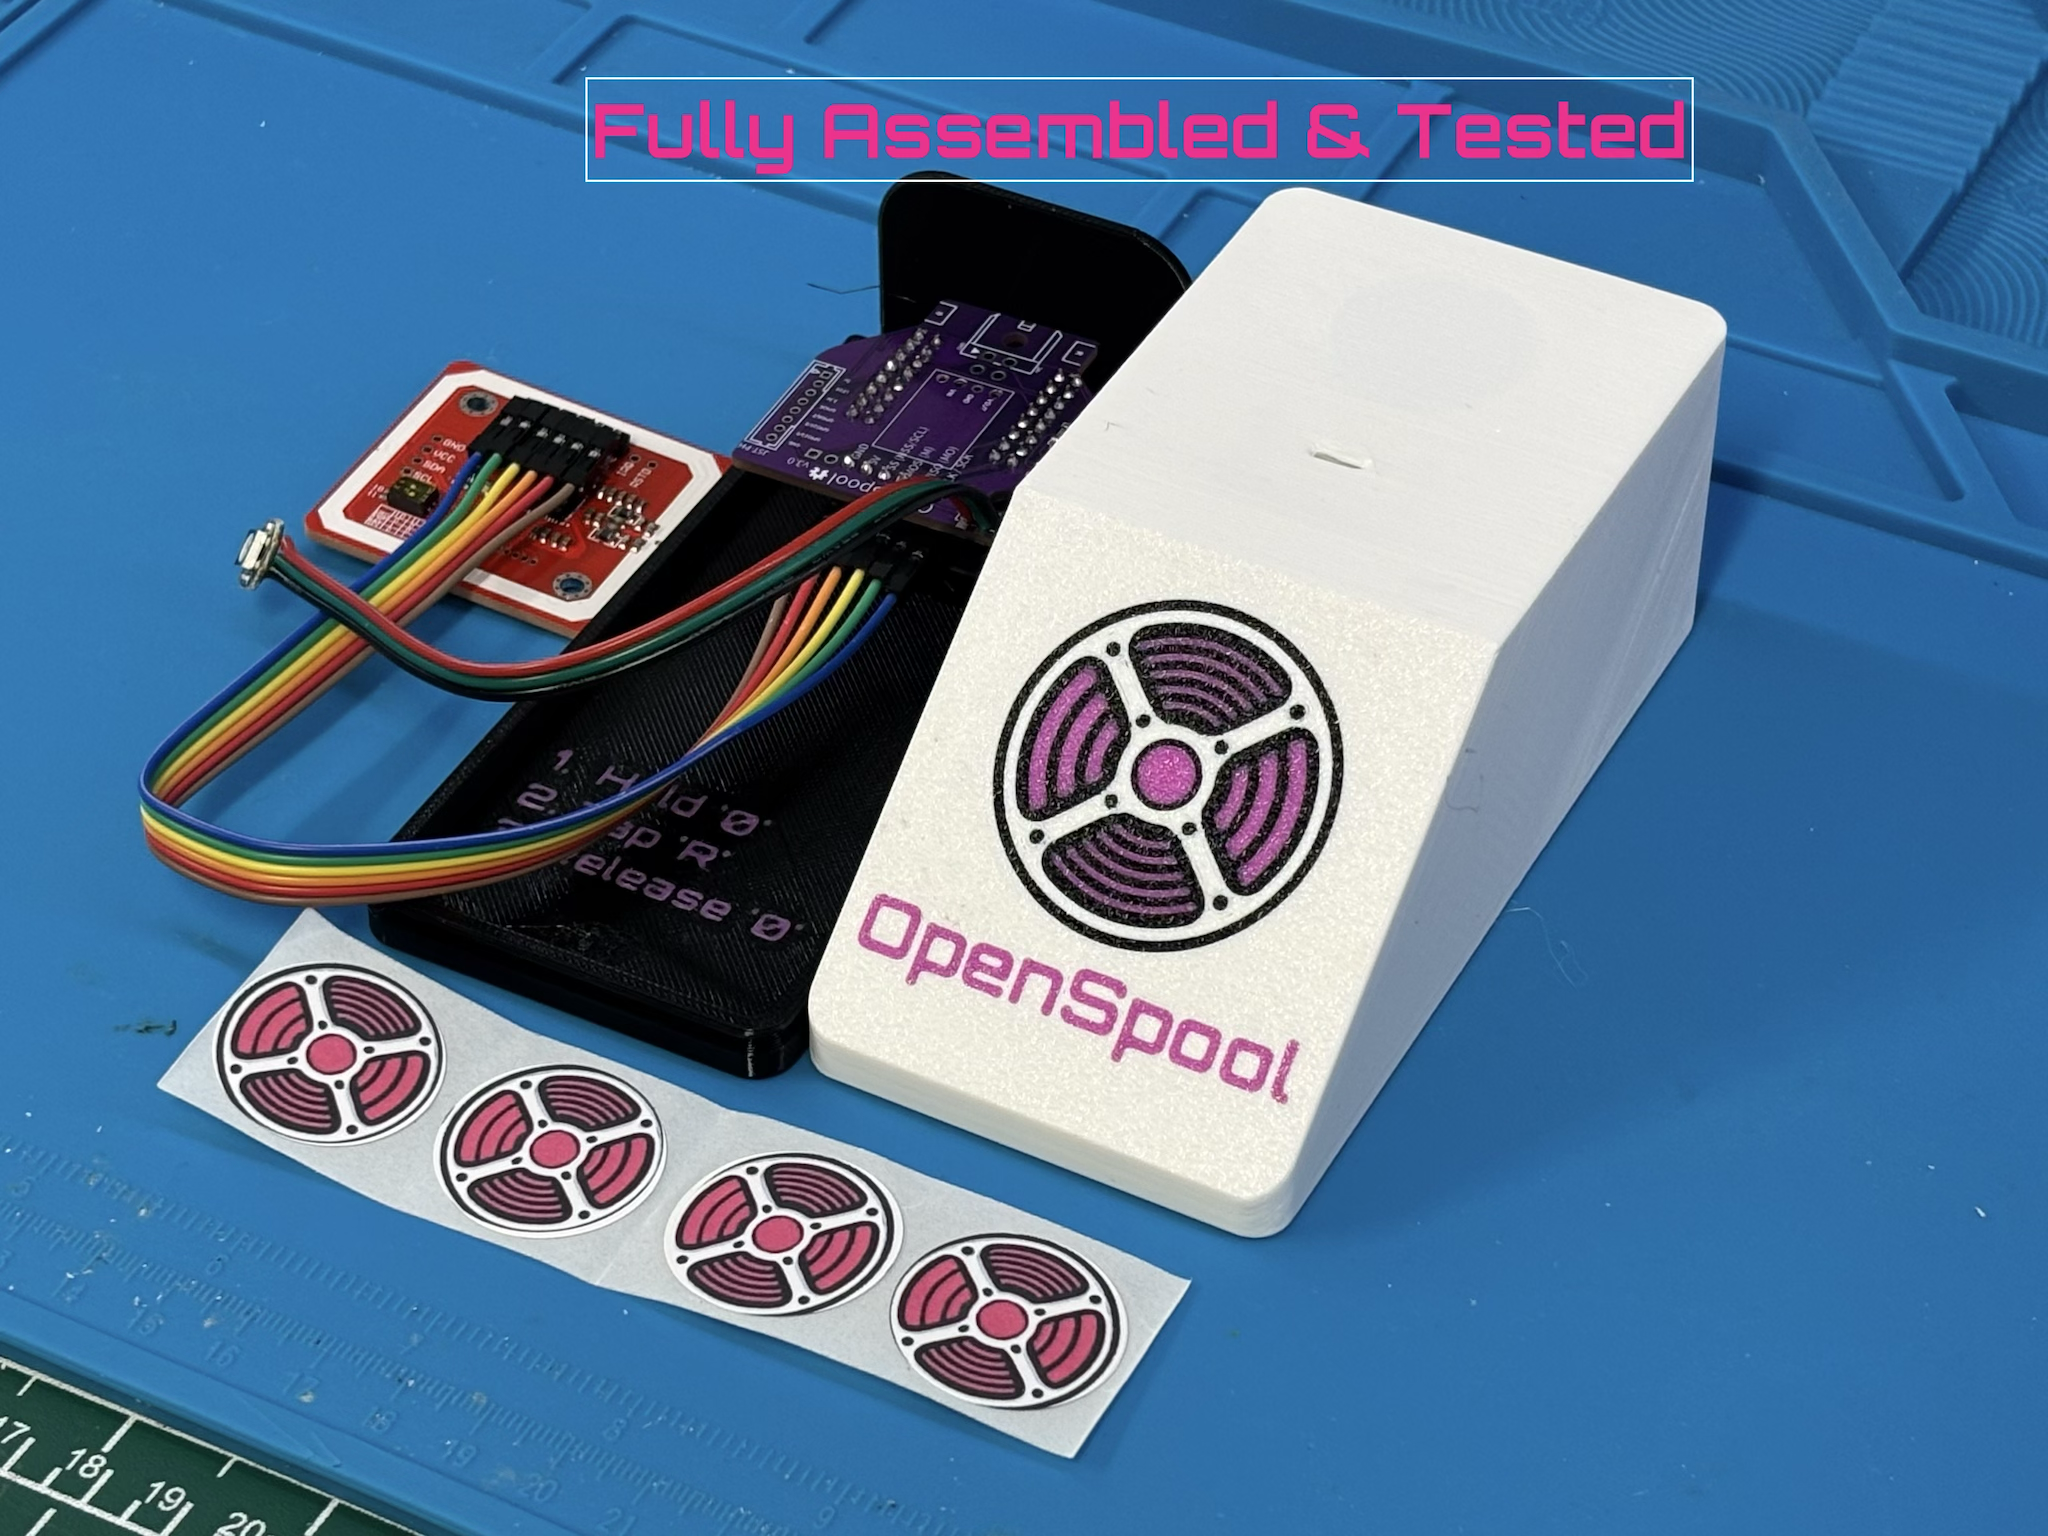
Assembled OpenSpool Mini kit with Wemos D1 Mini S3, PN532 reader, and WS2812B LED mounted on the custom PCB
- Wemos D1 Mini S3
- Wemos D1 Mini S2
- PN532 NFC reader (small)
- NTAG 215/216 NFC tags (13.56 MHz, >500 bytes)
- WS2812B LED
- OpenSpool Mini PCB v3.1
- BSS138 MOSFET
- 1206 10k SMD resistors
- 2.54mm straight headers
- 2.54mm right-angle headers
- Female-female jumper wires
- 3.3v–5v logic level converter (breadboard build only)
- Mini breadboard (breadboard build only)
What You Will Build and Why It Is Useful
OpenSpool turns a Wemos D1 Mini S3 and a PN532 NFC module into a filament-aware reader that sits beside your 3D printer. You stick NTAG 215 or 216 NFC stickers on every spool, write the filament metadata (type, color, brand, min/max temperature) to each tag once, then tap a spool against the reader whenever you load it. The ESP32 reads the tag and pushes the settings to your Bambu printer over MQTT — no manual menu navigation required.
The project targets Bambu printers first (X1C, A1, P1 series), with OctoPrint support in progress and Klipper/Moonraker, Prusa Connect, and Spoolman planned. Schematics are published under an open license and the firmware runs on ESPHome, so the whole stack is inspectable and hackable.
 \2
\2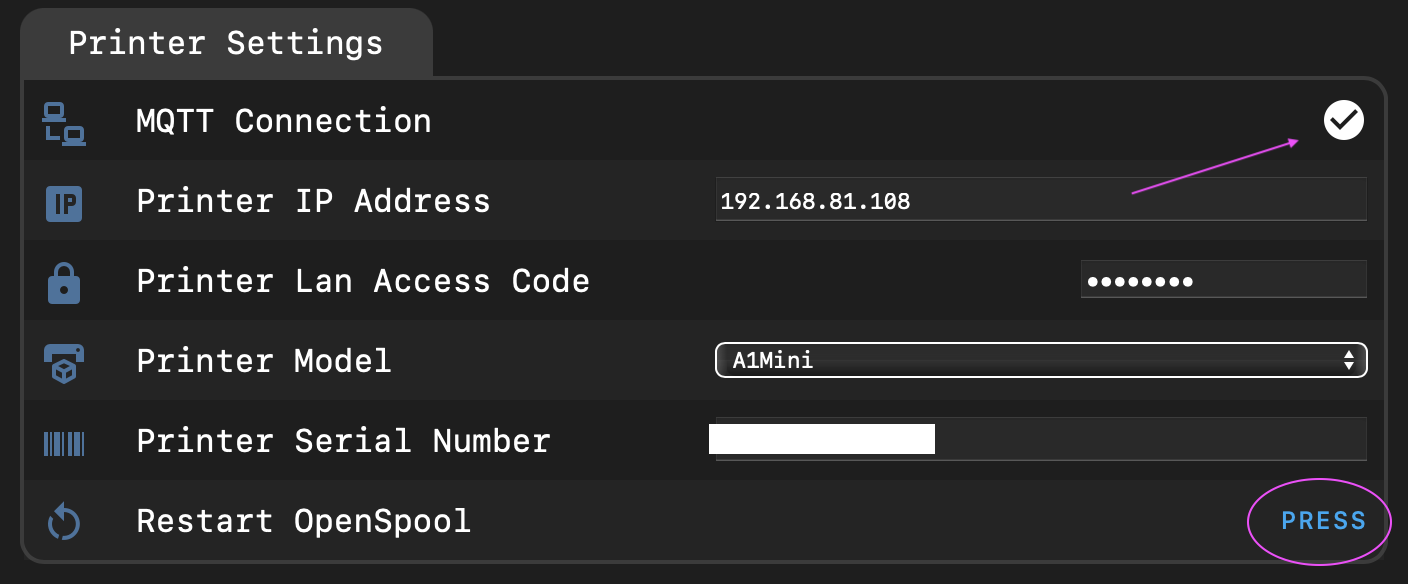 \2
\2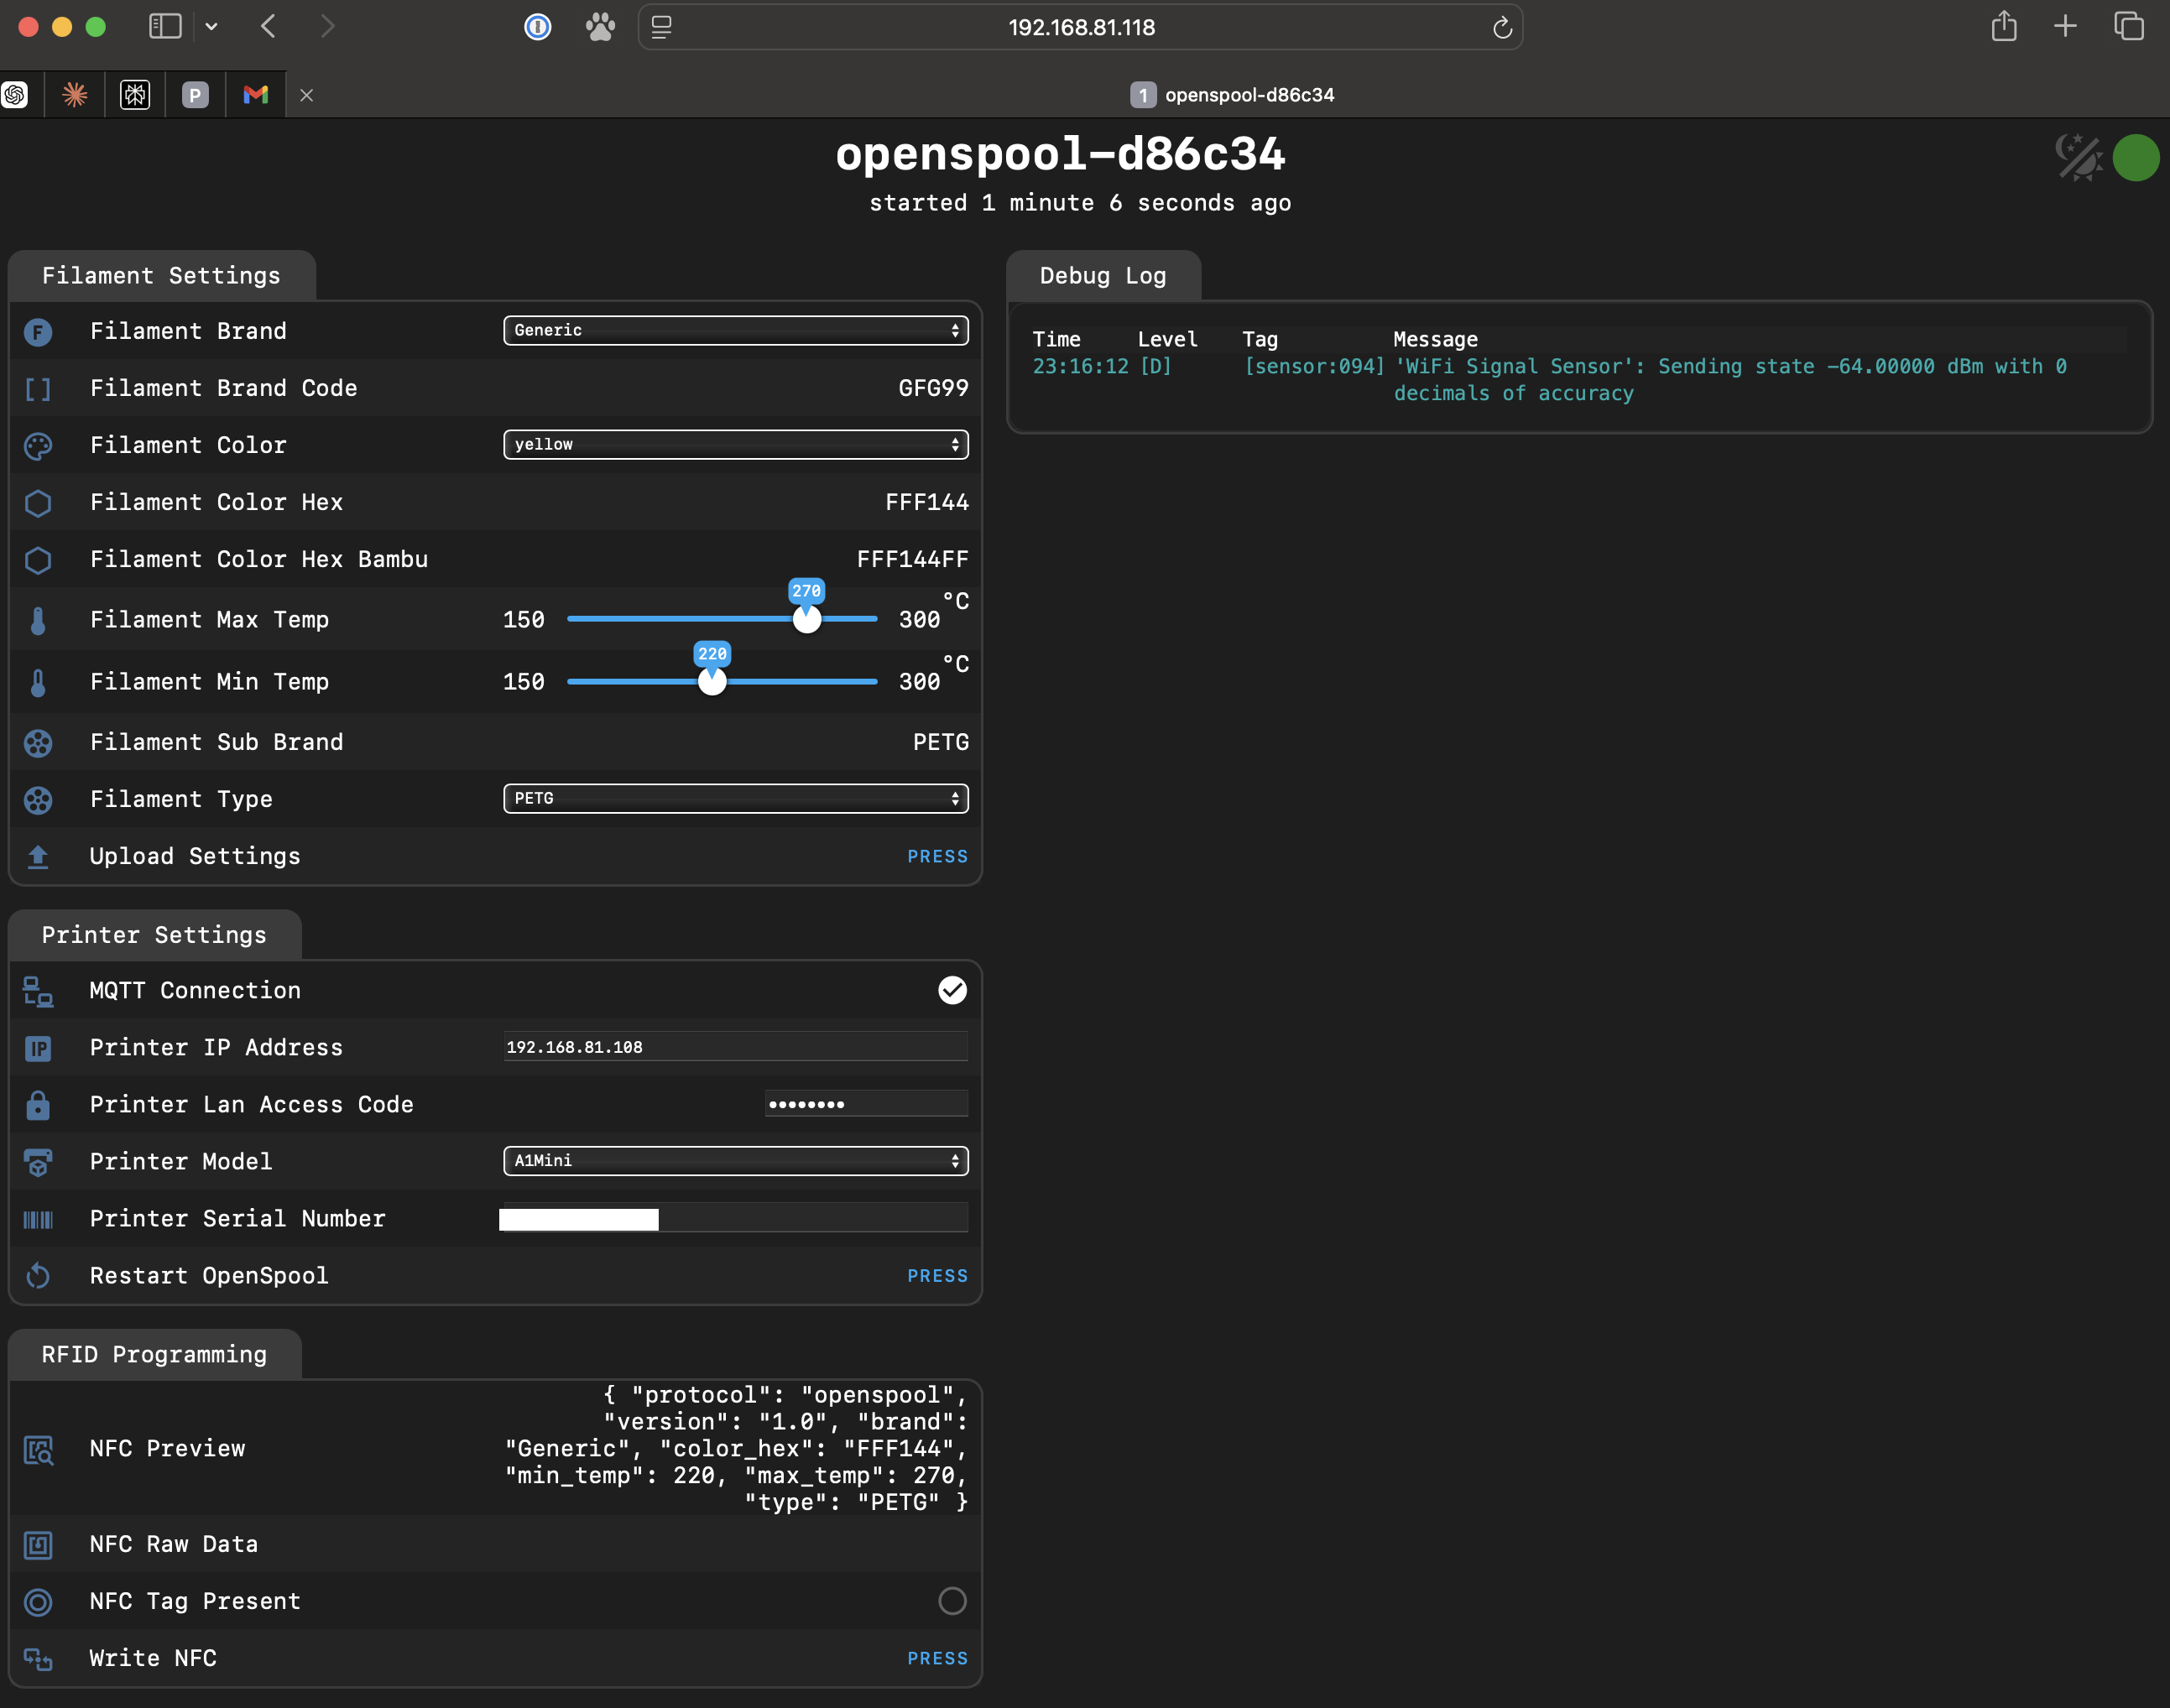 \2
\2What You Need
Hardware — with custom PCB (recommended)
| Part | Notes |
|---|---|
| Wemos D1 Mini S3 | S2 works but has less memory and may disconnect |
| PN532 NFC reader (small form factor) | Must be set to SPI mode via toggle switches |
| NTAG 215/216 NFC stickers | One per filament spool |
| WS2812B LED | Status indicator |
| OpenSpool Mini PCB v3.1 | Gerber files in repo; order from any PCB fab |
| Two 1206 10 kΩ SMD resistors | Soldered to PCB |
| BSS138 MOSFET | Soldered to PCB |
| Straight and right-angle 2.54 mm headers | For stacking modules |
| Female-female jumper wires | Connecting PN532 and LED to headers |
Hardware — without custom PCB
Replace the MOSFET and resistors with a 3.3 V–5 V logic level converter and a mini breadboard. All other parts remain the same.
Software
- Chrome or Edge browser (for web-based flashing at openspool.io)
- OR: macOS/Linux with
esphomeinstalled via Homebrew andmake - A Bambu printer with its IP address, serial number, and LAN Access Code to hand
- For X1C running firmware 1.08.05.00 or newer: LAN Mode and Developer Mode must be enabled in the printer settings
Typical use cases
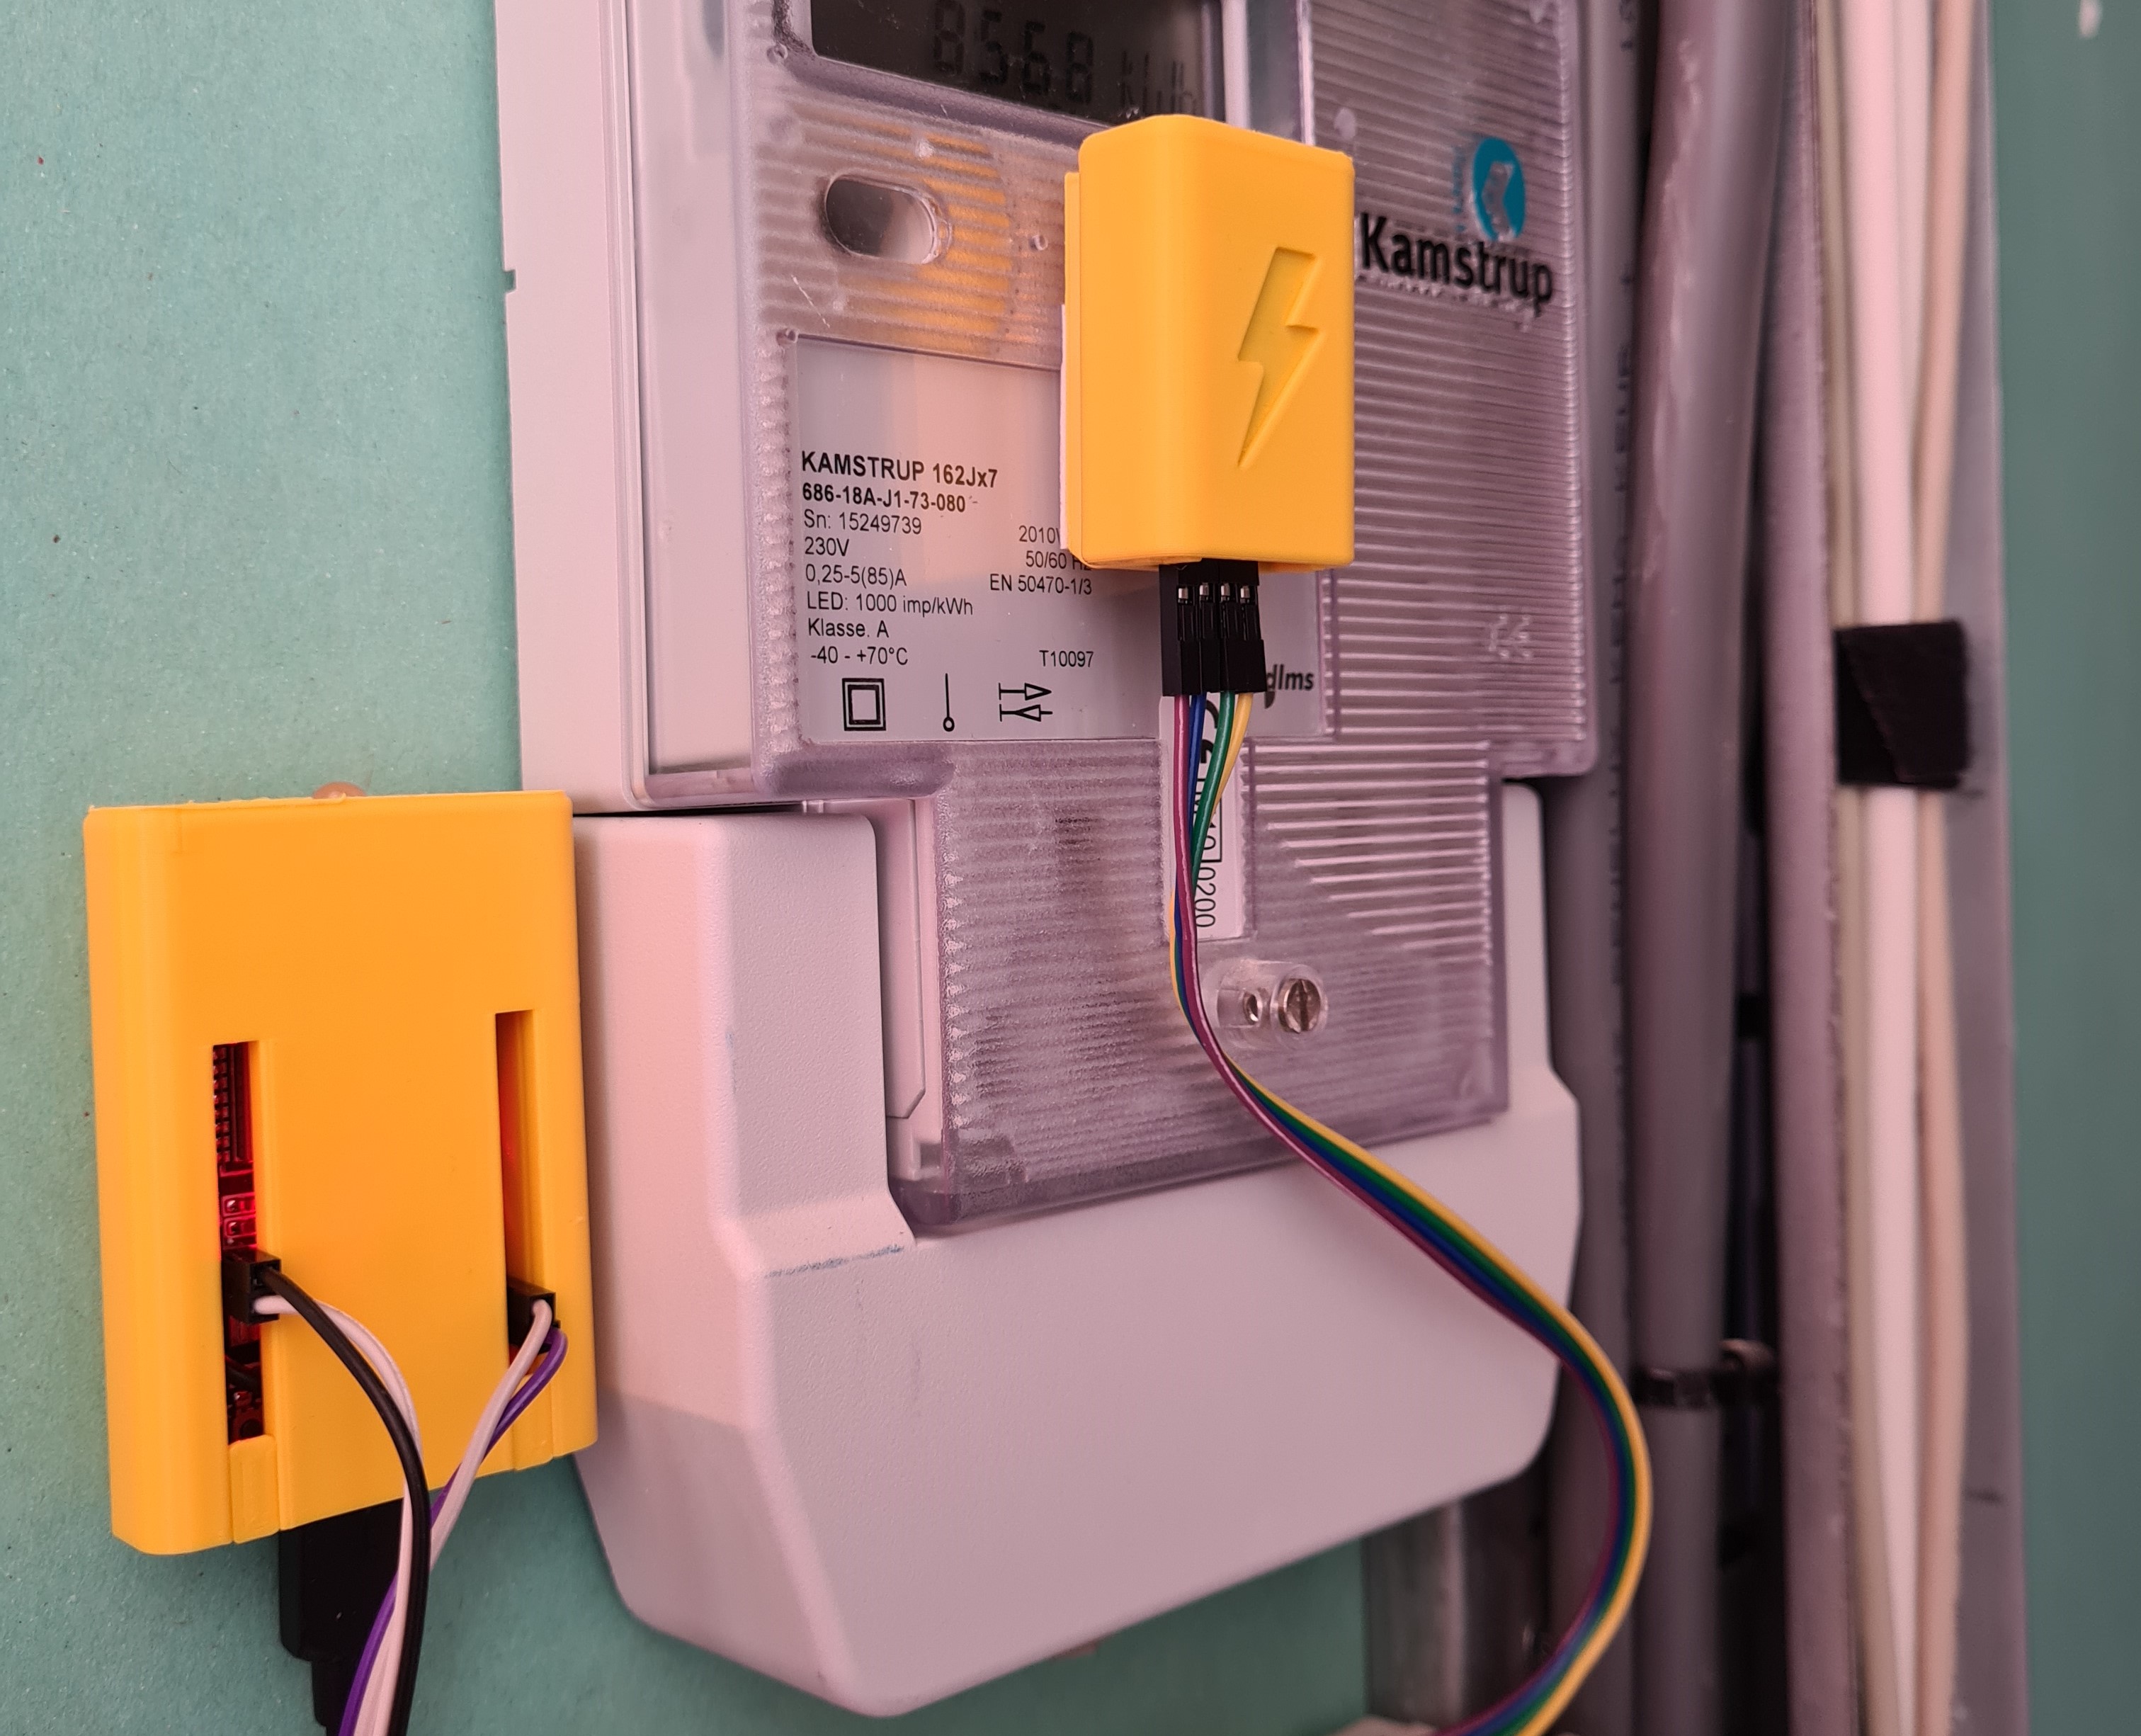
Tap any tagged spool to the reader and your Bambu printer's filament type, color, and temperature profile update instantly over MQTT — no menus to navigate.
Write simple JSON NDEF records to cheap NTAG 215/216 stickers with any NFC phone app, creating a vendor-neutral filament tagging system any printer ecosystem can adopt.
As OctoPrint, Klipper, and Prusa Connect integrations land, a single OpenSpool reader will work across different printer brands without re-tagging your spools.
Because the firmware is built on ESPHome, experienced makers can extend it with additional sensors, automations, or custom MQTT topics without rewriting from scratch.
How It Works
Each NFC sticker holds a single NDEF record with Content-Type: application/json. The payload is a small JSON object:
{
  "protocol": "openspool",
  "version": "1.0",
  "type": "PLA",
  "color_hex": "FFAABB",
  "brand": "Generic",
  "min_temp": "220",
  "max_temp": "240"
}
When a tagged spool is tapped against the PN532, the ESP32 reads this record and publishes the filament data to the Bambu printer's MQTT broker on port 8883 (MQTTS). The printer then applies the settings as if you had selected the filament through its own interface.
The WS2812B LED gives visual feedback: breathing blue means the device is broadcasting its own access point waiting for Wi-Fi credentials; solid white means it is connected to your network and ready to scan tags.
The PN532 communicates with the Wemos D1 Mini over SPI. On the custom PCB, a BSS138 MOSFET and two 10 kΩ resistors handle the 3.3 V–5 V level shift. On a breadboard build, a discrete logic level converter takes that role.
Assembly
With the custom PCB
- Solder two 10 kΩ 1206 SMD resistors and one BSS138 MOSFET onto the PCB.
- Solder four sets of 8 straight headers into the two pairs of columns on the top of the PCB.
- Solder one set of 8 right-angle headers into the row of vias just below the OpenSpool logo on the back of the PCB.
- Solder three right-angle headers in the top-left corner of the PCB.
- Solder eight right-angle headers onto the top side of the PN532.
- Solder three straight headers onto the LED — on the side with the
Dinpin. - Place the Wemos D1 onto the headers and solder it in. USB-C port faces the bottom of the PCB.
- Flip the toggle switches on the PN532 to SPI mode.
- Use jumper wires to connect the PN532 and the LED to their respective header rows.
Without the custom PCB
Follow the wiring diagram in the repository (images/OpenSpoolMiniWiringDiagram.png), using the logic level converter on the mini breadboard in place of the MOSFET and resistors.
NFC scanning tips
- Small red PN532: tags read best near the corners of the antenna.
- Larger blue PN532: tags read best at the center of the antenna.
- Counterfeit PN532 modules are common and often unreliable — buy from a reputable source.
Flash the Firmware
Option 1 — browser (easiest)
Open openspool.io in Chrome or Edge and follow the web-based programming tool. No local toolchain needed.
Option 2 — command line (macOS/Linux)
Install ESPHome and clone the repository:
brew install esphome
git clone https://github.com/spuder/OpenSpool
cd OpenSpool/firmware
Put the Wemos D1 Mini into flash mode: hold the D0 button, press Reset, then release D0. A new USB serial device will appear.
ls /dev/cu*
Flash for the S3:
USB_ADDRESS=/dev/cu.usbmodemXXXXX make lolin_s3_mini
Or for the S2:
USB_ADDRESS=/dev/cu.usbmodemXXXXX make lolin_s2_mini
First-time Wi-Fi setup
After flashing, the ESP32 broadcasts a Wi-Fi network called OpenSpool. Connect to it, open a browser to 192.168.4.1, enter your home Wi-Fi credentials, and reboot. The device will then appear on your network as openspool-xxxxxx.local.
Printer configuration
Navigate to the web interface and enter your printer's IP address, serial number, and LAN Access Code. Reboot the ESP32. A checkmark next to MQTT in the web interface confirms a successful connection. Factory reset is available by holding the D0 button for 10 seconds.
Extending OpenSpool and Known Limitations
Ideas to extend it
- Print the OpenSpool Mini enclosure from MakerWorld and mount the reader on your printer frame for a clean permanent installation.
- Write NFC tags for every spool in your collection using any NFC-capable Android phone or the openspool.io tag writer — the tag format is plain JSON, so any NFC writing app that supports NDEF text records works.
- Monitor raw MQTT traffic with the MQTTX client to debug printer communication or build your own integrations on top of the same broker.
- Contribute a pull request for OctoPrint, Klipper/Moonraker, or Prusa Connect integration — all are listed as planned and the project is actively accepting contributions.
Current limitations
- Bambu is the only fully supported printer integration; OctoPrint, Klipper, and Prusa Connect support is in progress or planned.
- Bambu X1C on firmware 1.08.05.00 or newer requires LAN Mode and Developer Mode to be enabled.
- Bambu A1 and P1 printers allow a maximum of four simultaneous MQTT connections; exceeding this causes clients to disconnect.
- The OpenSpool protocol requires NTAG 215 or 216 tags (>500 bytes). Bambu's own MiFare Classic 1K tags can be read (in progress) but not yet written.
- The Wemos D1 Mini S2 has less RAM than the S3 and may disconnect from the printer occasionally under load.
OpenSpool solves a real workflow friction point for multi-material 3D printing by turning a $10 ESP32 module and cheap NFC stickers into an automatic filament profile switcher. The PCB, enclosure, and firmware are all open-source, the web flasher removes the toolchain barrier for beginners, and the active contributor community is steadily expanding printer support beyond Bambu. The main caveat right now is that Bambu is the only complete integration — if you print on Klipper or Prusa hardware, watch the roadmap and be ready to wait or contribute.
Sources
github.comspuder/OpenSpool — repository & README openspool.ioOfficial websiteFacts in this article come from the project's public README and GitHub metadata at the time of writing. Images belong to their respective owners and link back to the original source.